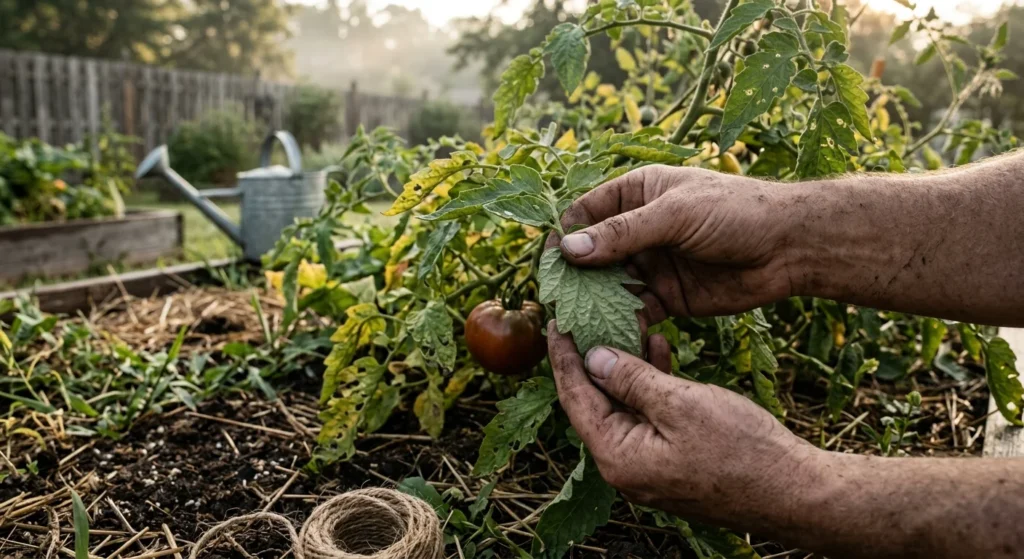
You can save an overwatered houseplant by restoring oxygen to its roots before irreversible decay takes hold. Yellowing leaves, soft stems, and sour-smelling soil signal that excess moisture is suffocating your plant’s underground root system; however, targeted action reverses this damage quickly. By assessing root health, removing saturated soil, pruning mushy root tissue, and repotting your plant into a fresh, porous potting mix, you create the ideal environment for plant root rot recovery. Mastering houseplant care tips for moisture control prevents future waterlogging and keeps your indoor green spaces thriving year-round.
Tip #1: Recognize the Subtle Early Warning Signs of Waterlogging
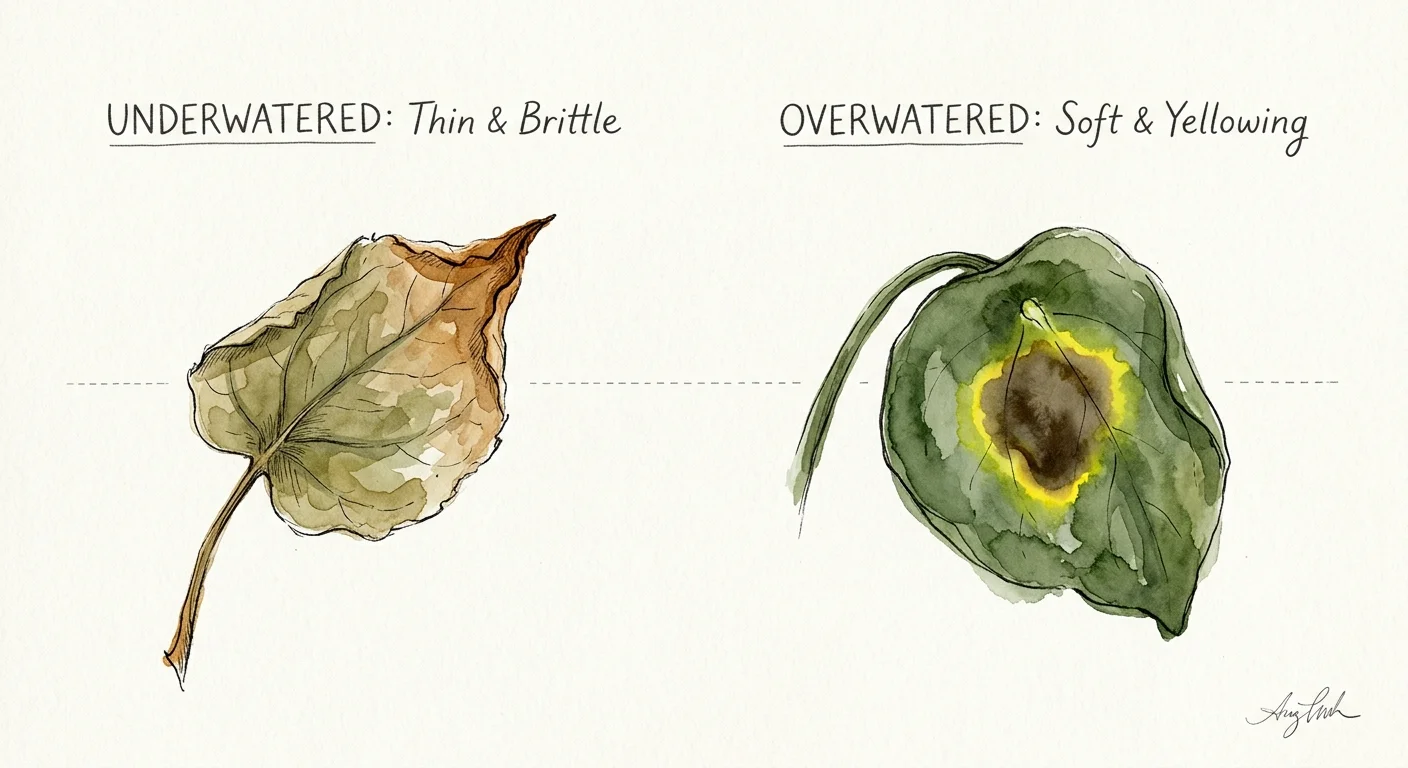
Recognizing the subtle differences between underwatering and overwatering requires careful observation of leaf texture and soil conditions. When you underwater a houseplant, the leaves feel thin, brittle, and papery; conversely, an overwatered plant exhibits soft, limp, yellowing leaves that feel damp or rubbery. This wilting occurs because saturated soil starves roots of oxygen, causing root hairs to die off and preventing them from absorbing water to sustain the upper canopy.
Pay close attention to lower, mature foliage first. Plants frequently drop older leaves as root suffocation begins, attempting to decrease overall transpirational demand. You may also observe dark brown or black blotches surrounded by a bright yellow halo near leaf margins on tropical species like Monstera deliciosa or Ficus lyrata. Additionally, inspect the surface of your potting soil for green algae, white fungal mold, or tiny fungus gnats crawling across the potting medium.
When you insert a wooden probe or soil moisture meter into the lower third of the pot, a wet reading above 80% moisture—coupled with a damp, sour odor—confirms excess water retention. Healthy indoor soil smells earthy and fresh; a sulfurous odor indicates that anaerobic bacteria are decomposing dead root tissues. Identifying these signs early provides the critical window needed for fixing overwatered plants before rot destroys the root structure.
Tip #2: Immediately Halt Watering and Improve Ambient Air Movement
The moment you detect symptoms of overwatering, stop adding water to the container immediately. Remove decorative outer pots or saucers holding standing water around the base of the planter. Trapped drainage water creates a perched water table within the pot, holding the lower soil layer in saturated stagnation and blocking fresh atmospheric oxygen from reaching the root zone.
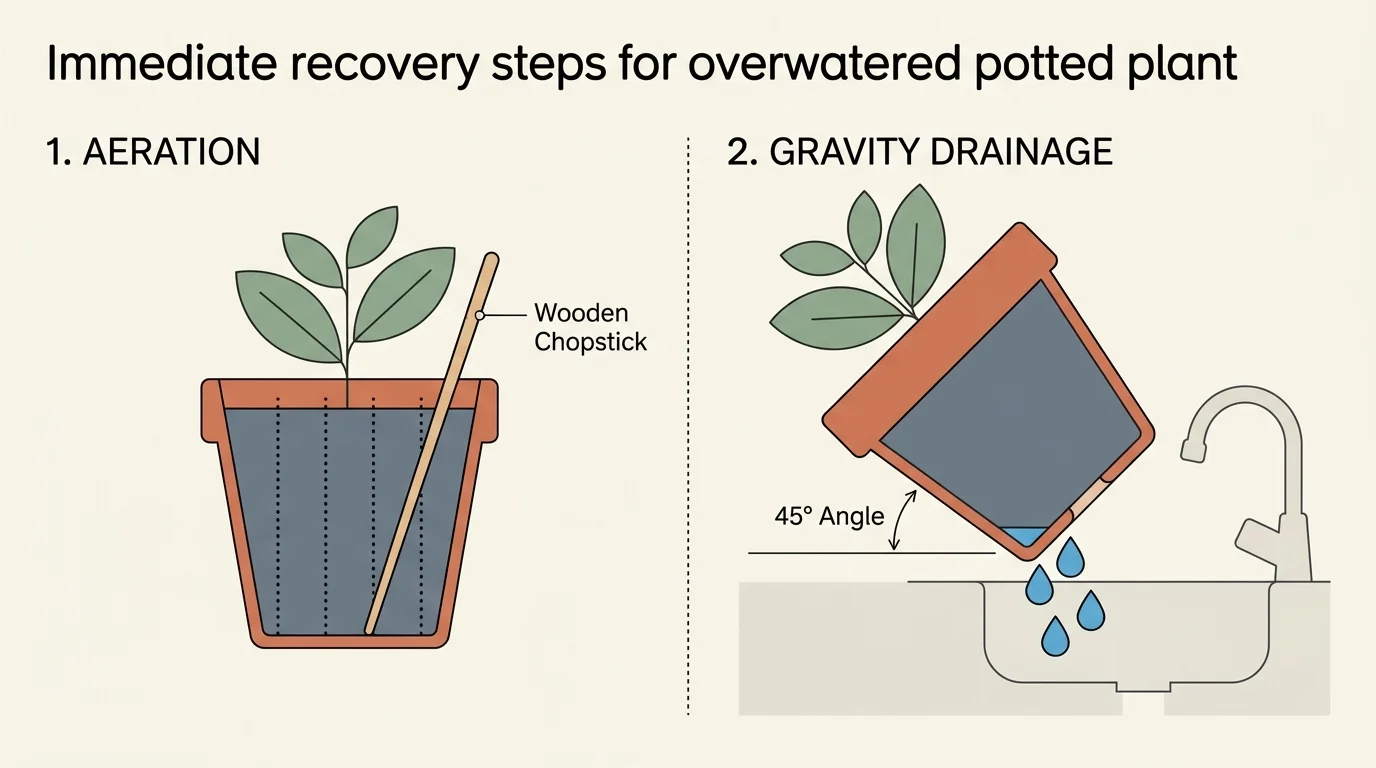
To accelerate evaporation from soil surfaces and foliage, boost ambient air movement around your plant. Position an electric fan a few feet away on a gentle setting. Circulating air speeds up transpiration through leaf stomata and draws moisture out of upper soil levels, increasing the overall drying rate by 15% to 20%. You can also tilt the pot at a 45-degree angle for 15 minutes over a sink; this simple gravity technique breaks capillary tension at the base of the container, allowing trapped water to drain out naturally.
Next, aerate the soggy soil manually without damaging structural roots. Take a clean wooden skewer or chopstick and gently press four to six vertical holes straight down into the soil matrix, reaching halfway to the bottom of the pot. These temporary air channels allow trapped carbon dioxide to escape while encouraging ambient air to penetrate drowning root systems. Avoid disturbing the core root ball during this preliminary phase.
Tip #3: Unpot the Plant and Inspect the Subterranean Root System
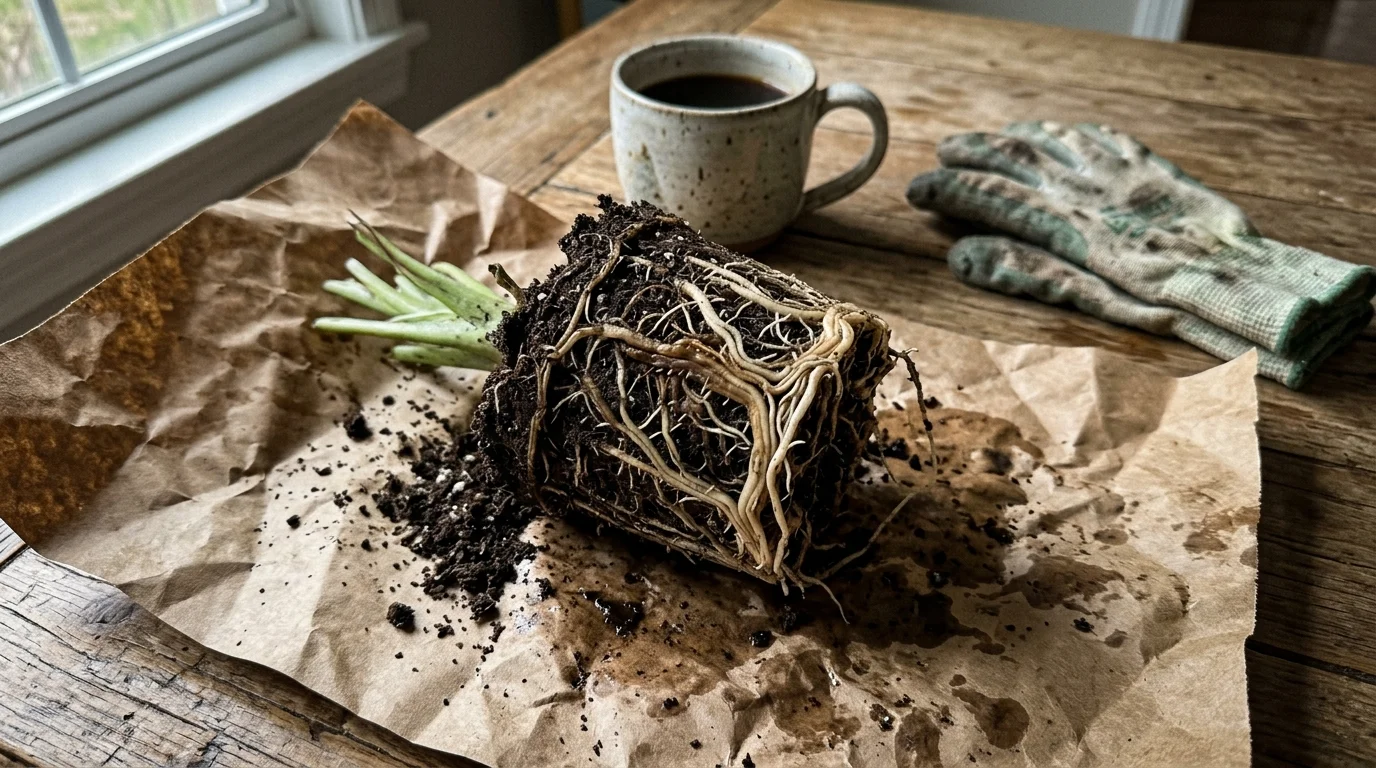
If surface aeration and fan drying do not decrease soil moisture within 48 hours, you must unpot the plant to inspect its root system directly. Gently tilt the container on its side, support the main stem near the soil line with one hand, and tap the bottom and sides of the pot to release the root mass. Slide the plant out smoothly, avoiding harsh yanking that could snap weakened stems.
Once the plant is free, loosen saturated soil chunks into a bucket to reveal the root architecture. Use your fingers to brush away damp soil particles clinging around primary roots. Healthy houseplant roots feel firm, pliable, and smooth, displaying light tan, cream, or crisp white coloration. In contrast, decaying roots damaged by waterlogging feel mushy, slippery, and limp, disintegrating under slight finger pressure.
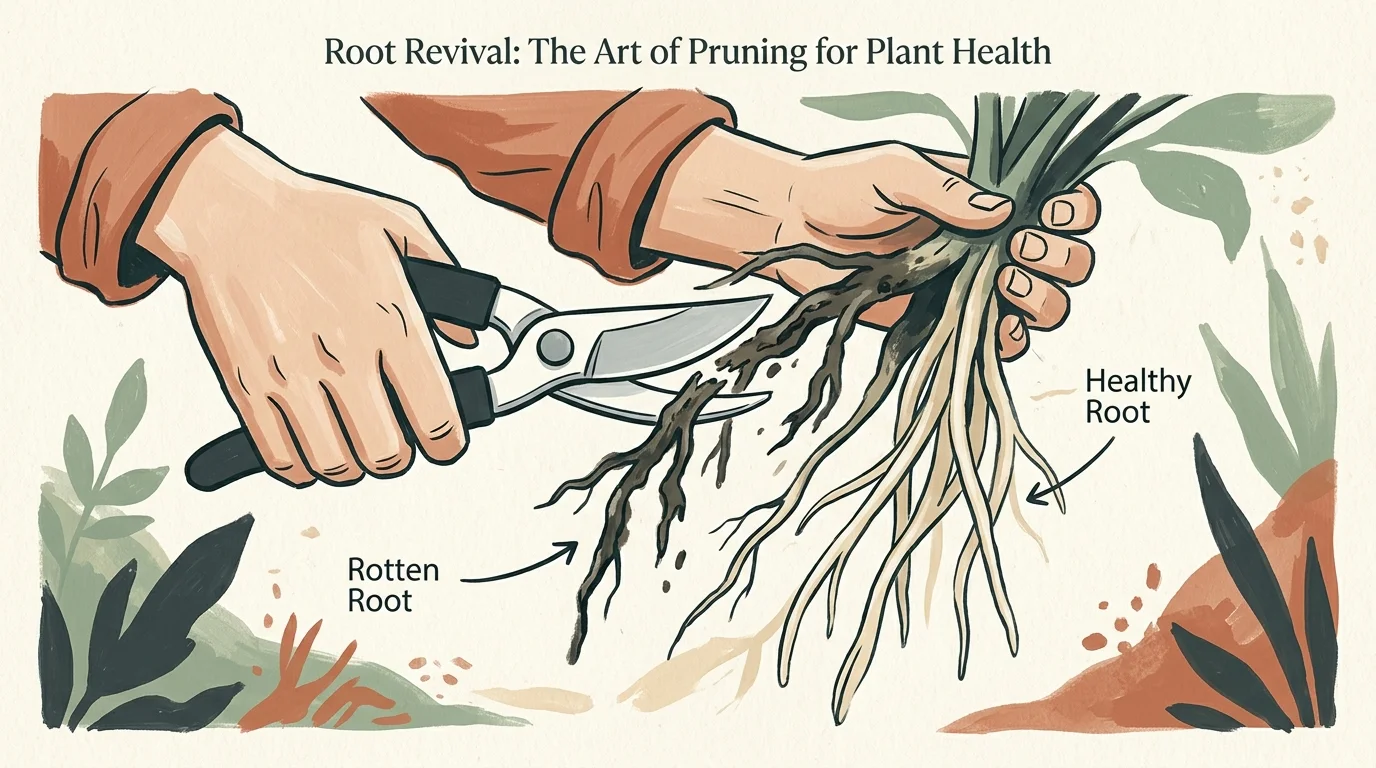
Perform a gentle “sheath test” on suspect roots. Hold a questionable root strand between two fingers and pull lightly outward; if the dark outer sheath slides off easily—leaving behind a thread-like inner vascular core—root rot is active. Distinguishing healthy from rotting root tissue is a cornerstone of how to save overwatered plant specimens effectively. Take note of how much healthy root tissue remains; if at least 20% to 30% of the root mass is intact, your plant has a strong foundation for full recovery.
Tip #4: Prune Damaged Root Tissue and Apply Sterilizing Rinses
To stop root rot from invading healthy plant tissues, you must trim away all diseased and decaying roots immediately. Sterilize bypass pruners or fine gardening shears with 70% isopropyl rubbing alcohol before making any cuts, preventing the spread of fungal spores to clean tissue. Carefully cut away all black, brown, mushy, or stringy roots back to healthy, firm white wood, making clean perpendicular cuts.
After removing decaying root sections, sterilize the surviving root mass to neutralize residual fungal spores like Pythium or Phytophthora. Prepare a gentle disinfecting wash by mixing 1 part standard 3% hydrogen peroxide solution with 4 parts room-temperature water. Spray or submerge the healthy root ball in this mixture for 30 seconds; hydrogen peroxide effervesces upon contact with organic material, releasing free oxygen molecules that cleanse fungal pathogens and re-oxygenate root tissues.
Next, trim the top growth of your houseplant to balance the lost root capacity. When a plant loses half of its root system to rot, the remaining roots cannot supply sufficient water and nutrients to support a large leaf canopy. Prune away 20% to 30% of the oldest, yellowed, or damaged leaves using sanitized shears. Reducing upper foliage lowers transpirational demand, allowing the plant to direct its energy toward recovery.
Tip #5: Repot into Fresh, Well-Draining Soil and a Breathable Container
Never place a recovering plant back into its original, waterlogged potting medium. Wet, compacted soil retains harmful pathogens and lacks the porous structure required for healthy root respiration. Discard the contaminated potting mix entirely, scrub the old container with hot soapy water and a 10% bleach solution, or choose a new pot tailored to your plant’s reduced root size.
Select a container equipped with multiple functional bottom drainage holes. Unglazed terra cotta pots are superior to plastic containers because porous clay walls allow moisture to evaporate 30% faster through side surfaces. Choose a pot size that matches the remaining root mass rather than the former foliage volume; excess soil in an oversized pot holds surplus moisture that small root systems cannot process, triggering fresh waterlogging.
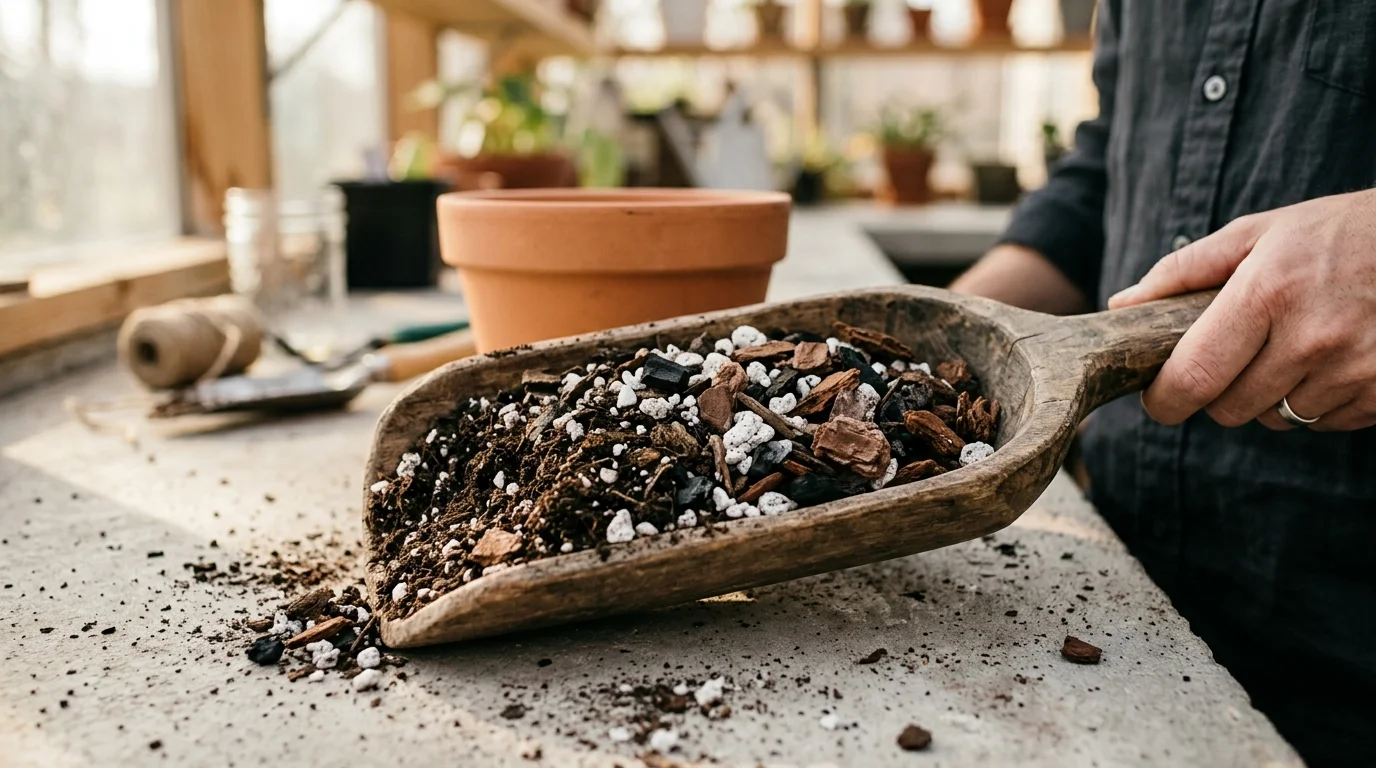
Formulate a lightweight, highly aerated potting mix designed for overwatered plant recovery. Mix 50% premium peat moss or coconut coir, 30% coarse horticultural perlite or pumice, and 20% fine orchid bark or sharp sand. Perlite creates permanent macropores that shed water quickly while trapping atmospheric oxygen, keeping air porosity above the crucial 20% baseline. Place a layer of fresh potting mix in the bottom of the container, center your plant, and gently settle soil around the root ball.
Tip #6: Practice Strategic Hydration and Withhold Synthetic Fertilizers
After repotting your plant into fresh substrate, adjust your hydration technique to accommodate its delicate state. Fresh potting soil out of the bag contains baseline moisture, so refrain from heavy soakings immediately unless the medium is bone dry. Lightly moisten the soil around root boundaries with a light drizzle of lukewarm water to settle air pockets, and permit the top half of the pot to dry out completely over the next week.
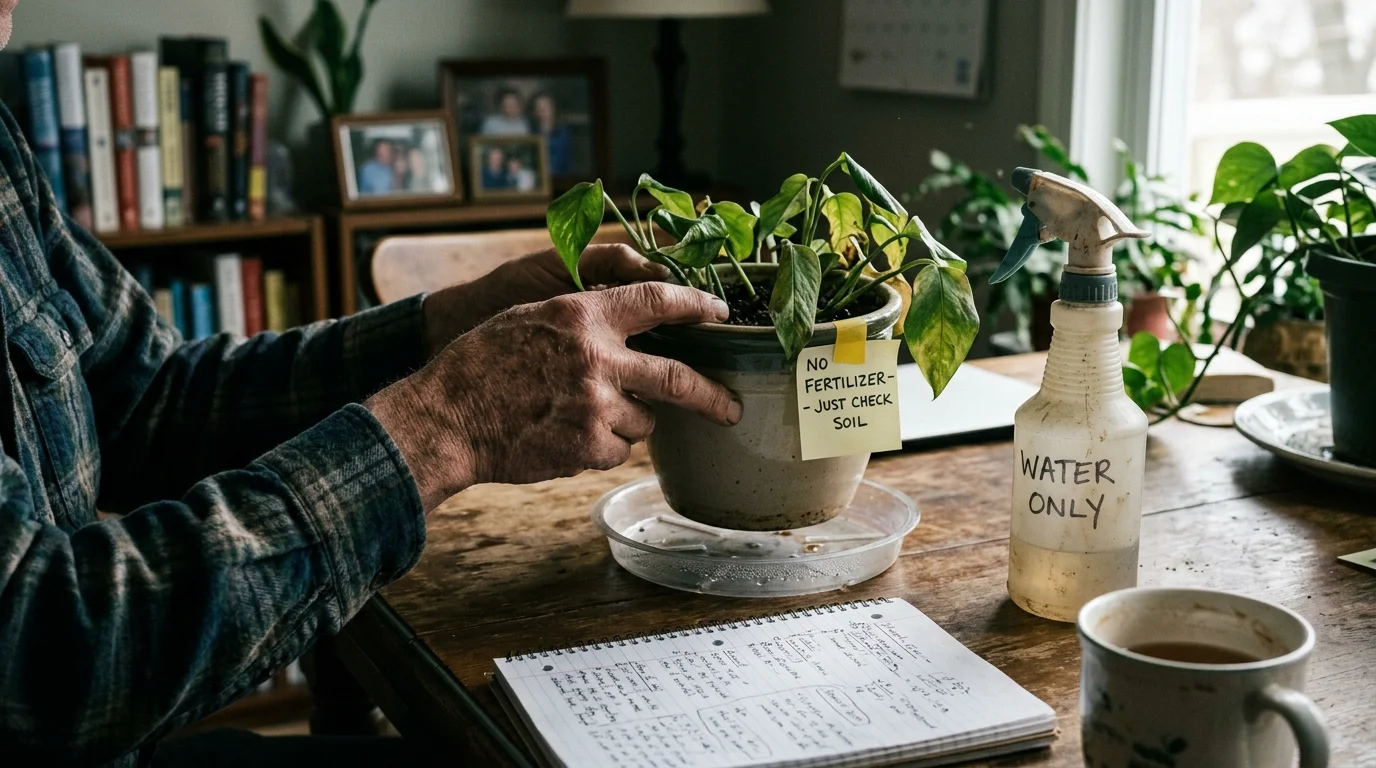
Withhold synthetic fertilizers during the initial 4 to 6 weeks of recovery. High-nitrogen commercial fertilizers contain mineral salts that extract moisture from wounded root cells via osmotic pressure, burning tender root tips and compounding stress. Wait until you observe active new vegetative growth—such as fresh leaf buds or expanding shoots—before introducing diluted liquid plant food into your maintenance routine.
To accelerate root branching naturally, consider applying an organic root tonic during your second watering session. Cold-pressed liquid seaweed or kelp extract (0-0-1) delivers trace minerals and natural growth hormones like auxins, which stimulate root hair extension without burning delicate tissues. Introducing beneficial mycorrhizal fungi into the root zone builds a biological shield against soil-borne pathogens, enhancing nutrient uptake and long-term plant resilience.
Tip #7: Optimize Indirect Light and Build a Sustainable Watering Routine
Position your recovering houseplant in a location that receives 6 to 8 hours of bright, indirect sunlight daily. Ample light powers photosynthesis, manufacturing vital carbohydrates that fuel new root formation and allow the plant to draw up moisture efficiently. Avoid placing recovering plants in harsh, direct afternoon sunlight, which scorches weakened foliage, and steer clear of dark hallways or cold drafts where stagnant air keeps soil damp for too long.
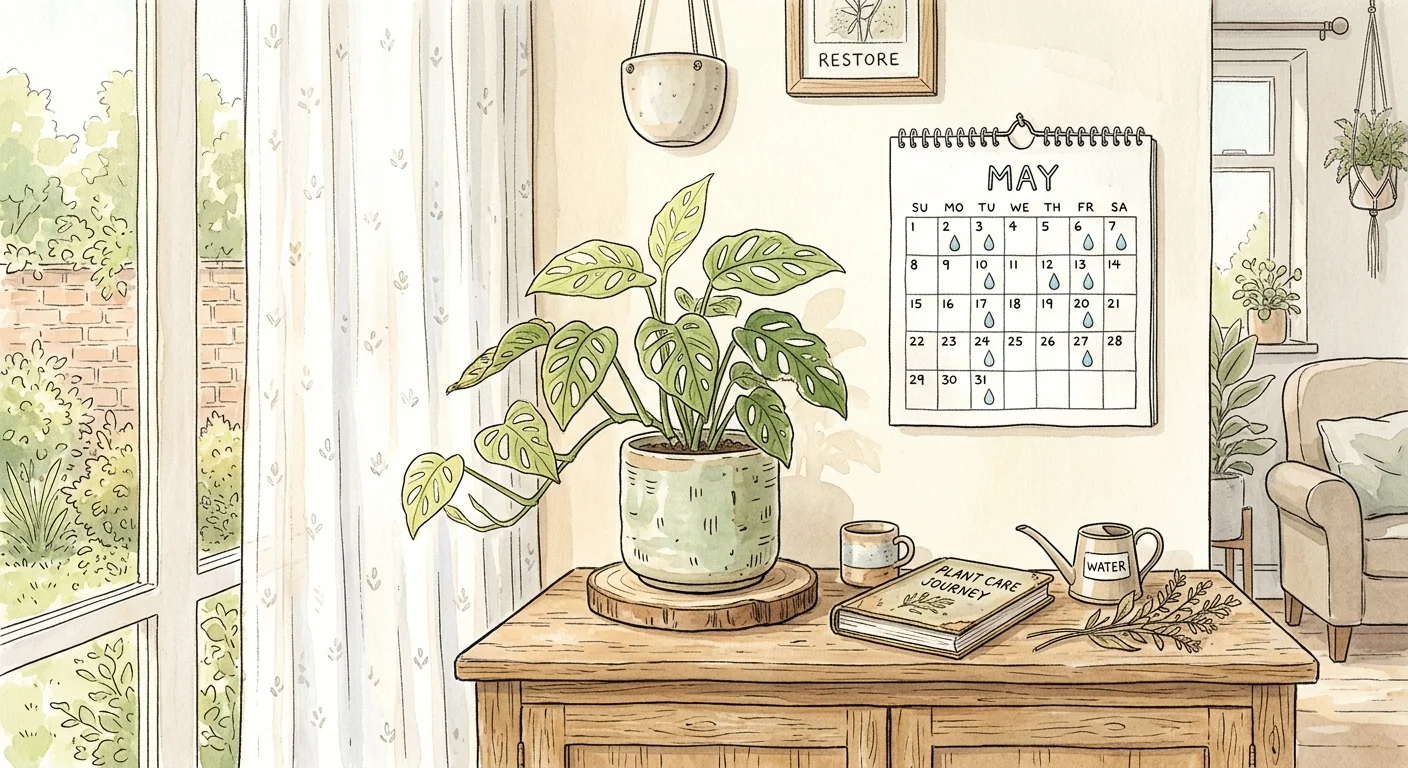
Shift your watering routine from a rigid weekly schedule to an environmental checking system. Room temperature, relative humidity, airflow, and seasonal light levels dictate how fast potting media dries out. Test moisture levels using your finger: press 2 inches down into the soil; if you feel cool moisture or clumping soil, wait a few more days before watering. Alternatively, use an electronic moisture meter and water only when readings reach the dry threshold for your plant species.
When you water, pour room-temperature water evenly over the soil until liquid drips from bottom drainage holes, confirming complete saturation of root zones. Drain all excess water from collection trays within 15 minutes to prevent roots from reabsorbing standing moisture. Practicing these practical houseplant care tips prevents recurrent moisture stress and keeps your indoor greenery healthy and vibrant.

Putting It All Together: Enjoy Your Beautiful Garden
Reviving an overwatered houseplant requires timely intervention, proper root management, and an understanding of soil aeration. Waterlogging deprives plant roots of essential oxygen, encouraging anaerobic bacteria and destructive fungal pathogens. By recognizing early signs like yellowing leaves and sour soil, you can take immediate action to protect your plant from long-term damage.
By unpotting your plant, pruning away rotting roots, applying an oxygenating hydrogen peroxide rinse, and repotting into a porous potting mix, you create the optimal environment for plant root rot recovery. Providing bright indirect sunlight, proper air movement, and consistent moisture monitoring gives your plant the resources it needs to rebuild a robust root system. Gardening is a continuous learning process, and mastering moisture control transforms occasional overwatering challenges into valuable opportunities for growth. Armed with these actionable insights, you can maintain a resilient indoor jungle that flourishes throughout every season.
For region-specific advice, consult your local University Extension program (find yours via the USDA directory). For plant databases and inspiration, visit the Missouri Botanical Garden or the Royal Horticultural Society.
Frequently Asked Questions
How long does plant root rot recovery take?
Plant root rot recovery typically takes between 3 to 6 weeks before you see noticeable new root growth, depending on the plant species, severity of damage, and time of year. Fast-growing tropicals like Pothos or Heartleaf Philodendron recover faster during spring and summer active growth cycles. Slower-growing plants like Snake Plants or ZZ Plants may require 8 to 12 weeks to re-establish a healthy root system. Ensure consistent bright indirect light and avoid overwatering during this delicate period.
Should I remove yellow leaves from an overwatered houseplant?
Yes, you should prune away yellowing, brown, or decaying leaves from an overwatered houseplant. Severely damaged yellow leaves can no longer perform efficient photosynthesis and draw precious metabolic energy away from root regeneration. Use clean, sterile pruning shears to trim yellow leaves near the main stem base, allowing your plant to direct its resources toward building healthy new roots and fresh foliage.
Can a completely drooping overwatered plant be saved?
A severely drooping overwatered plant can often be saved as long as at least 20% to 30% of its root system remains firm and healthy. Drooping occurs because suffocated or rotted roots cannot transport water upward into stem tissues. By removing decayed roots, repotting into fresh porous soil, trimming upper foliage, and placing the pot in bright indirect light, you can stimulate new root growth and restore stem turgor pressure within a few weeks.
Does hydrogen peroxide hurt plant roots during waterlogging recovery?
Diluted 3% hydrogen peroxide does not harm plant roots when used correctly; in fact, it provides critical benefit during waterlogging recovery. Mixing 1 part standard 3% hydrogen peroxide with 4 parts water creates a mild oxidizing solution that destroys pathogenic fungal spores like Pythium while releasing free oxygen into the root zone. Always use room-temperature water and avoid concentrated peroxide solutions, which can scorch fragile root tissues.
Disclaimer: This article provides general gardening advice. Always consider your specific climate, soil conditions, and local pests. Follow safety guidelines when using gardening tools and products.