You can restore a struggling, brown, or drooping houseplant to vibrant health with a few systematic, targeted care adjustments. Neglect often leaves plants dehydrated, root-bound, or starved of essential sunlight, but plants possess an extraordinary capacity for resilience when given proper intervention. By identifying the root cause of distress—whether you are saving an overwatered or underwatered plant—you can implement proven plant recovery tips that reverse damage quickly. Within two to three weeks of executing these practical steps, your favorite greenery will begin pushing out fresh shoots, healthy roots, and lush new foliage once again.
Tip #1: Diagnose the Root Cause Before Acting
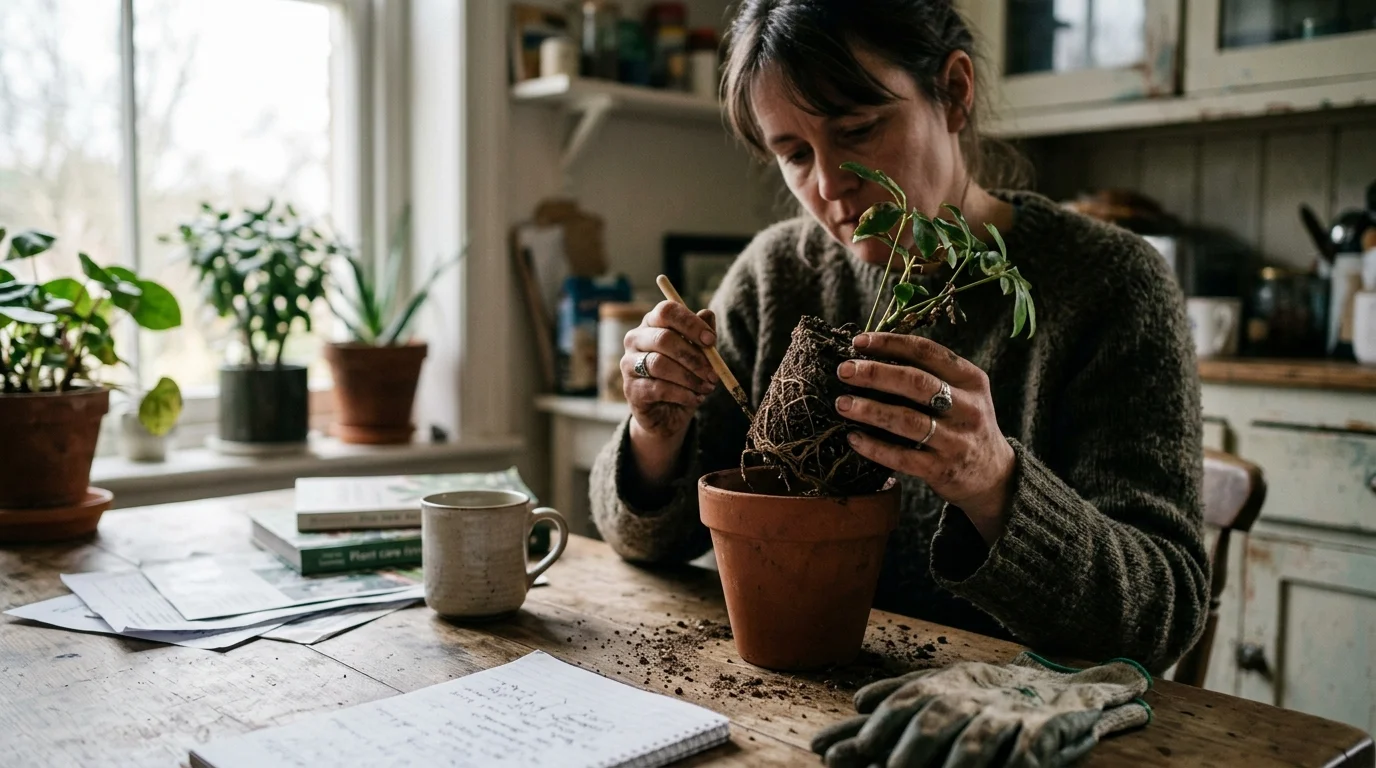
Before pouring water into a wilted pot or moving a yellowing fern into direct sunshine, step back to analyze what caused the distress. Misdiagnosing plant trouble often escalates the issue; for instance, giving water to a plant suffering from root rot will kill remaining healthy tissue fast. When learning how to revive a neglected houseplant, start by evaluating the potting soil and foliage symptoms closely.
Perform a quick tactile check by inserting your index finger two inches deep into the soil substrate. Soil that feels completely dry, dusty, and pulls away from the container edges signals severe underwatering. Conversely, soggy, waterlogged soil with a sour, musty odor indicates overwatering and poor drainage. Next, inspect the leaf texture carefully. Underwatered leaves feel dry, paper-thin, and crispy along the margins, while overwatered leaves feel limp, soft, squishy, and exhibit dark yellow patches. By accurately saving an overwatered or underwatered plant based on clear physical evidence rather than guesswork, you establish the exact environment required for rapid root and stem recovery.
Tip #2: Prune Away Dead, Diseased, and Damaged Foliage
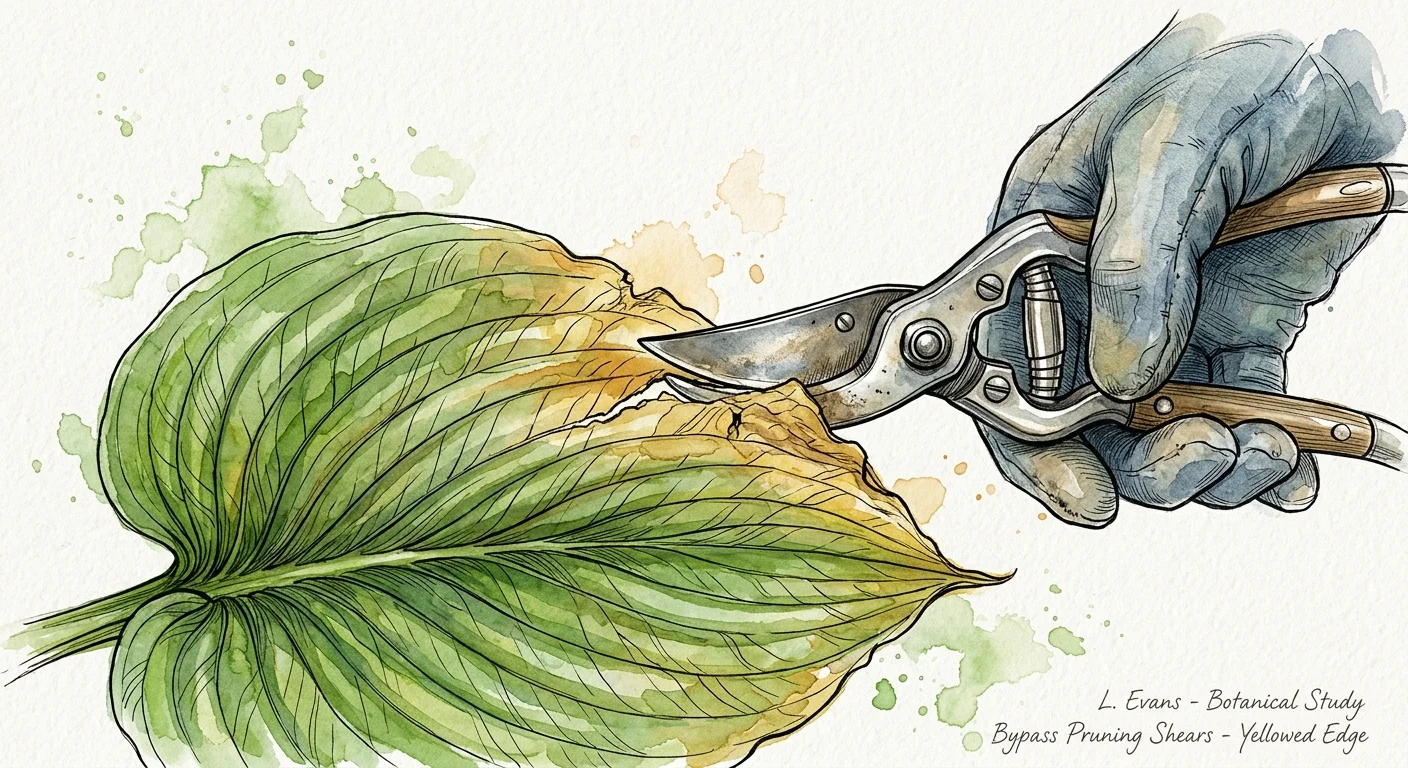
A struggling plant wastes valuable metabolic energy trying to maintain yellowing, decayed, or dead foliage. Removing damaged leaf tissue allows the plant to redirect vital nutrients and photosynthesized sugars directly toward fresh root development and new vegetative buds. Pruning also improves air circulation through the canopy, drastically reducing the risk of fungal infections such as powdery mildew or botrytis blight.
Begin by sterilizing your bypass pruning shears or sharp kitchen scissors with 70% isopropyl alcohol to avoid transferring unwanted pathogens. Carefully snip away brown, crisp leaves at the point where their leaf stem meets the main stalk. For foliage with browned tips but healthy green centers, trim away only the dead margins while following the natural contour of the leaf. Be cautious not to strip the entire canopy at once; leave as much green leaf surface intact as possible. Removing more than 25 percent of a plant’s total foliage in a single session can cause vascular shock, so focus strictly on dead or non-viable plant tissue during initial cleanup.
* Describes what’s actually visible? Yes (terracotta pot, shallow dish of water).
* Engaging and relevant? Yes.
* No quotes/attribution? Yes.
* No
Tip #3: Master the Bottom-Watering Technique for Hydrophobic Soil
When potting soil stays dry for extended periods, peat moss and coconut coir fibers shrink and become hydrophobic. Standard top-watering over hydrophobic soil causes water to stream down the inner walls of the pot and exit through the drainage holes without moistening the interior root ball. The surface appears wet, but the roots inside remain completely dehydrated.
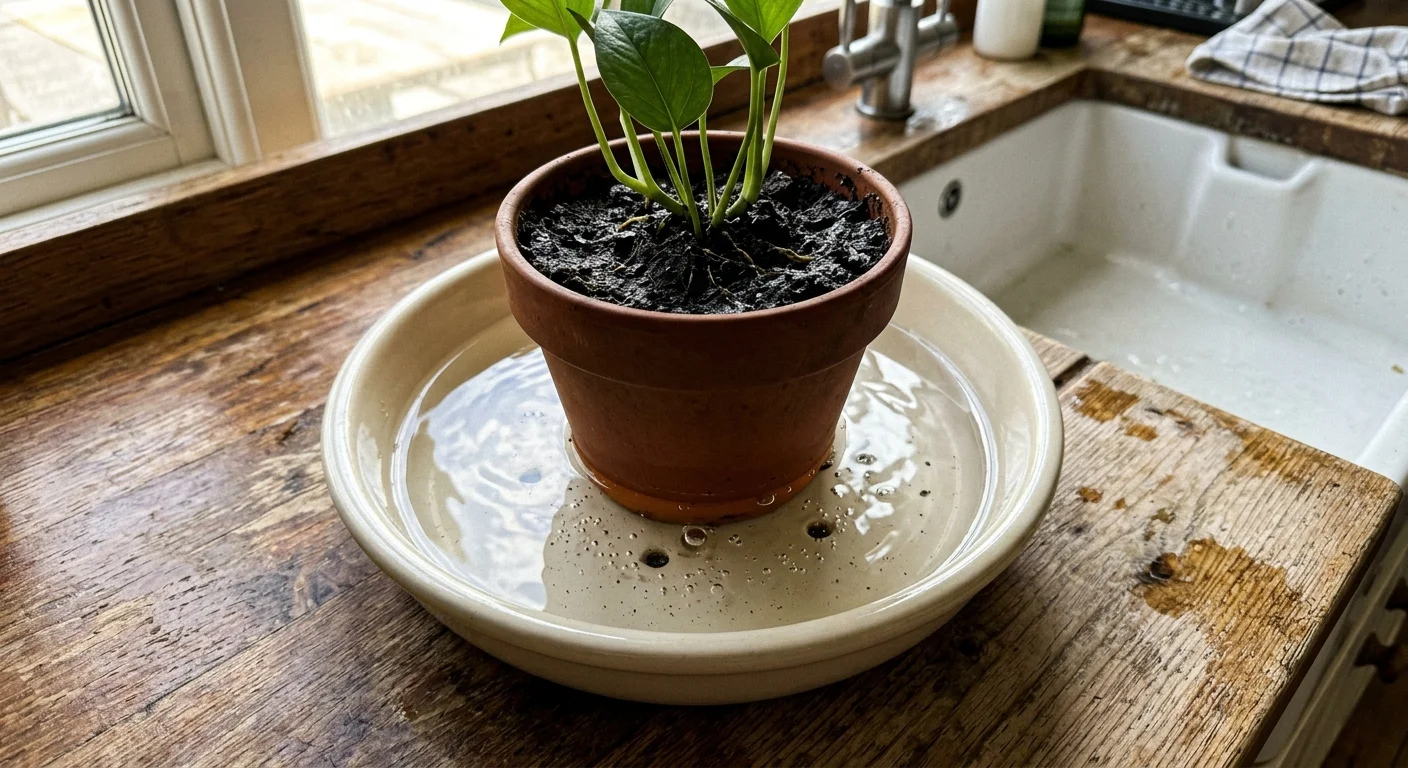
Bottom-watering solves this problem by using natural capillary action to soak soil evenly from the bottom up. Fill a wide basin, sink, or shallow tray with two to three inches of tepid water. Place the potted plant directly into the water, ensuring the bottom drainage holes submerge completely. Allow the pot to sit in the bath for 30 to 45 minutes until topsoil feels damp to the touch. Once the soil absorbs sufficient moisture, remove the container from the basin and let excess water drain out thoroughly for 15 minutes before returning the plant to its saucer. This deep-soaking method saturates the root core without compacting topsoil structure.
Tip #4: Inspect and Refresh Root Systems with Fresh Soil
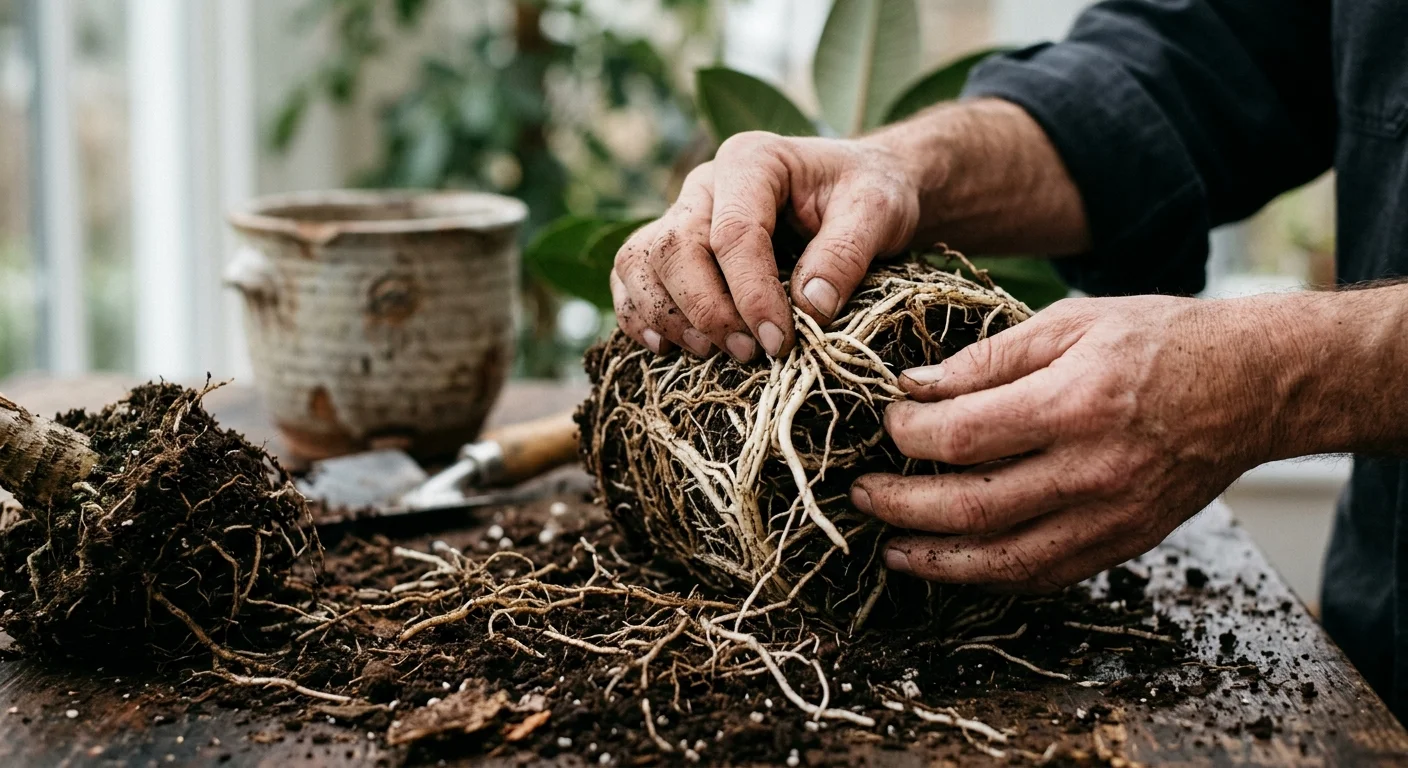
Healthy roots are firm, flexible, and creamy white or light tan. When neglect causes waterlogging, roots rot, turning black, mushy, and foul-smelling. If soil dries out completely over many months, roots shrivel into brittle, hollow threads. In either scenario, bringing a struggling plant back to life requires inspecting the root system and refreshing depleted soil with high-quality growing medium.
Gently unpot your plant by supporting the main stem near the base and tipping the container sideways. Slide the root ball free and tease apart tightly wound, root-bound strands using your fingers. Using sterilized shears, trim off black, slimy, or completely dried roots until you reach healthy tissue. Wash away old, compacted, nutrient-depleted soil under lukewarm running water. Re-pot the plant into a clean container equipped with ample drainage holes, using a fresh potting mix composed of 70 percent organic peat or coco coir and 30 percent perlite or pumice to guarantee superb aeration and moisture retention.
Tip #5: Relocate to an Ideal Light Environment
Light fuels photosynthesis, providing the fundamental energy plants require to repair cellular tissue and manufacture green chlorophyll. Neglected plants stored in dark corners become leggy, weak, and drop lower leaves, while plants left in scorching direct sunlight develop bleached spots and scorched margins. Adjusting light intensity accelerates overall plant recovery tips and restores healthy color.
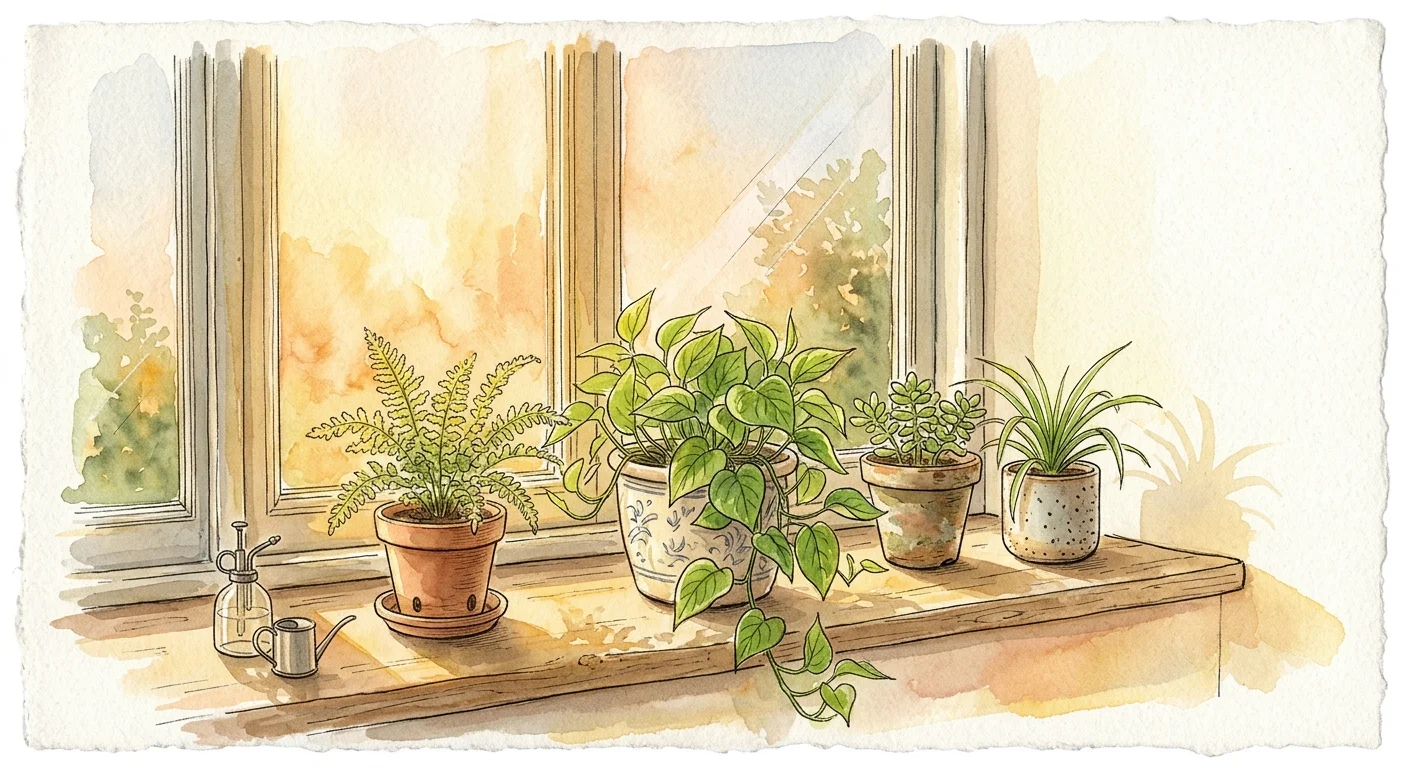
Position your recovering plant in a spot that offers bright, indirect light—typically three to five feet away from an unobstructed south- or west-facing window, or right beside an east-facing window. Indirect light provides high light intensity (roughly 1,000 to 2,500 foot-candles) without the intense thermal heat that dries out fragile, stressed leaves. If your home lacks natural light, set up an LED grow light placed 12 to 18 inches above the canopy, running for 12 to 14 hours daily. Avoid moving cold or weak plants directly into intense mid-day sunlight immediately, as sudden environmental changes will scorch tender growth.
Tip #6: Eradicate Hidden Sap-Sucking Pests
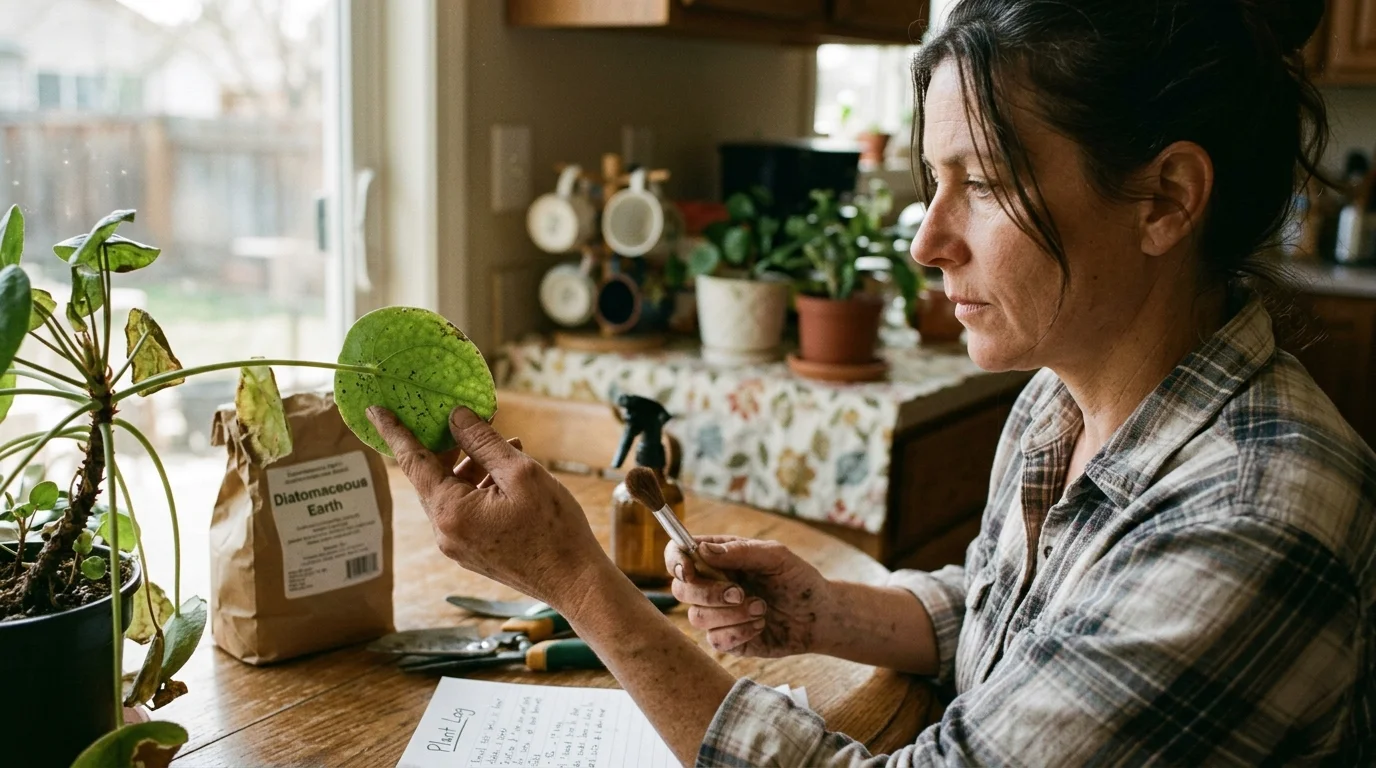
Neglected plants possess weakened defense mechanisms, making them ideal targets for destructive sap-sucking pests like spider mites, mealybugs, scale insects, and thrips. These microscopic invaders pierce leaf surfaces to drain plant juices, leaving sticky honeydew residue, yellow stippling, and curled foliage behind. Treating pests early removes a major source of metabolic stress on your recovering plant.
Examine leaf undersides, petiole crevices, and stem nodes under bright light or with a magnifying lens. If you spot cottony white tufts or fine webbing, isolate the plant immediately to protect neighboring greenery. Wipe down the stems and leaf surfaces using a soft cloth dampened with mild soapy water (mixing one teaspoon of pure castile soap per quart of room-temperature water). Next, spray the entire plant thoroughly with organic cold-pressed neem oil or an insecticidal soap solution. Reapply this treatment every five to seven days for three consecutive weeks to break insect egg cycles completely.
Tip #7: Create a High-Humidity Recovery Zone
Indoor air, especially during winter heating seasons, often drops below 30 percent relative humidity. Low air humidity accelerates moisture evaporation through leaf stomata faster than compromised roots can absorb water from soil. Raising local humidity reduces leaf transpiration stress, giving damaged root systems time to rebuild without losing excessive moisture.
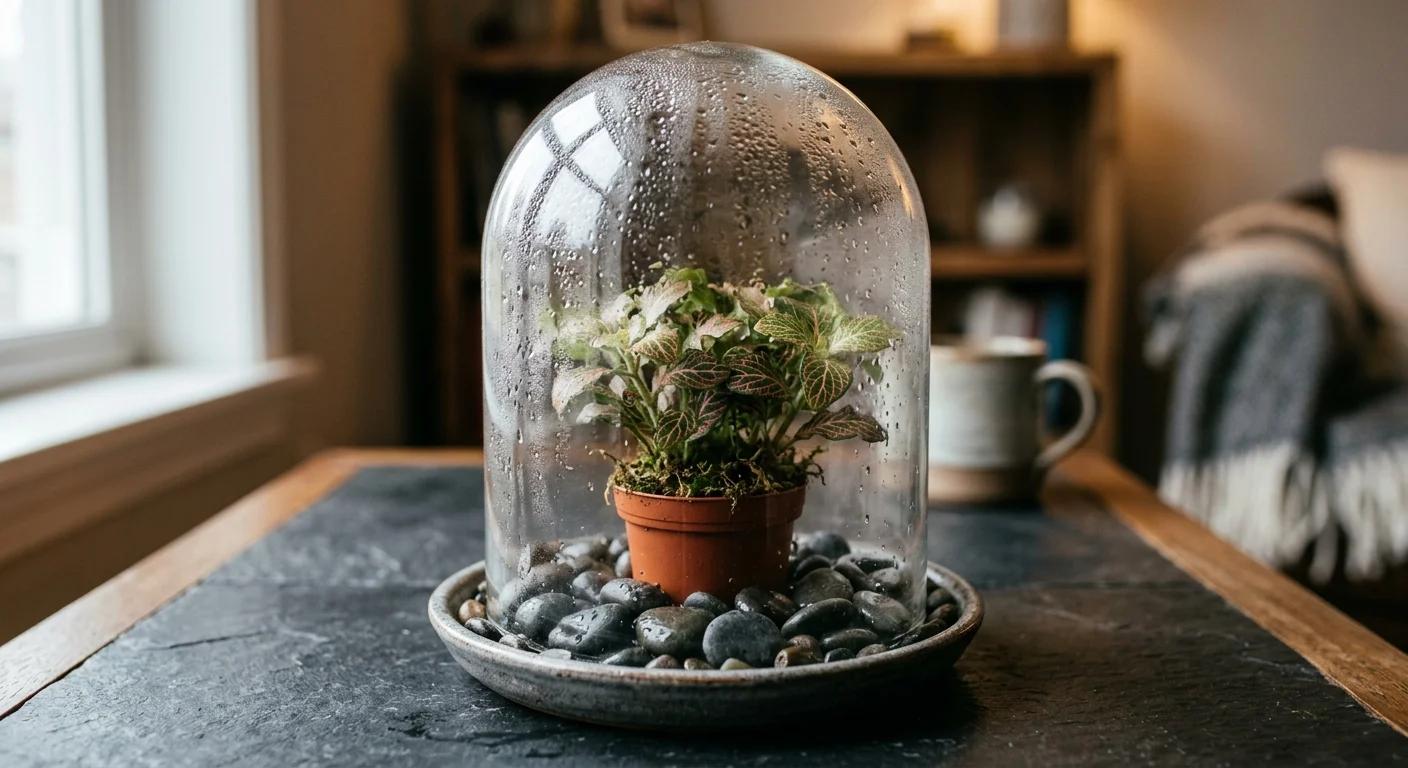
You can construct an effective high-humidity microclimate using simple household items. Group several houseplants together on a humidity tray filled with smooth pebbles and water, keeping the pot bottoms resting safely above the water level so roots do not sit in water. Alternatively, run a cool-mist ultrasonic humidifier nearby to maintain relative humidity between 50 and 60 percent. For severely dehydrated tropical foliage, place a clear plastic bag loosely over the plant container for 7 to 10 days, forming a mini-greenhouse tent that retains moisture and accelerates cell hydration.
Tip #8: Hold Off on Fertilizer Until Active Recovery Begins
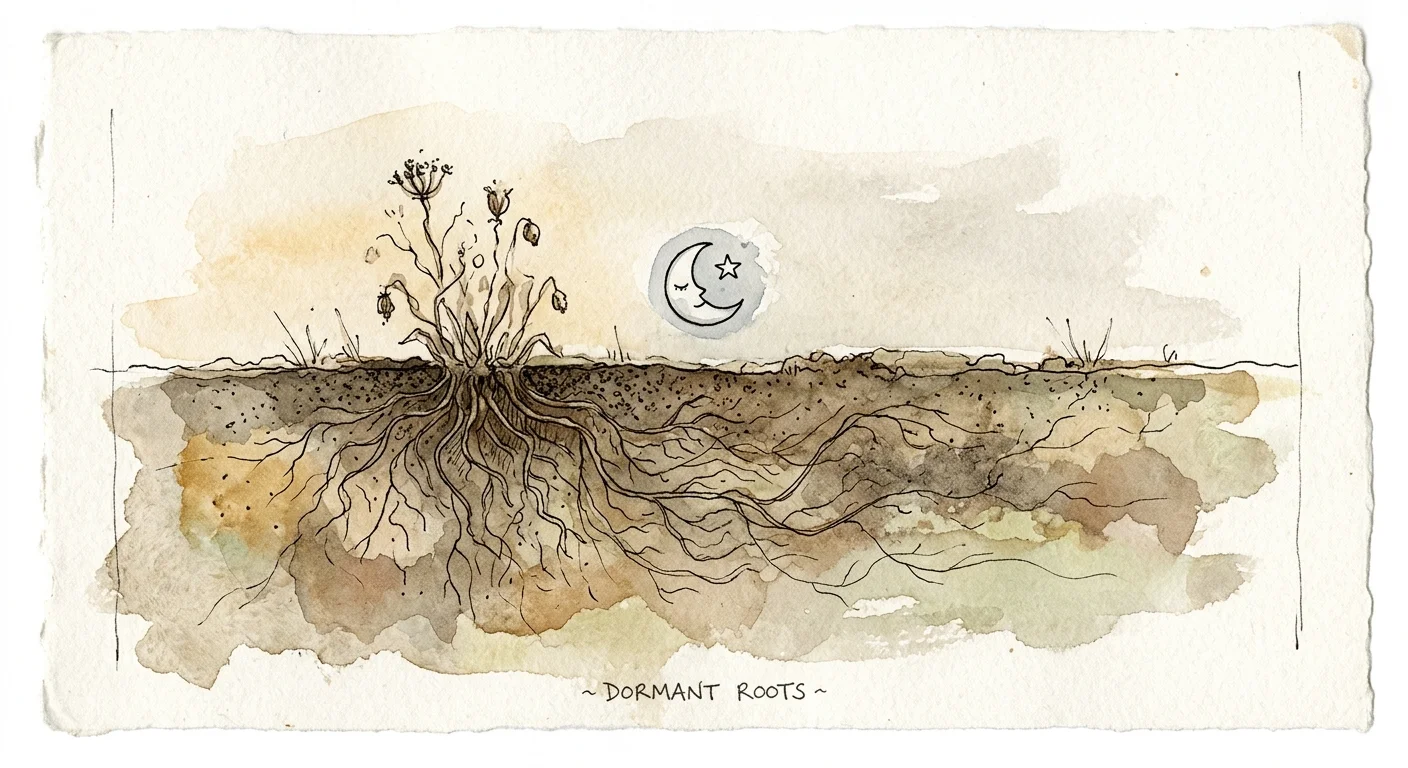
A common mistake when reviving a dying plant is drowning damaged roots in high-strength fertilizer. Struggling plants cannot process heavy doses of nitrogen, phosphorus, and potassium. Excess fertilizer salts accumulate around root tips, drawing moisture out of plant cells through osmosis and burning tender root tissues.
Pause all fertilizer applications completely during the initial phase of plant recovery. Focus exclusively on balanced moisture, warm ambient temperatures, and adequate lighting for the first four to six weeks. Once you observe unequivocal signs of renewed life—such as active root tips, firm stems, or fresh green leaf buds—reintroduce nutrients gradually. Apply a balanced, liquid organic houseplant fertilizer diluted to one-quarter or one-half of the manufacturer’s recommended strength once a month during spring and summer.
Tip #9: Flush Out Harmful Mineral and Salt Accumulations
Over time, hard tap water minerals like chlorine, fluorine, and sodium combine with residual fertilizer salts to build up inside container soil. This toxic salt buildup presents as a white, crusty deposit on the topsoil surface or around the outer edges of terracotta pots. High salt concentrations damage root membranes, causing leaf tips to brown, crisp, and die off.
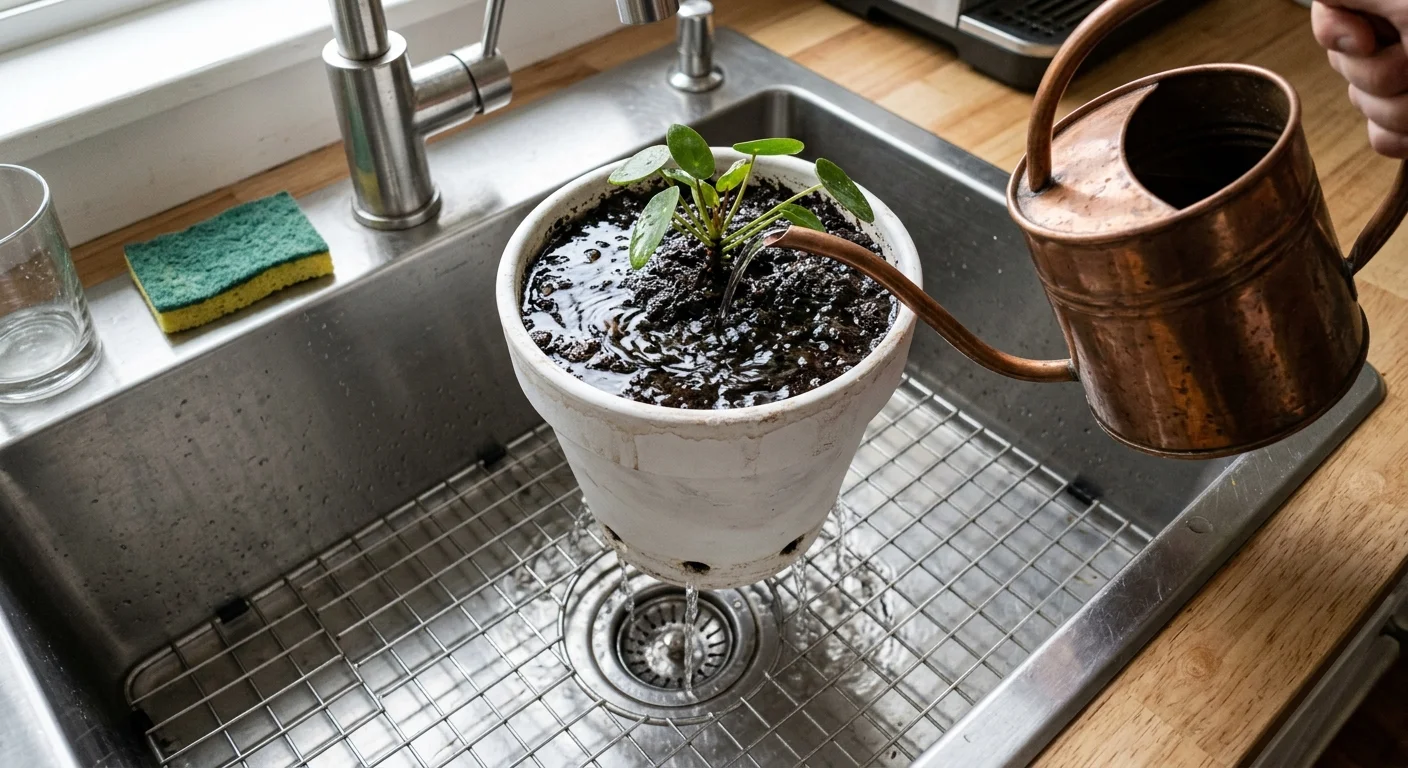
Perform a thorough soil flush to leach unwanted minerals out of the potting medium. Take your plant to a sink or outdoor utility tub and pour room-temperature distilled water or filtered rainwater over the soil surface until it freely runs out of the bottom drainage holes. Repeat this leaching process three to four times in a single session, letting the pot drain fully between pourings. Flushing the soil dissolves accumulated salts, cleanses the root zone, and restores balanced soil chemistry so roots can absorb hydration freely.
Putting It All Together: Enjoy Your Beautiful Garden
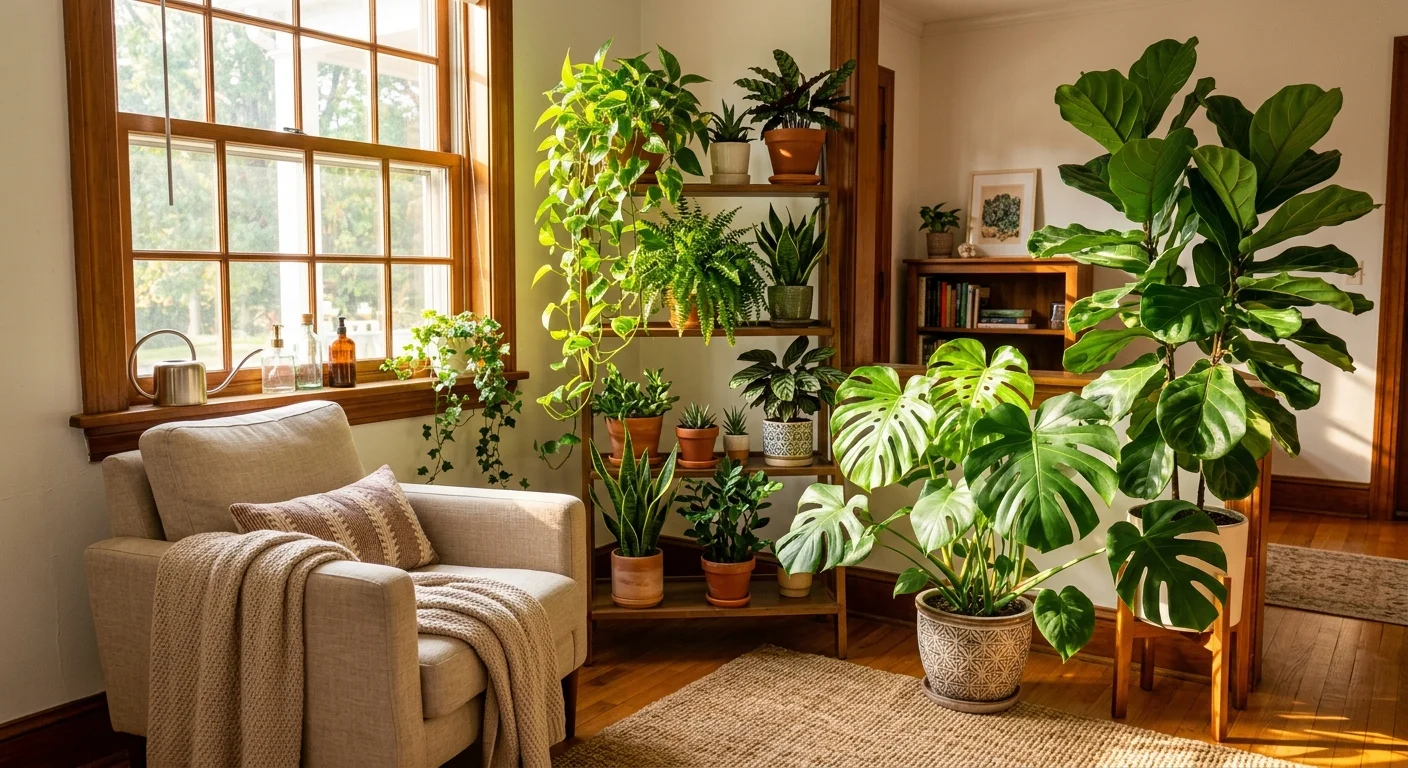
Reviving a distressed plant requires patience, careful observation, and a structured approach to care. Plants are incredibly durable organisms that respond remarkably well when you eliminate environmental stressors and supply optimal growing conditions. By assessing soil moisture accurately, pruning dead foliage, refreshing root systems, and controlling pests, you give your greenery every tool it needs to thrive once again.
Remember that recovery takes time; roots usually rebuild underwater before fresh leaves appear above the soil surface. Monitor your plant weekly, celebrate new growth buds, and maintain consistent watering habits tailored to the specific needs of your species. With these practical techniques at your disposal, you can transform wilted, neglected foliage into vibrant, flourishing displays that bring enduring beauty and clean air into your living spaces.
For region-specific advice, consult your local University Extension program (find yours via the USDA directory). For plant databases and inspiration, visit the Missouri Botanical Garden or the Royal Horticultural Society.
Disclaimer: This article provides general gardening advice. Always consider your specific climate, soil conditions, and local pests. Follow safety guidelines when using gardening tools and products.
Frequently Asked Questions
How long does it usually take for a neglected plant to recover?
Most indoor plants begin showing initial signs of recovery, such as firmer leaves and perkier stems, within 7 to 14 days after correcting moisture and lighting levels. However, generating new leaves and fully restoring root mass typically requires 4 to 6 weeks during active spring and summer growing seasons, or up to 8 weeks during cooler winter months.
Should I cut off leaves that are only partially brown or yellow?
If a leaf is more than 50 percent brown, yellow, or dry, cut it off completely near the main stem so the plant stops wasting energy on it. If only the leaf tips or outer margins are brown, trim away just the dead tissue using clean shears, leaving a thin border of brown tissue to prevent damaging healthy green cells.
Can I save a plant if all its leaves have fallen off?
Yes, you can often save a completely defoliated plant as long as its stems and root crown remain alive. Perform a simple scratch test by gently scraping a small piece of bark on the lower stem with your thumbnail. If you see bright green tissue beneath the outer layer, the plant is alive and capable of pushing out new growth once you fix the root environment and lighting.
What is the ideal water temperature for watering stressed plants?
Always use room-temperature or tepid water between 65°F and 75°F (18°C to 24°C) when watering recovering plants. Cold tap water shocks delicate root systems and damages root hairs, while hot water scalds root tissue and damages cell membranes.