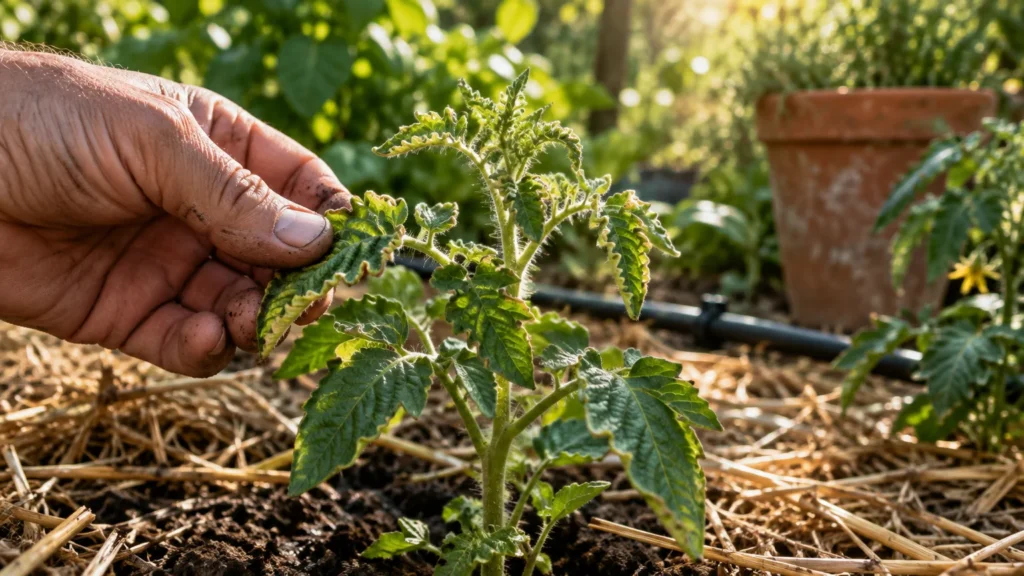
Transform leggy, sparse stems into overflowing, robust specimens by mastering one simple pruning trick: pinching back your plants. When you remove the soft terminal growing tips of young stems, you interrupt apical dominance, forcing dormant lateral buds to sprout and creating double the branches. This simple gardening pinching technique redirects vital energy from leggy upward growth toward encouraging bushier plant growth, yielding tighter foliage and up to twice as many vibrant blossoms. Whether you want to double your basil harvest or create massive mounds of autumn chrysanthemums, applying strategic pressure with your thumb and forefinger unlocks your garden’s full genetic potential. Discover which popular varieties reward your quick snips with extraordinary yields and lush visual appeal.
Tip #1: Sweet Basil for Endless Herb Harvests
Sweet basil (Ocimum basilicum) tops the list of plants that benefit from pinching back. Left to grow naturally, a young basil plant pushes a single dominant central stalk straight toward the sun. This single-stem growth pattern triggers early flowering, which turns the stems woody and causes the leaves to lose their sweet, aromatic flavor. By interrupting this process early, you alter the plant’s hormonal balance and turn a spindly seedling into a branching culinary factory.
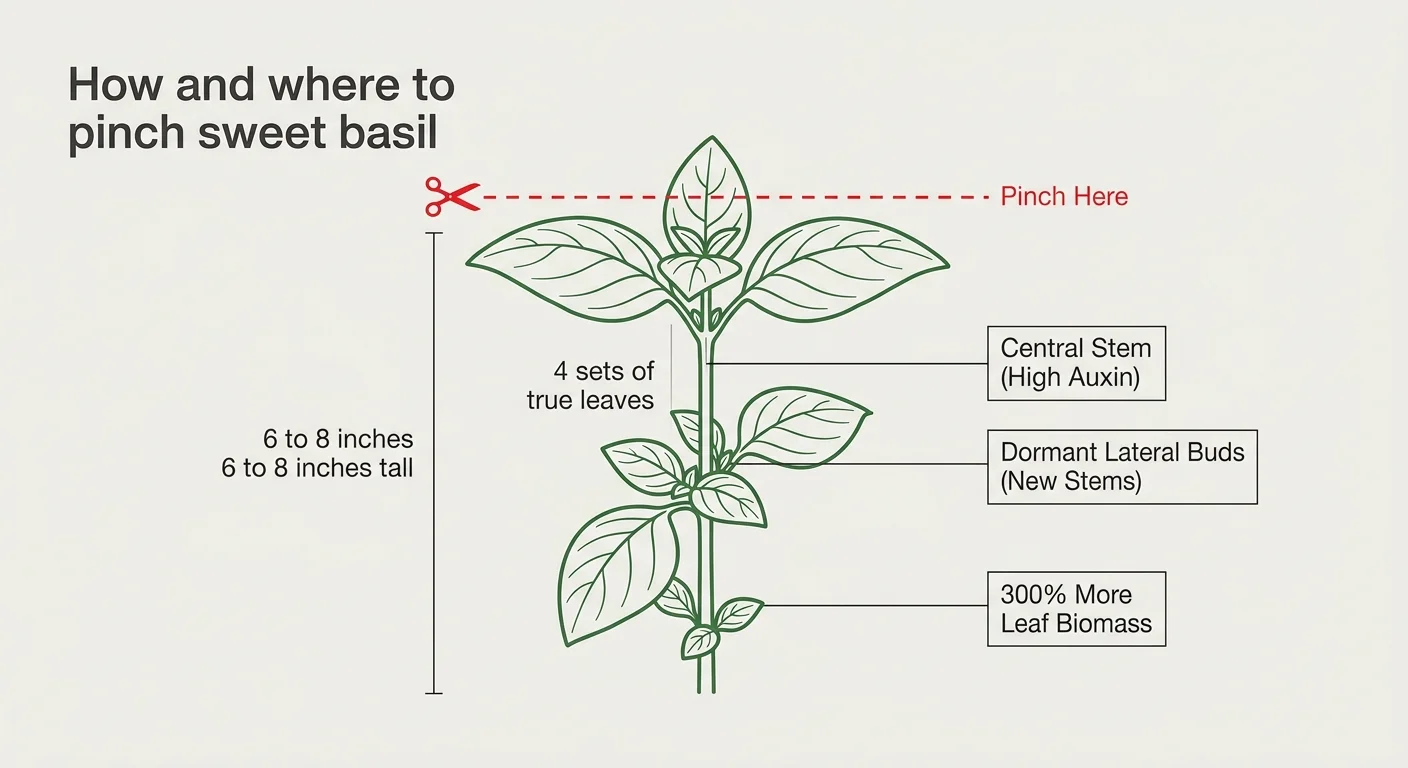
At the tip of every central stem, basil produces high levels of auxin—a plant hormone that actively suppresses the growth of side shoots lower down the stem. When you pinch off that central growing point, auxin levels at the top drop immediately. This sudden drop releases the dormant lateral buds residing at the lower leaf nodes; within days, two brand-new main stems sprout where only one existed before. Repeating this simple task every two weeks turns one main stem into four, eight, and eventually dozens of harvestable shoots.
How and When to Pinch Your Basil
Wait until your young basil plant grows between 6 and 8 inches tall and features at least three to four sets of true leaves. Look closely at the main stem and identify the highest pair of fully expanded leaves. Using your thumb and forefinger—or a pair of sharp, clean micro-snips—pinch off the central stem directly above that leaf node.
Always leave the tiny pair of emerging leaves nestled inside the node untouched; those tiny leaves become your new primary branches. Avoid pulling or tearing the main stem, as ragged wounds allow opportunistic fungal pathogens to enter. Clean, precise cuts heal within hours and keep your herb garden thriving.
Yield Statistics and Taste Preservation
The practical benefits of pinching basil extend far beyond aesthetics. Gardening trials demonstrate that systematically pinched basil plants produce up to 300 percent more usable leaf biomass over a single growing season compared to unpinched plants. Furthermore, removing terminal shoot tips prevents the plant from setting flower buds. Once basil flowers, the plant concentrates its resources on seed production and synthesizes bitter-tasting polyphenols; routine pinching keeps essential oils sweet and palates happy until autumn frosts arrive.
Tip #2: Zinnias for Continuous Cut-Flower Blooms
Zinnias (Zinnia elegans) offer some of the most brilliant colors in the summer garden, but direct-seeded or nursery-bought specimens frequently suffer from leggy, top-heavy growth. An unpinched zinnia typically produces one large terminal bloom atop a tall, thin central stalk. Heavy summer thunderstorms easily snap these single-stemmed plants, ending your blossom harvest before the season reaches its peak.
Pinching back plants for growth transforms fragile zinnias into sturdy, multi-branched floral bushes. Removing the main bud forces the plant to build a lower center of gravity and establish strong side branches right from the base. These lower branches grow thick and woody, providing natural structural support that eliminates the need for unsightly garden stakes or flower cages.
Executing the Pinch on Young Zinnias
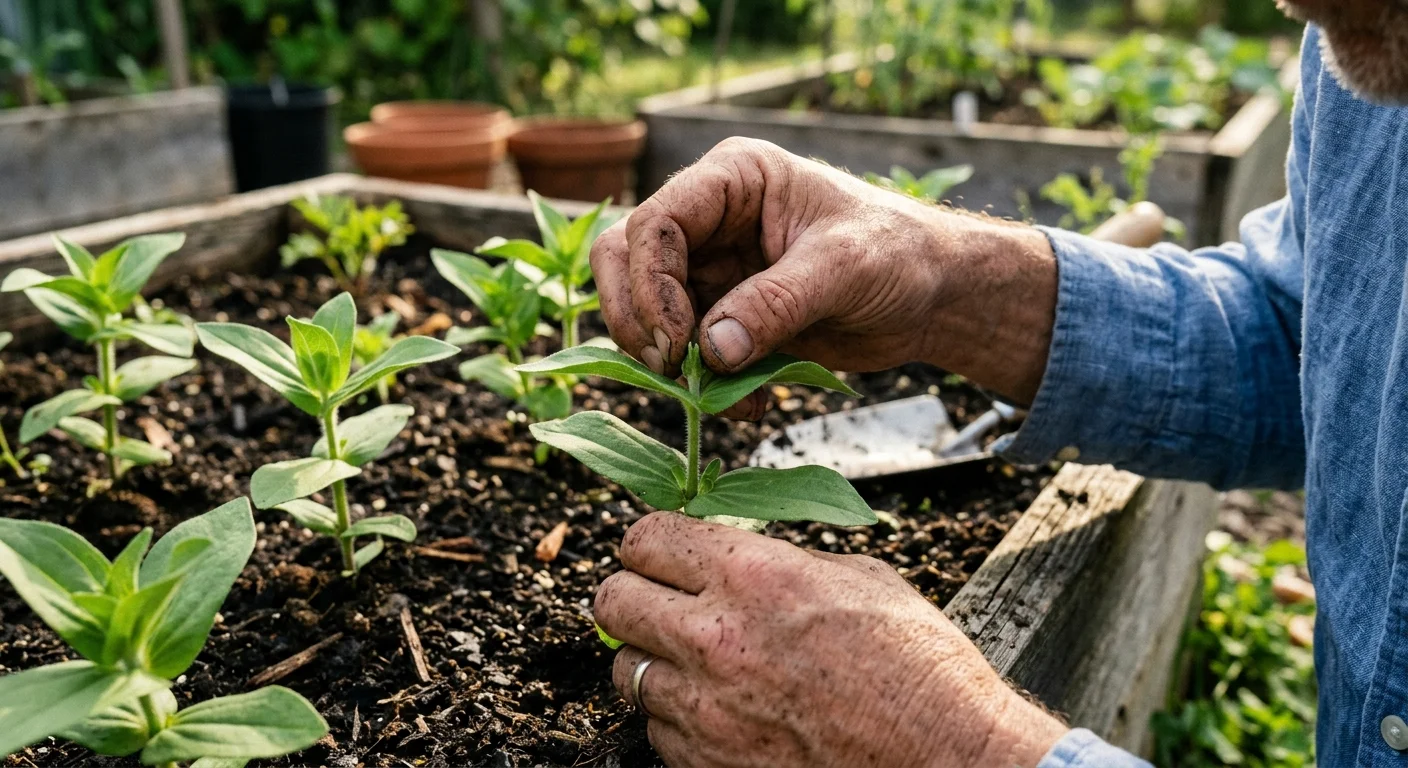
Apply your plants that need pruning tips when your zinnia seedlings reach 8 to 12 inches tall and possess three to four pairs of true leaves. Trace down the main stem from the top, select a point directly above the second or third leaf node, and pinch off the top 2 to 3 inches of vegetative growth. Although removing the very first flower bud feels counterintuitive, this minor sacrifice yields massive visual dividends within two weeks.
Make your snips early in the morning when the plant stems are fully turgid and filled with water. Moist stem tissue snaps cleanly between your fingernails without crushing delicate cell walls. If you grow giant zinnia varieties like ‘Benary’s Giant’ or ‘State Fair’, this early intervention creates stems that are equally long, straight, and sturdy enough for professional floral arrangements.
Comparing Pinched vs. Unpinched Flower Counts
Unpinched zinnias generate an initial central blossom followed by a few weak, secondary blooms on short side stems. In contrast, a single pinched zinnia plant routinely produces 8 to 12 long-stemmed, high-quality flowers during its first flush. As you harvest these secondary flowers throughout July and August, the plant continually sprouts new lateral buds, maintaining an uninterrupted supply of fresh blooms right up until the first hard freeze of autumn.
Tip #3: Coleus for Massive, Vibrant Foliage Mounds
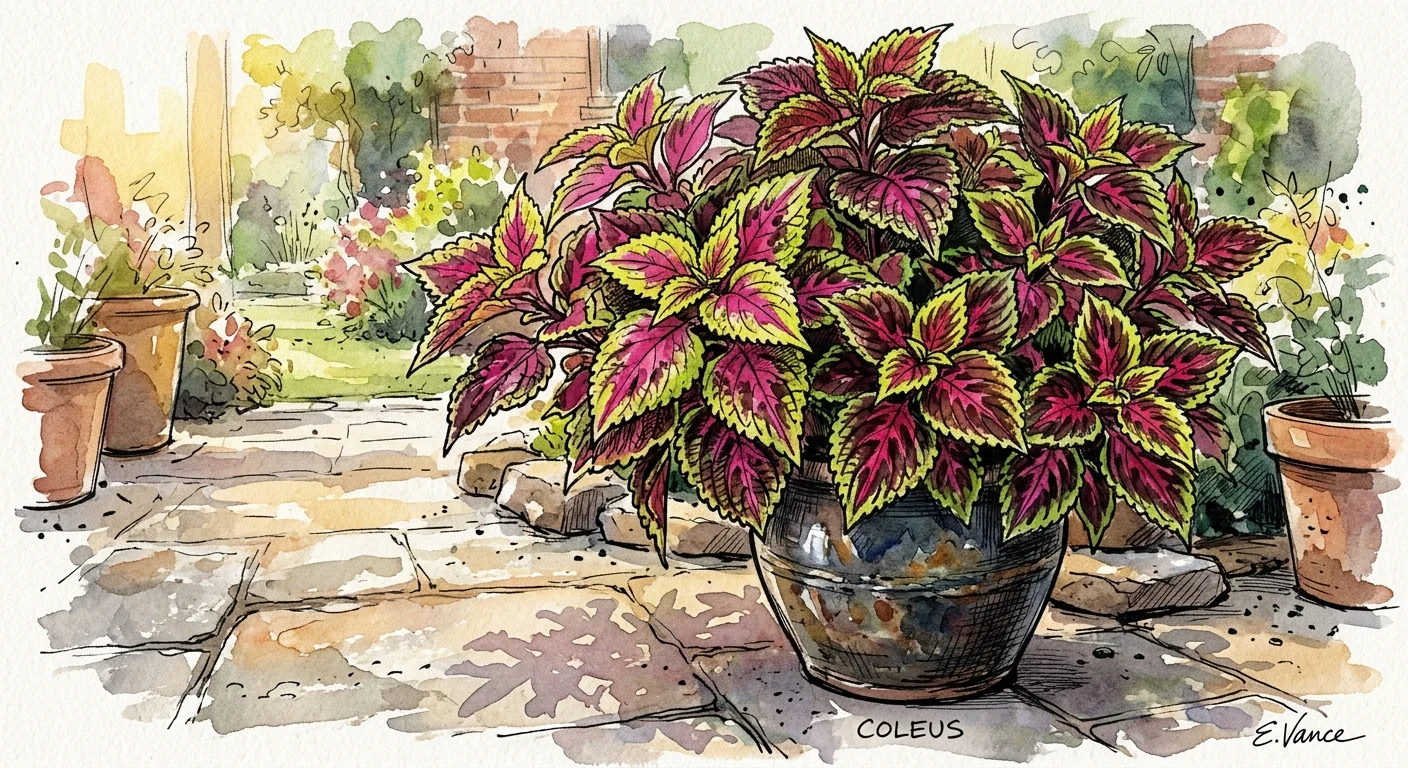
Coleus (Plectranthus scutellarioides) serves as the crown jewel of shade and partial-sun gardens, celebrated for its intricate leaf patterns and electrifying combinations of magenta, lime green, burgundy, and gold. However, coleus growth turns sparse and leggy without intervention. As the stems stretch, lower leaves drop off, exposing unsightly bare wood at the center of your flower beds or container displays.
Pinching coleus stems maintains tight, geometric mounds of foliage while suppressing unwanted flower production. Because gardeners cultivate coleus specifically for leaf color, allowing the plant to bloom actively diminishes its visual appeal. Coleus blossoms are small, pale blue-lavender spikes that drain huge amounts of energy from foliage development, causing surrounding leaves to fade and drop prematurely.
Step-by-Step Coleus Maintenance
Begin pinching young coleus plants as soon as they reach 4 to 6 inches in height. Pinch out the growing tips at the ends of every stem, leaving at least two sets of leaf nodes on each branch. Continue this routine every two to three weeks throughout late spring and mid-summer.
Whenever you spot a flower spike forming at the tip of a stem—identifiable as a narrow, elongated bud cluster distinct from standard leaf pairs—pinch it out immediately. Removing flower spikes at inception signals the plant to redirect its energy back into producing vibrant, broad leaves rather than reproductive seeds.
Extending Container and Border Longevity
Regular pinching extends the functional lifespan of coleus plantings by several months. Unpinched specimens exhaust their lifecycles by mid-summer after flowering, growing stringy and pale. Consistently pinched coleus plants retain dense, pillow-like habits that measure up to 3 feet in diameter, providing vibrant, reliable color in hanging baskets, window boxes, and shaded garden borders straight through late autumn.

Tip #4: Chrysanthemums for Mounded Autumn Color
Garden chrysanthemums (Chrysanthemum × morifolium) deliver the signature grand finale of the autumn gardening calendar. Yet, left to grow uninterrupted through spring and early summer, hardy mums turn into tall, floppy perennial stems that flower prematurely in mid-July. When mums bloom during midsummer heat, their flowers quickly scorch, leaving the plant exhausted and bare when autumn finally arrives.
Applying the proper gardening pinching technique to chrysanthemums delays flower bud development until cooler weather while encouraging bushier plant growth. Repeatedly shortening stem tips forces the plant into a round, hemispherical dome packed with thousands of individual flower nodes. This iconic, tight mounding habit protects inner foliage from wind desiccation and creates a solid carpet of autumn color.
The “July 4th Rule” for Mums
Start pinching your garden mums in late spring when new shoots reach 4 to 6 inches in length. Remove 1 to 2 inches of growth from every active stem tip across the entire plant. Repeat this process every three weeks as new stems reach another 4 to 6 inches of fresh length.
Timing is critical when working with chrysanthemums. Experienced gardeners strictly follow the “July 4th Rule”—stop all pinching between July 4th and July 15th, depending on your geographic zone. Stopping pinching by early July gives the plant sufficient time to establish strong foliage before shorter late-summer day lengths signal the initiation of flower buds for autumn displays.
Structural Integrity and Storm Resistance
Unpinched chrysanthemums suffer high rates of structural failure under autumn rains, with tall central stems splitting open at the root crown and exposing empty brown centers. Systematic pinching creates an intertwined network of short, thick stems that distribute structural load evenly. Pinched mums withstand heavy autumn rains, high winds, and early light frosts without losing their pristine, mounded shape.
Tip #5: Petunias for Lush, Cascading Baskets
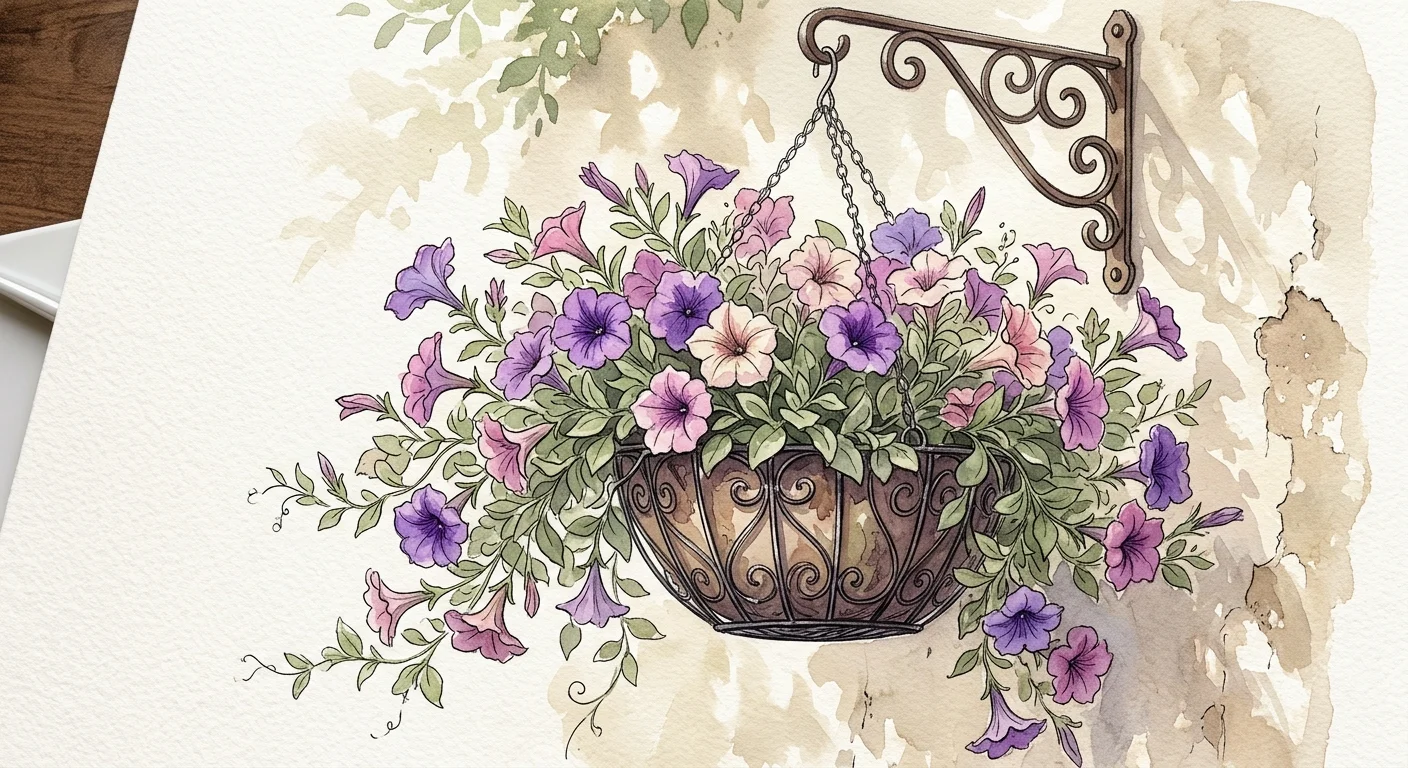
Petunias (Petunia × hybrida) remain a classic favorite for window boxes, patio pots, and hanging baskets. Despite modern breeding advances like trailing and “wave” series, petunias inevitably develop long, bare “knees” by midsummer. The center of the container empties out, foliage turns yellow near the roots, and flowers cluster exclusively at the far trailing ends of thin, woody vines.
Pinching petunias restores central density and stimulates fresh, healthy growth right from the root crown. By cutting back leggy stems, you wake up dormant crown buds, forcing the plant to replace worn-out foliage with fresh green leaves and a wave of new floral buds.
Mid-Season Renewal Techniques
Inspect your hanging baskets in mid-July. If stems appear stretched out and flower count drops, execute a strategic renewal pinch. Do not prune the entire plant back at once, as this leaves your baskets completely bare for two weeks. Instead, prune one-third of the longest stems back by half their length, making cuts just above an active leaf node.
Repeat this selective process seven days later on another third of the stems, and finish the remaining third the following week. Staggering your cuts maintains continuous flower coverage while systematically regenerating the plant’s entire branch network from the center outward.
Fertilizing and Water Post-Pinch Care
Pinching causes a temporary drop in leaf surface area, reducing immediate water transpiration demands. Immediately follow any major petunia pruning session with a deep watering and an application of balanced, water-soluble fertilizer high in phosphorus and potassium. This nutrient boost speeds up recovery, turning dormant lateral nodes into blooming stems within 10 to 14 days.
Tip #6: Dahlias for Sturdier Stems and Triple the Flowers
Dahlias (Dahlia hortensis) produce some of the most spectacular, complex blossoms in the plant kingdom, ranging from delicate single-petaled varieties to massive “dinner-plate” blooms. However, young dahlia tubers send up extremely aggressive main shoots that grow fast, tall, and hollow. Without early structural intervention, these heavy stalks bend, snap, or require extensive tying and staking.
Pinching dahlia growing tips early in the season alters the plant’s architecture, trading one giant central stalk for four to eight equally robust main side branches. This structural shift creates a balanced center of gravity, lowers overall plant height slightly, and drastically increases total flower production throughout late summer and early autumn.
Executing the Early-Season Dahlia Pinch
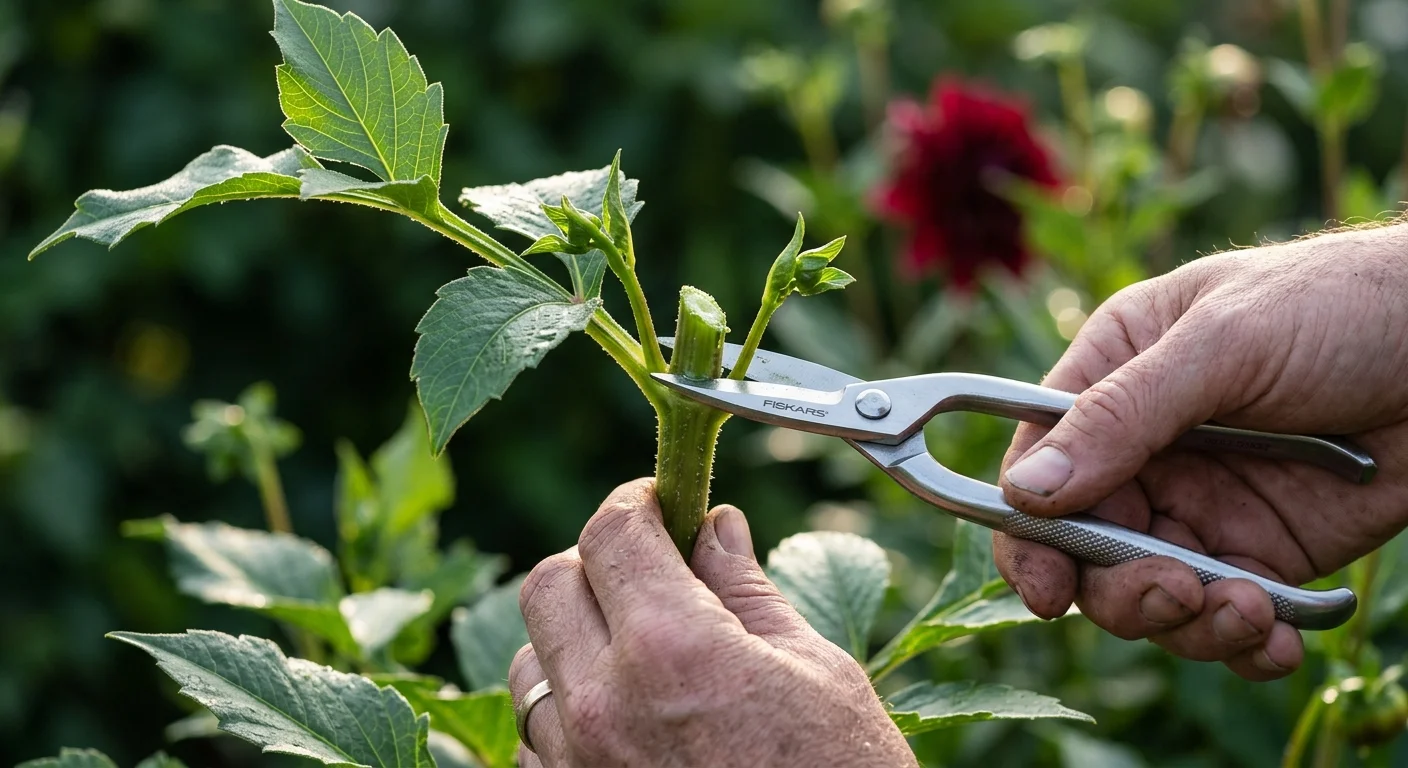
Wait until your dahlia shoot stands between 12 and 16 inches tall and possesses at least four distinct pairs of leaves. Locate the central growing tip emerging from the top leaf node. Using sharp, disinfected bypass pruners or your fingers, snip out the central growing tip, removing about 2 inches of shoot.
Take care not to disturb the main leaf stems attached to the node directly below your cut. Within 5 to 7 days, the dormant buds nestled inside those leaf axils will sprout into strong, secondary trunks that grow outward at 45-degree angles before turning upward, creating a broad, stable bush frame.
Quantifiable Yield and Stem Strength Increases
Commercial cut-flower growers rely heavily on pinching dahlias to maximize yields per square foot. Data from trial gardens shows that pinched dahlia plants yield 200 to 300 percent more cut-quality stems per tuber than unpinched plants. Moreover, the secondary stems emerging from a pinched plant grow stronger cell walls and solid cores near the leaf joints, reducing stem breakage caused by wind gusts by over 40 percent.
Tip #7: Fuchsias for Chandelier-Like Hanging Displays
Fuchsias (Fuchsia × hybrida) are famous for exotic, drooping two-tone blossoms that resemble fine porcelain earrings. Grown primarily in hanging baskets and shaded porch pots, trailing fuchsias often struggle with uneven growth patterns. Stems grow at unequal rates, leaving one side of the basket full and lush while the opposite side remains thin and underdeveloped.
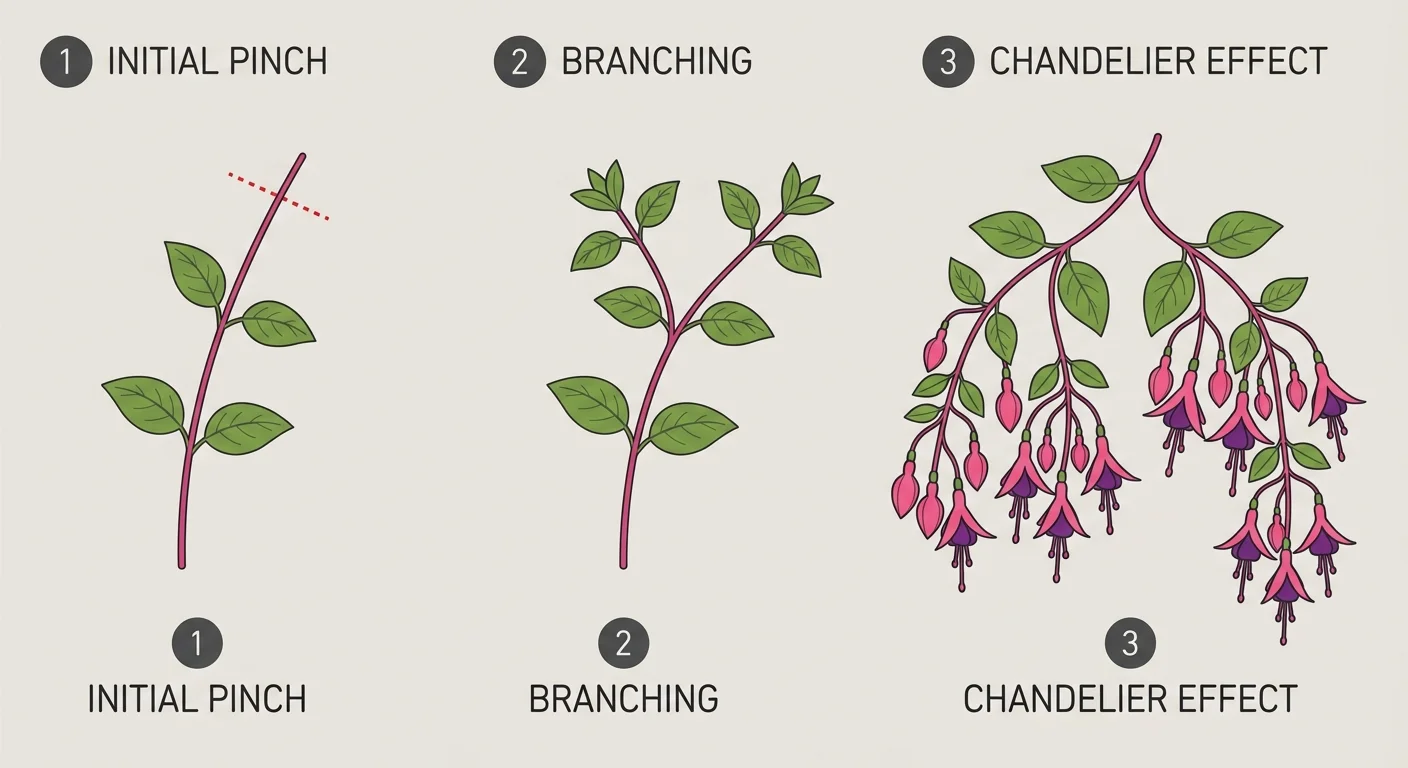
Fuchsias respond exceptionally well to repeated early-season pinching, making them primary candidates among plants that benefit from pinching back. Every single time you pinch a fuchsia shoot, it responds by producing two lateral shoots. By systematically repeating this process during spring, you can engineer custom foliage forms that cascade evenly over the edges of any container.
Training Fuchsia Branch Networks
Begin training young fuchsia starts in early spring when cuttings feature two to three sets of leaf pairs on each branch. Pinch off the terminal tip of every shoot just above the uppermost leaf pair. As those shoots respond by sending out new lateral branches, let the new branches grow until they form two pairs of leaves, then pinch them back again.
Continue this progressive shaping process throughout spring while keeping plants in cool, shaded conditions. Stop pinching roughly six weeks before you want the plant to full bloom. This six-week window allows flower buds to set uniformly across the entire outer canopy of the plant.
Visual Impact and Flower Density
Unpinched fuchsias produce long, stringy vines with sparse blossoms located only near the growing tips. Systematic pinching turns a trailing fuchsia into a suspended sphere of flowers. The dense foliage umbrella shields sensitive roots from hot surface air, while hundreds of simultaneous blossoms turn your hanging basket into a breathtaking floral chandelier that continues flowering until autumn cool sets in.

Putting It All Together: Enjoy Your Beautiful Garden
Mastering the simple gardening pinching technique empowers you to take direct control over your garden’s structure, health, and total yield. By understanding how plant hormones like auxin govern stem development, you can confidently prune terminal shoot tips to break apical dominance. This quick action transforms stringy, top-heavy plants into compact, multi-branched specimens packed with leaves and blossoms.
Remember that timing and observation remain your best allies. Monitor your spring garden closely, identifying young seedlings that need structural intervention before their stems grow thick and woody. Maintain clean hands and sharp, disinfected tools to prevent spreading plant diseases while working down row beds or potted displays. Incorporate basic feeding and regular watering routines after major pruning sessions to accelerate lateral stem growth.
Whether you grow sweet basil for fresh kitchen pesto, dahlias and zinnias for indoor cut bouquets, or petunias and fuchsias for colorful patio displays, regular pinching back provides the highest return on investment of any simple maintenance task. Step outside with confidence, apply these plants that need pruning tips, and watch your garden blossom into an overflowing, vibrant paradise.
For region-specific advice, consult your local University Extension program (find yours via the USDA directory). For plant databases and inspiration, visit the Missouri Botanical Garden or the Royal Horticultural Society.
Frequently Asked Questions
What is the difference between pinching back and deadheading plants?
Pinching back involves removing soft, young vegetative growth at the tip of a stem to interrupt leaf development and stimulate branching. Deadheading specifically refers to removing old, spent, or faded flowers after pollination to stop seed production and force the plant to generate new flower buds.
Can I pinch back plants that are already blooming?
Yes, you can pinch flowering plants, but removing active flower buds delays blooming by two to three weeks while the plant redirects energy into growing fresh side stems. If your plant is dangerously leggy or sparse, pinching off blooms mid-season improves its overall health and produces double the flowers later in the summer.
Should I use pruners or my fingers when pinching plants?
You can easily pinch tender, succulent stems like basil, coleus, and petunias using your clean thumb and forefinger nails. However, for plants with fibrous, thick stems—such as dahlias or mature chrysanthemums—use clean, sharp micro-snips or bypass pruners to avoid stripping bark or tearing delicate stem tissue.
Can I propagate the soft stem tips that I pinch off?
Absolutely! Softwood tip cuttings removed during pinching propagate easily in water or moist potting mix. Stems pinched from basil, coleus, petunias, and fuchsias root quickly within 7 to 14 days, providing you with free, healthy clone plants to expand your garden beds or share with friends.
Disclaimer: This article provides general gardening advice. Always consider your specific climate, soil conditions, and local pests. Follow safety guidelines when using gardening tools and products.