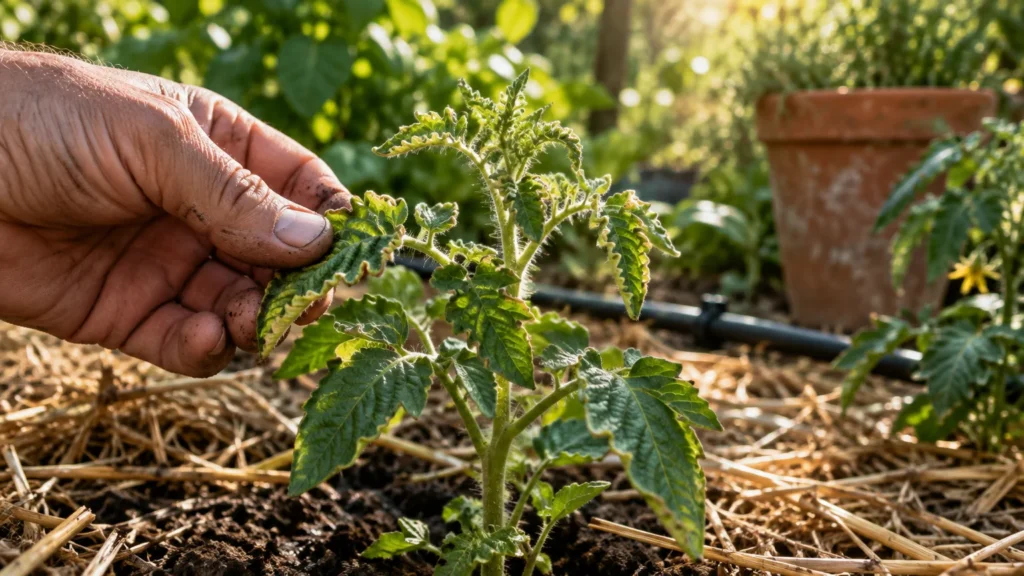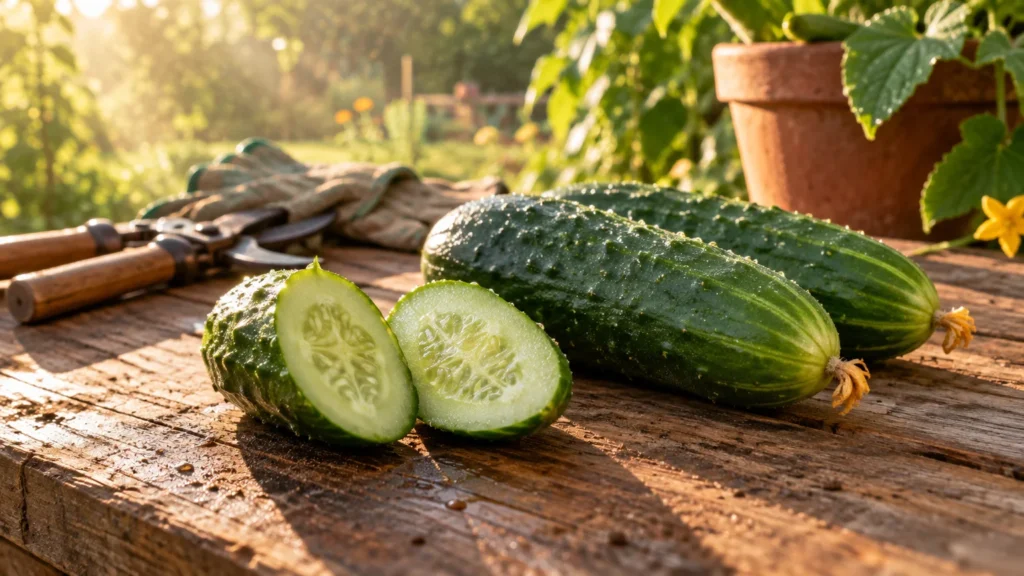
Transforming forgotten, unproductive patches of dirt into a thriving food sanctuary takes far less labor than traditional annual gardening when you choose long-lived crops. Edible perennial plants return year after year, establishing deep root systems that suppress weeds, build soil organic matter, and yield high-value harvests with minimal effort. By substituting demanding annual vegetables with low-maintenance edible landscaping, you convert shadowy corners, side yards, and neglected borders into reliable source points for organic meals. Whether you manage expansive acreage or a modest backyard plot, incorporating perennial fruit plants and hardy long-lived greens revitalizes your landscape design while keeping fresh, nutrient-dense ingredients continuously within arm’s reach of your kitchen table.
Tip #1: Asparagus (Asparagus officinalis)
If you want to convert an empty, sun-drenched section of your yard into a high-value harvest zone, asparagus reigns supreme. This hardy plant produces tender, flavorful spears every spring for 20 years or more from a single initial planting. While annual crops require endless tilling, seeding, and crop rotation, an established asparagus bed demands minimal intervention beyond annual mulching and weed control; it effectively locks down your garden space with reliable food production.
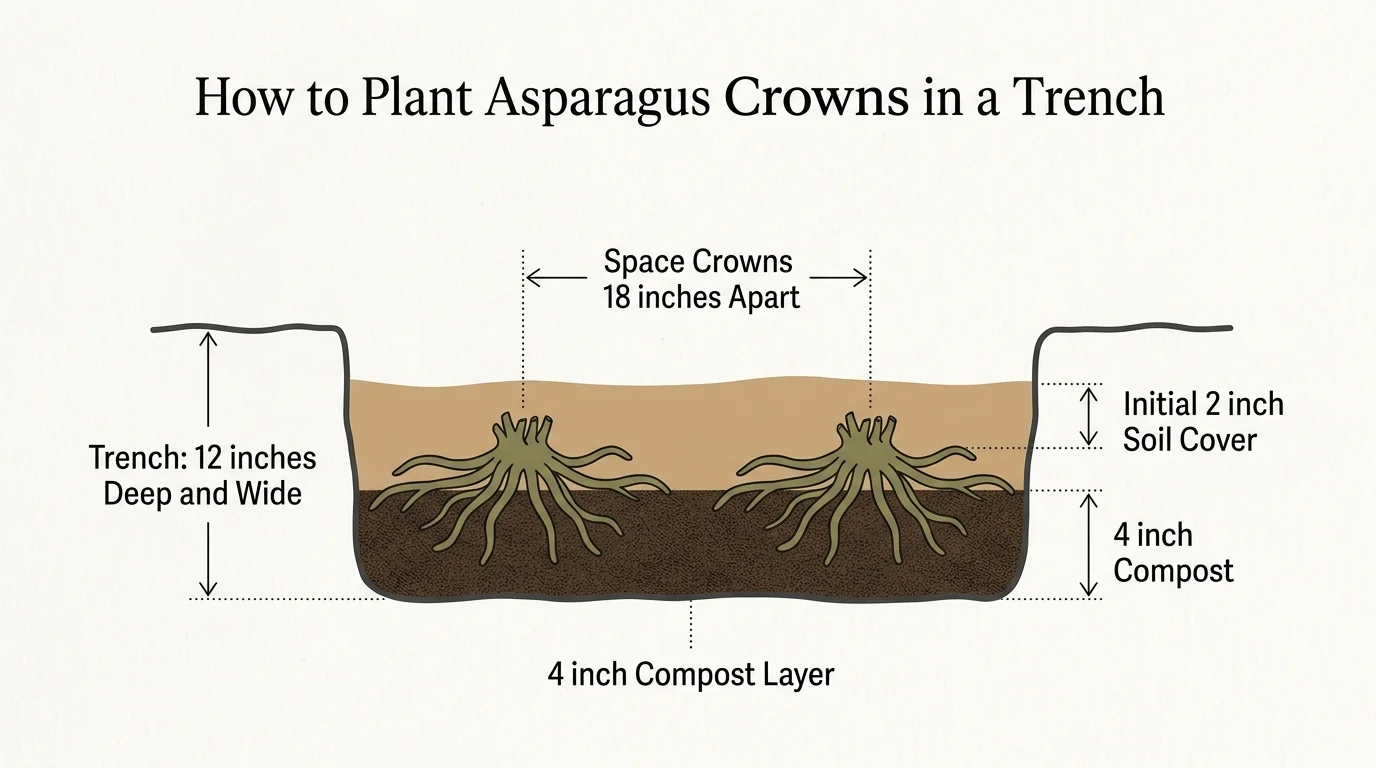
To establish a productive bed, select a site that receives at least six to eight hours of direct sunlight daily and features well-draining soil with a pH between 6.5 and 7.5. Dig a trench 12 inches deep and wide, mixing four inches of rich compost or well-rotted manure into the bottom. Plant two-year-old bare-root crowns spaced 18 inches apart, covering them initially with two inches of soil. As green shoots emerge throughout the first summer, gradually fill in the trench with remaining soil.
Patience yields massive dividends with this crop. Hold off on harvesting during the first two seasons to allow root crowns to build robust energy reserves. By year three, you can harvest spears daily for two to three weeks; mature beds in years four and beyond yield heavily for up to eight continuous weeks. A modest ten-foot row containing seven plants yields roughly three to four pounds of gourmet spears each spring—turning previously idle land into a culinary asset that pays dividends for decades.
Tip #2: Rhubarb (Rheum rhabarbarum)
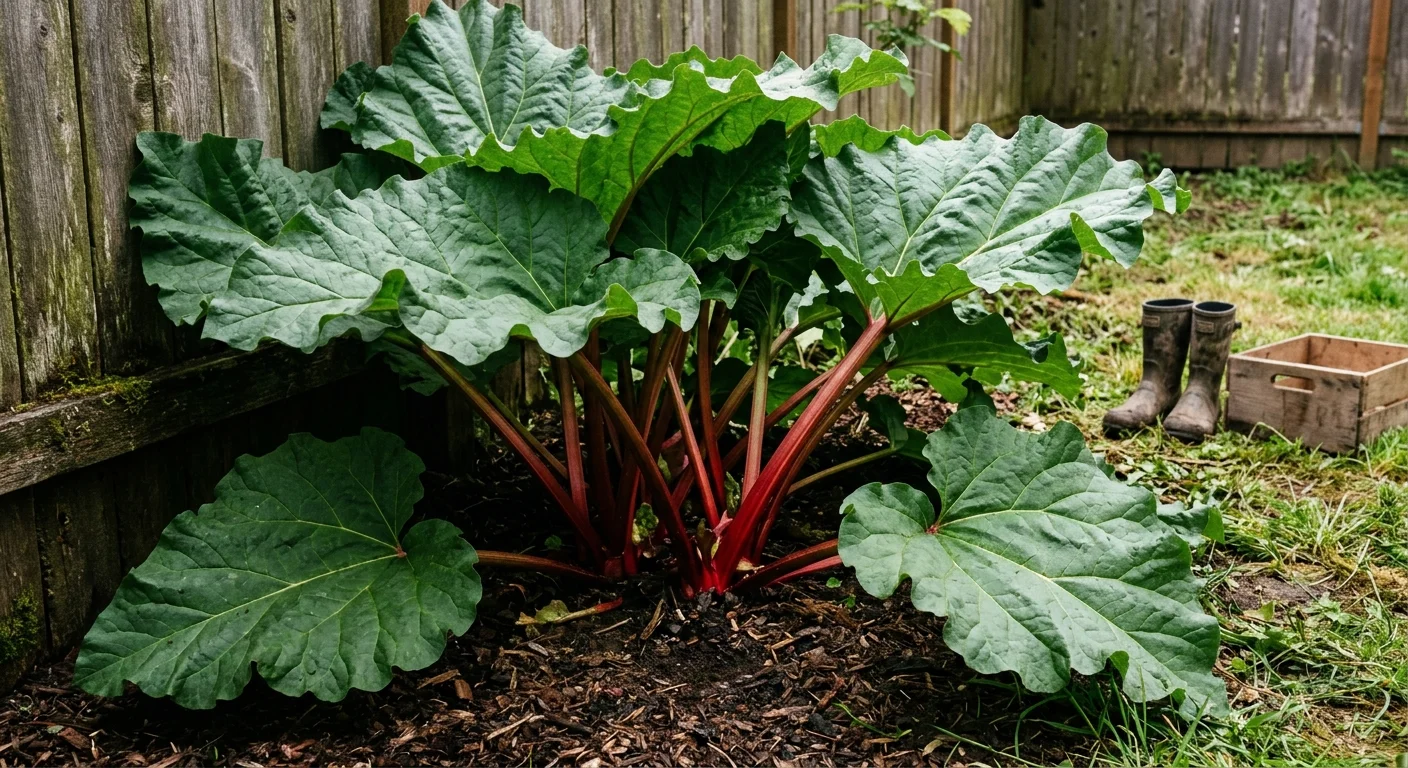
Neglected backyard borders often suffer from poor aesthetic appeal and rampant weed growth, but rhubarb solves both problems simultaneously. Featuring massive, elephant-ear foliage and striking crimson stalks, rhubarb serves as a stunning structural focal point while functioning as one of the most reliable perennial vegetables for garden edges. Because its giant leaves cast dense shade over surrounding soil, rhubarb naturalizes into an aggressive weed suppressor that requires almost no ongoing maintenance.
Rhubarb thrives in USDA Hardiness Zones 3 through 8, requiring winter temperatures below 40 degrees Fahrenheit to break dormancy and trigger spring growth. Plant dormant crowns in early spring within rich, organic soil amended with generous amounts of compost. Give each plant plenty of room—space crowns three to four feet apart, as mature plants easily spread four feet wide. Position rhubarb where it receives full sun to partial shade, ensuring the soil remains moist yet well-drained to prevent root rot.
Harvesting rhubarb requires zero specialized tools; simply grasp mature stalks near the base and twist firmly until they pull clean from the crown. Harvest only the thick, colorful stalks, and always discard the leaf blades immediately, as they contain high concentrations of toxic oxalic acid. A single established plant produces two to three pounds of tart stalks per year for over fifteen years. Use your harvest to craft fresh pies, tangy jams, or savory glazes, transforming unused yard corners into an abundance of seasonal delights.
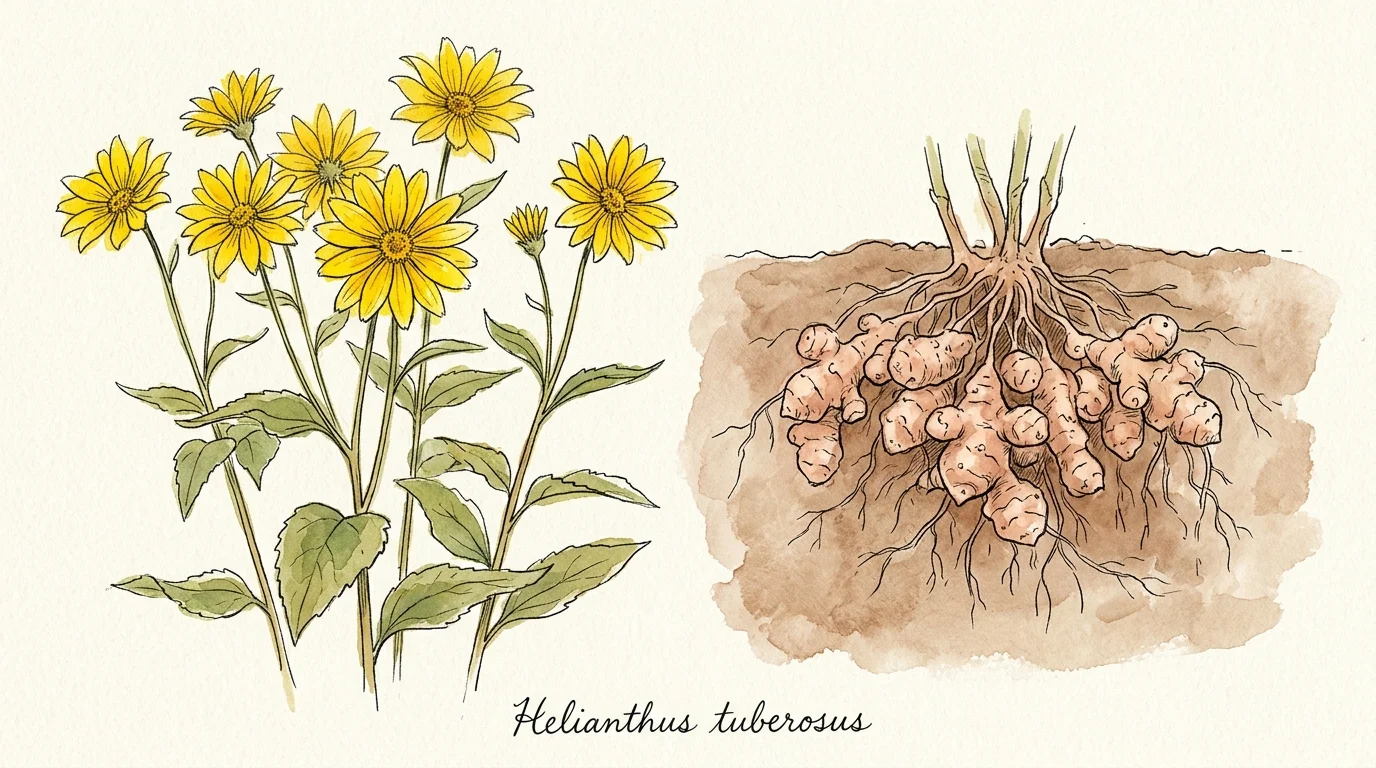
Tip #3: Jerusalem Artichoke (Helianthus tuberosus)
For tough, problematic garden space ideas where poor soil or harsh sun stops conventional vegetables in their tracks, Jerusalem artichokes—often called sunchokes—provide an indestructible solution. A native North American member of the sunflower family, this vigorous plant grows six to ten feet tall, producing bright yellow blossoms that attract beneficial pollinators throughout late summer while hiding an underground bounty of crisp, nutty tubers beneath the surface.
Sunchokes tolerate heavy clay, sandy ground, and drought conditions that kill delicate annuals. Plant individual tubers four inches deep and 12 to 18 inches apart in early spring. Because they spread aggressively via underground rhizomes, isolate your planting area using raised beds or sunken root barriers; this strategy keeps their growth contained while maximizing yields. Once planted, sunchokes require virtually no fertilizing or pest control—they simply take over the space and produce massive biomass naturally.
Harvest tubers late in autumn after the first hard frost kills back the top growth, as cold weather converts native starches into sweet inulin. Dig up the root clusters carefully using a garden fork; mature plants frequently yield five to ten pounds of tubers per stem. You can roast them like potatoes, slice them raw into crunchy salads, or blend them into velvety winter soups. Best of all, any small tubers left in the ground automatically sprout the following spring, ensuring endless harvests without buying replacement stock.
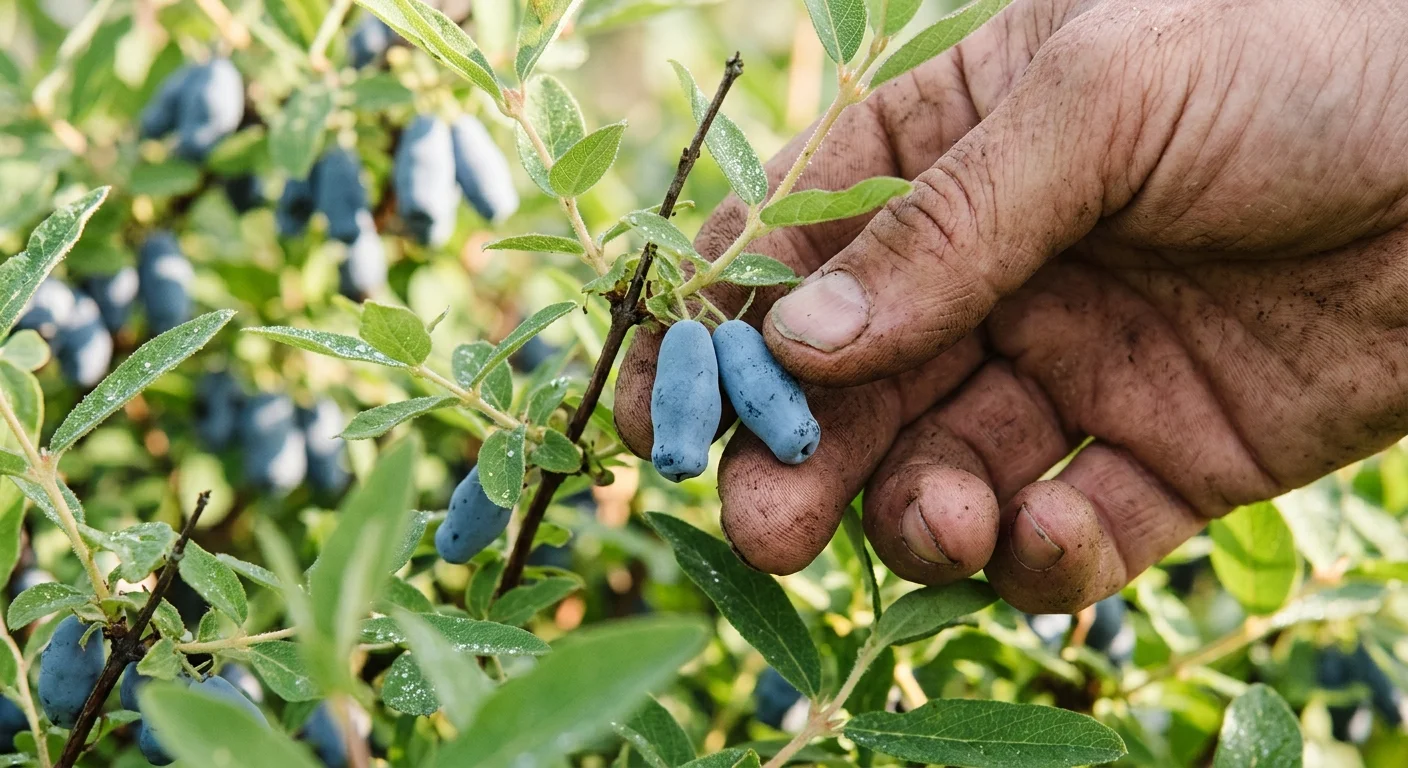
Tip #4: Honeyberry (Lonicera caerulea)
Blueberries rank among the most popular backyard crops, yet their strict demand for acidic soil makes them frustrating to grow in standard garden dirt. Honeyberries—also known as Haskaps—deliver delicious, blueberry-like harvests without soil acidity headaches. These cold-hardy perennial fruit plants thrive across neutral and alkaline soils ranging from pH 5.5 to 7.5, making them ideal candidates for revitalizing empty perimeter fences, foundation beds, or underutilized garden corners.
Exhibiting extraordinary cold tolerance down to USDA Zone 2 (surviving temperatures as low as minus 40 degrees Fahrenheit), honeyberries produce elongated blue berries that ripen two to three weeks before wild strawberries. To maximize fruit set, plant at least two distinct, compatible cultivars—such as Aurora and Borealis—within 50 feet of each other for effective wind and bee pollination. Position bushes in full sun to partial shade, spacing plants four to five feet apart in well-drained soil rich in organic material.
Once established, honeyberry bushes require minimal pruning during their first five years, making them one of the easiest fruiting shrubs you can grow. Mature bushes yield two to ten pounds of sweet-tart berries packed with higher levels of antioxidants than traditional blueberries. Eat them fresh off the branch, freeze them for winter smoothies, or bake them into summer pastries while enjoying a beautiful landscape hedge that returns every year without high maintenance.
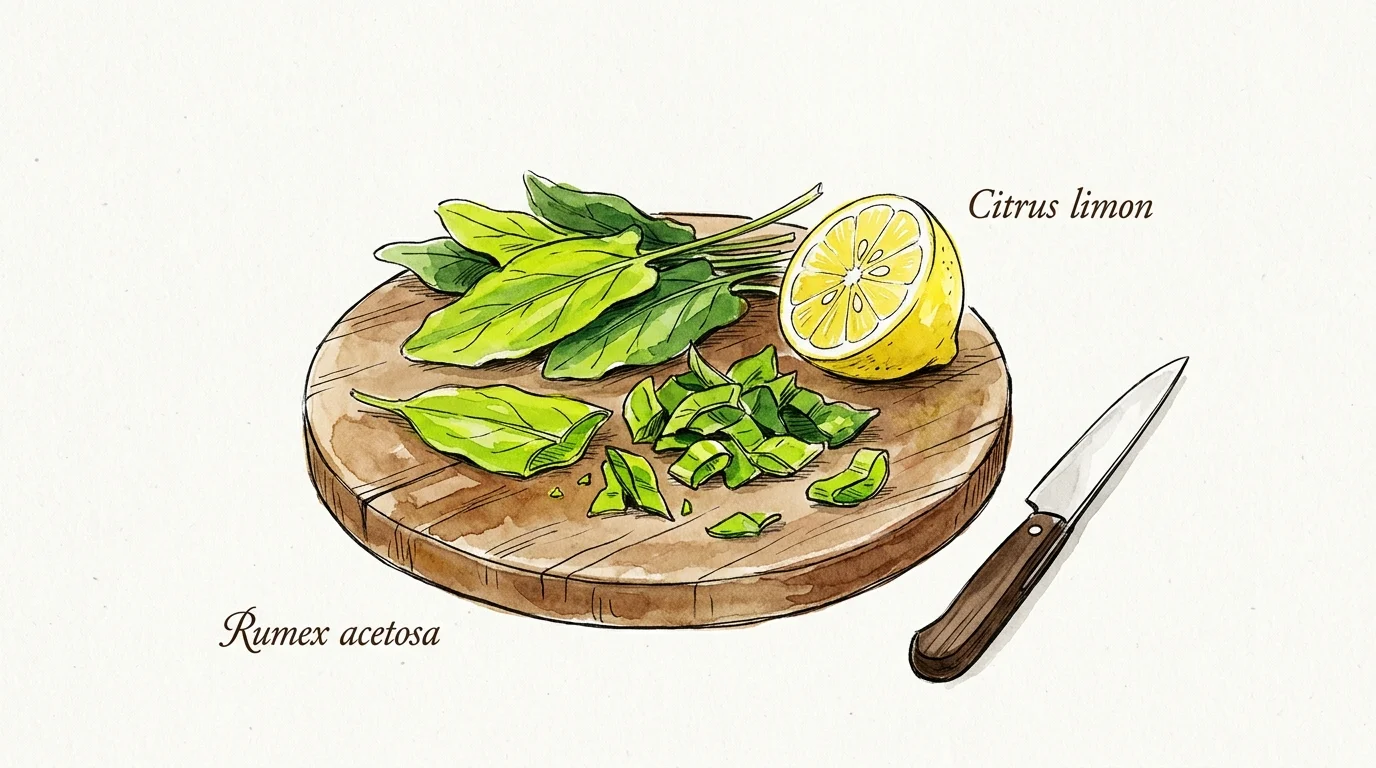
Tip #5: Sorrel (Rumex acetosa)
Shady side yards and eastern garden borders often sit bare because traditional sun-loving vegetables struggle to thrive there. French sorrel solves this challenge by flourishing in partial shade, delivering intense culinary flavor when most annual greens bolt in spring heat. This herbaceous perennial produces tender, arrow-shaped leaves with a vibrant, lemon-citrus flavor profile, providing your kitchen with immediate access to fresh gourmet greens from early spring until late autumn.
Sorrel demands very little work to maintain. Plant seeds or nursery starts in early spring, spacing plants 12 to 15 inches apart in moist, well-draining soil. Sorrel tolerates a wide range of soil conditions, including light clay, but appreciates consistent moisture and partial sun—receiving three to four hours of light daily keeps leaves tender and prevents premature bolting. Whenever flower spikes begin to emerge during peak summer heat, cut them back promptly to encourage continuous leaf production.
Harvest individual outer leaves continuously throughout the growing season by snipping them at the base with kitchen shears. Use tender young leaves raw in mixed green salads for a citrusy burst, or cook mature leaves into classic French sorrel soup, creamy sauces, and egg dishes. Because sorrel emerges very early in spring—often while snow still melts off garden beds—it supplies fresh vitamins when your annual garden sits completely empty.
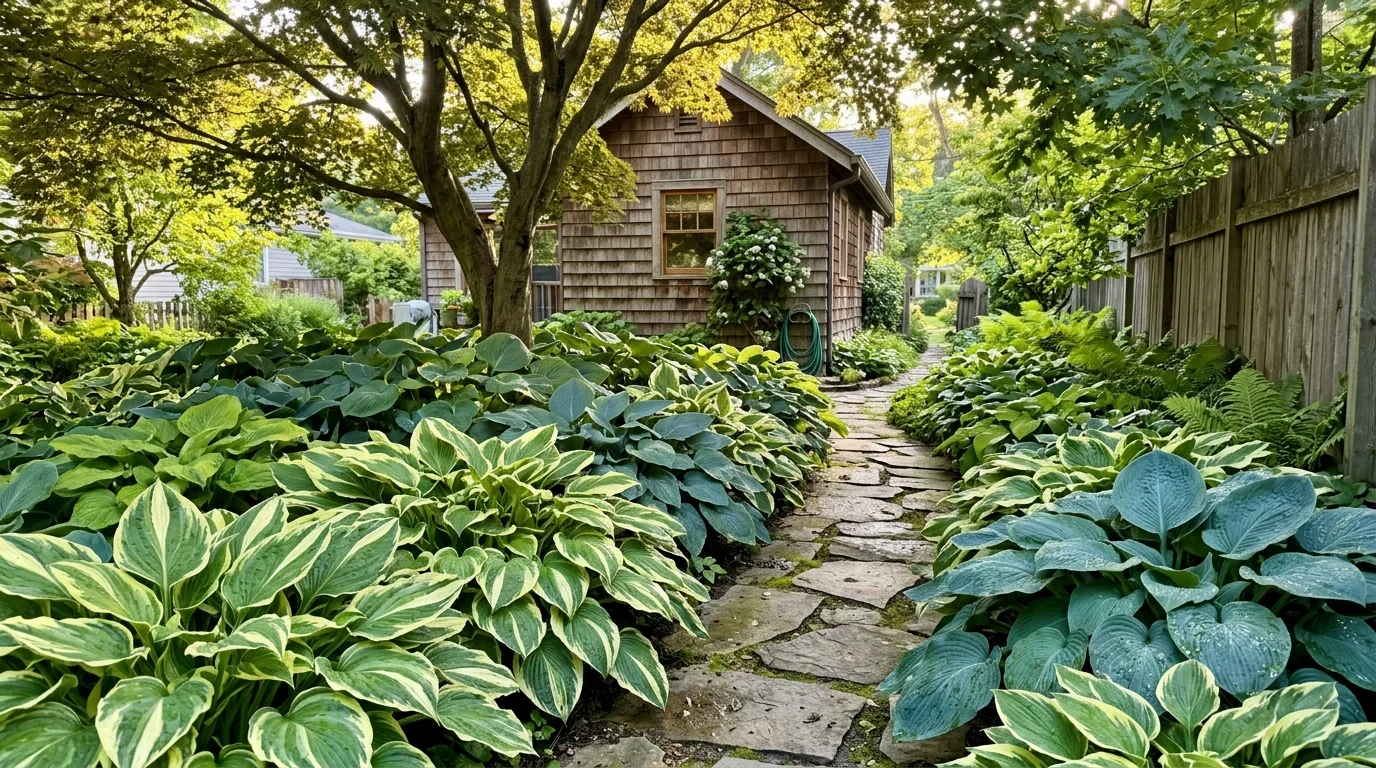
Tip #6: Hostas (Hosta spp.)
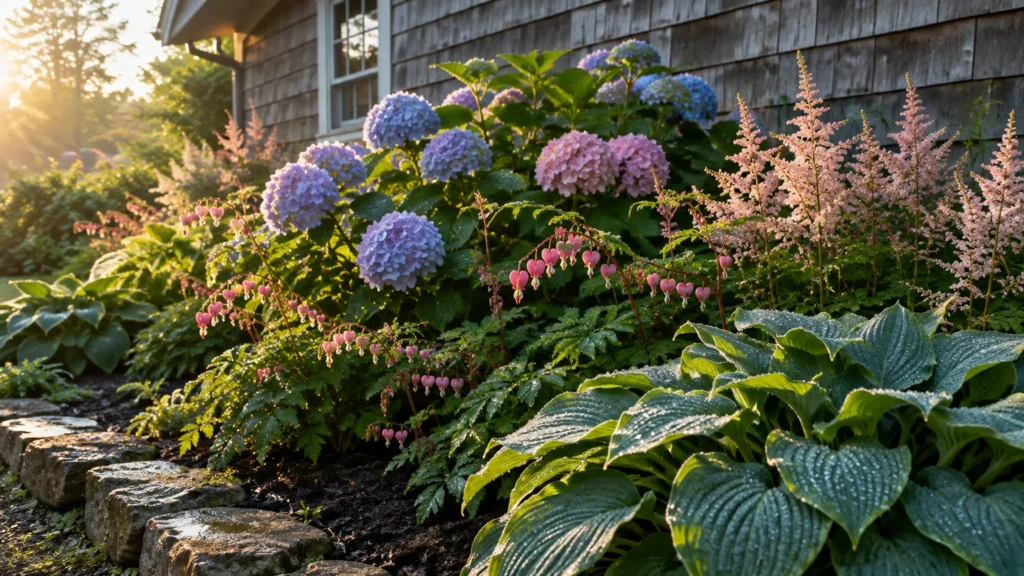
Most home gardeners recognize hostas as dependable shade ornamentals, but few realize these common landscape plants double as prized perennial vegetables for garden shade zones. Highly cultivated in Japan as a traditional spring vegetable called “urui,” emerging hosta shoots offer a mild, crunchy flavor reminiscent of asparagus combined with sweet sugar snap peas. Planting hostas converts damp, shadowy zones beneath mature shade trees into productive food beds.
Hostas thrive in USDA Zones 3 through 9, growing happily in deep to partial shade where sun-loving edible crops quickly fail. Plant hosta root crowns in organic-rich, well-draining soil, ensuring consistent moisture during hot periods. Because thousands of hosta varieties exist, focus on non-variegated, vigorous green or blue varieties such as Hosta montana or Hosta sieboldiana for the most tender, flavorful shoots. Make sure your landscape beds remain free from synthetic pesticides or toxic slug bait before harvesting.
In early spring, when tightly furled shoots—known as “hostons”—break through the soil, snap or slice them off at ground level when they measure four to six inches tall. Harvest no more than one-third of the shoots from a single clump; this leaves ample foliage for the plant to photosynthesize and remain healthy throughout summer. Saute the harvested shoots in butter with garlic, blanch them for cold salads, or stir-fry them with soy sauce for a unique, gourmet dish grown in shade.
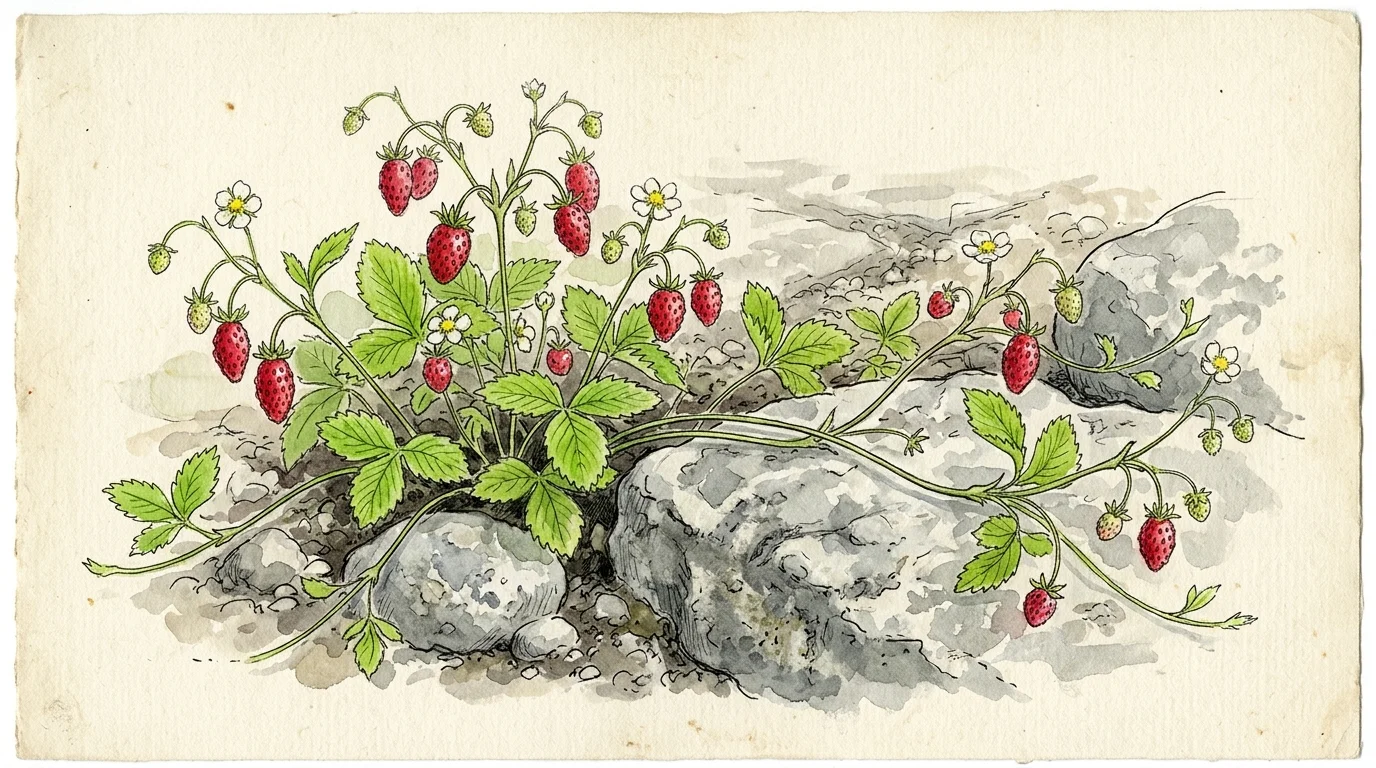
Tip #7: Alpine Strawberries (Fragaria vesca)
If you have tight border spaces, pathway edges, or empty patches around raised beds, alpine strawberries present the ultimate low-maintenance edible landscaping crop. Unlike hybrid garden strawberries that send out unruly, messy runners requiring constant trimming, alpine strawberries form neat, compact clumps that remain exactly where you plant them. They reward minimal effort with an abundance of small, intensely aromatic red or white berries continuously from late spring until winter frosts.
Establish alpine strawberries by planting crowns or seedlings 10 to 12 inches apart along garden borders or under light fruit tree canopies. They tolerate partial shade remarkably well, needing just four hours of direct light to set fruit. Ensure your soil stays moist and mulched with clean straw or wood chips to suppress weeds and conserve root moisture. Varieties such as “Alexandria” or white-fruited “Yellow Wonder” (which birds completely ignore) provide non-stop harvests throughout the season.
Harvesting alpine berries becomes a daily joy. Because the fruit does not ship well or store long in grocery stores due to its delicate texture, growing your own allows you to experience a concentrated flavor profile that commercial berries cannot match. Hand-pick ripe berries daily to add to morning cereal, dessert toppings, or fresh summer fruit salads. Planting alpine strawberries ensures that every tiny border and corner of your yard works double-duty as beautiful ground cover and gourmet food production.
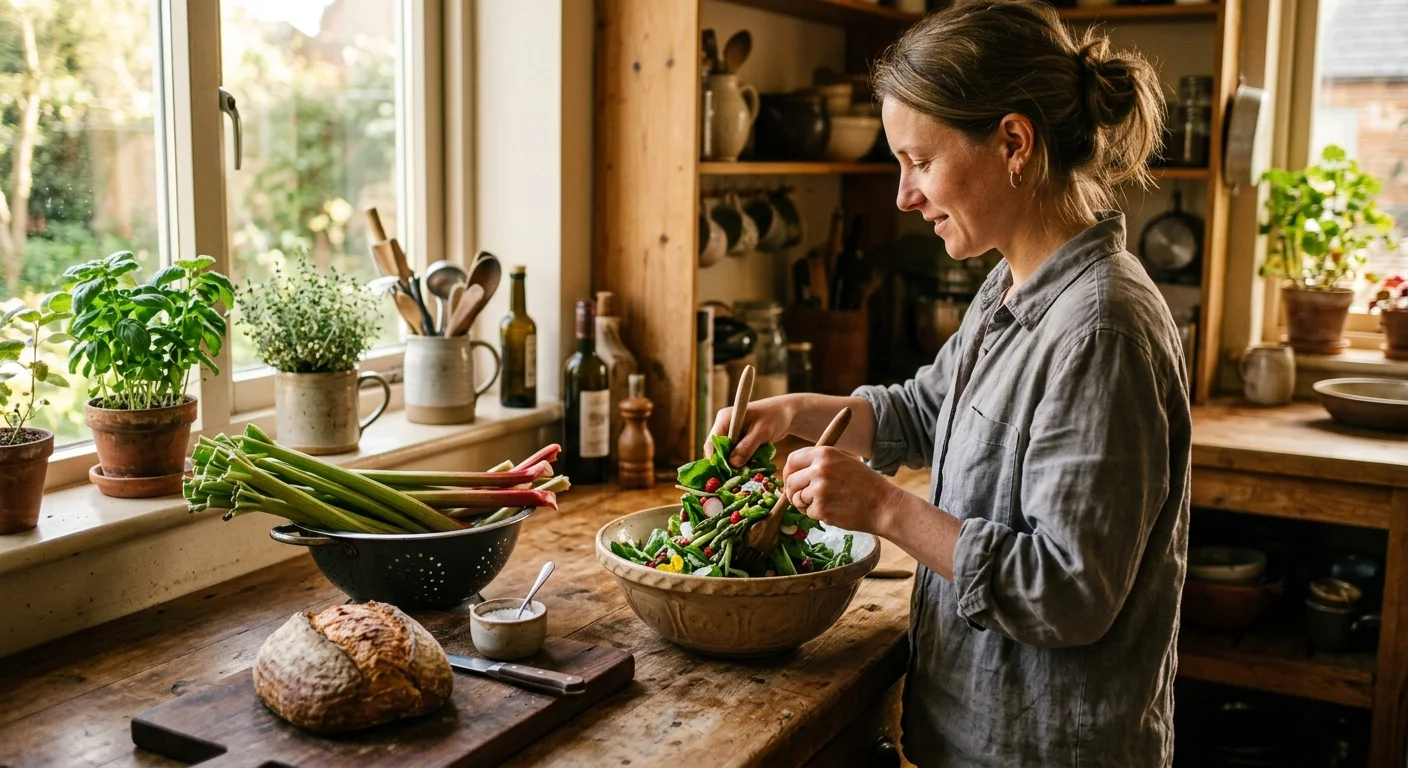
Putting It All Together: Enjoy Your Beautiful Garden
Converting unused yard space into a productive edible landscape does not require stripping your topsoil or spending hours pulling weeds every weekend. By strategically selecting long-lived crops tailored to your light and space conditions, you establish a self-sustaining ecosystem that delivers fresh food season after season. Group plants according to their light and moisture needs—combining shade lovers like hostas and sorrel under tree canopies while placing sun champions like asparagus and Jerusalem artichokes along sunny fences.
To maximize long-term success, focus heavily on soil health during your initial planting phase. Layer organic compost, leaf mold, and hardwood mulch around your perennial beds to suppress competitive weeds, lock in soil moisture, and feed beneficial soil microbes. As these plants mature over two to three seasons, their root networks expand, creating a resilient garden space that requires minimal irrigation and zero annual replanting. Take the leap today, select two or three perennials from this list, and watch your dormant garden corners transform into delicious, home-grown meals for years to come.
For region-specific advice, consult your local University Extension program (find yours via the USDA directory). For plant databases and inspiration, visit the Missouri Botanical Garden or the Royal Horticultural Society.
Disclaimer: This article provides general gardening advice. Always consider your specific climate, soil conditions, and local pests. Follow safety guidelines when using gardening tools and products.
Frequently Asked Questions
Do perennial crops take longer to produce than annuals?
Yes, most perennial crops require an initial establishment period of one to three years before reaching full production. During this time, the plants build deep root systems and energy reserves. However, once established, perennials produce reliable annual harvests for decades without the yearly effort of starting seeds or tilling soil.
Can I grow edible perennials in partial shade?
Absolutely. While sun-loving crops like asparagus require six to eight hours of direct light, perennials such as sorrel, hostas, and alpine strawberries thrive in partial shade receiving three to four hours of sunlight daily. Placing shade-tolerant perennials beneath tree canopies or beside north-facing walls maximizes your garden space productively.
How do I stop aggressive perennials like Jerusalem artichokes from spreading?
To control aggressive spreaders, grow them inside dedicated raised beds or install underground root barriers at least 18 inches deep around the growing area. Harvesting tubers thoroughly every autumn also keeps populations in check and prevents unwanted shoots from invading neighboring plant beds the following spring.
Do edible perennials need fertilizer every year?
Perennials require far less fertilizer than annual crops because their established root systems efficiently absorb nutrients from deep within the soil. Top-dressing your beds with two inches of organic compost every spring, combined with an organic mulch layer, supplies sufficient slow-release nutrition to keep your plants healthy and productive.