You can harvest fresh, crisp produce from your backyard in just a few short weeks. Direct sowing the right fast growing vegetables gives you rapid returns and delicious homegrown flavor.
Starting a vegetable garden for beginners should never feel slow or intimidating. Quick harvest vegetables reward your daily efforts with vibrant green sprouts in mere days.
These easy vegetables from seed build your gardening confidence and fill your salad bowl without the agonizing wait. Grab your trowel, prep your soil, and watch these vegetables that grow quickly transform your garden beds.
Tip #1: Radishes
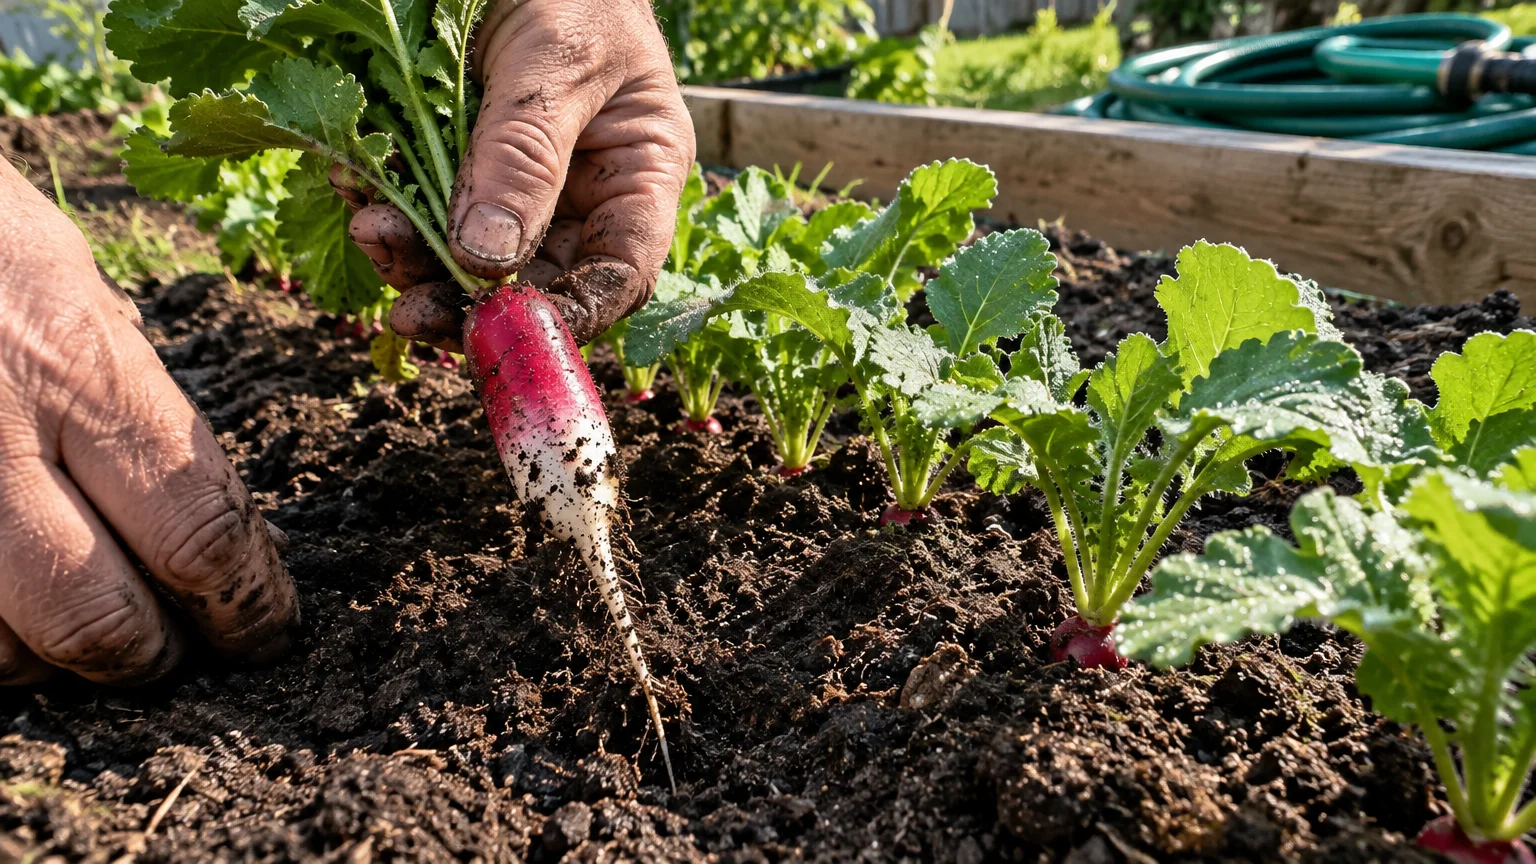
Radishes stand as the undisputed speed champions of the home garden. Varieties like French Breakfast and Cherry Belle mature in an astonishing 21 to 25 days from sowing.
Sow radish seeds directly into loose, well-draining soil at a depth of one-half inch. Space the seeds roughly one inch apart in rows spaced six inches apart.
Keep the surrounding soil evenly moist throughout their rapid development. Inconsistent watering causes roots to split or develop an unpleasantly pungent, woody texture.
Thin your seedlings to two inches apart as soon as the first true leaves appear. Crowded radishes produce lush green foliage but fail to form plump, spherical bulbs underground.
Harvest them promptly when the roots measure about one inch in diameter. Leaving mature radishes in warm soil turns their crisp, peppery flesh unpleasantly pithy.
You can also eat radish greens in salads or sautés. Sowing a fresh row every ten days guarantees a nonstop harvest all spring long.
Tip #2: Garden Cress
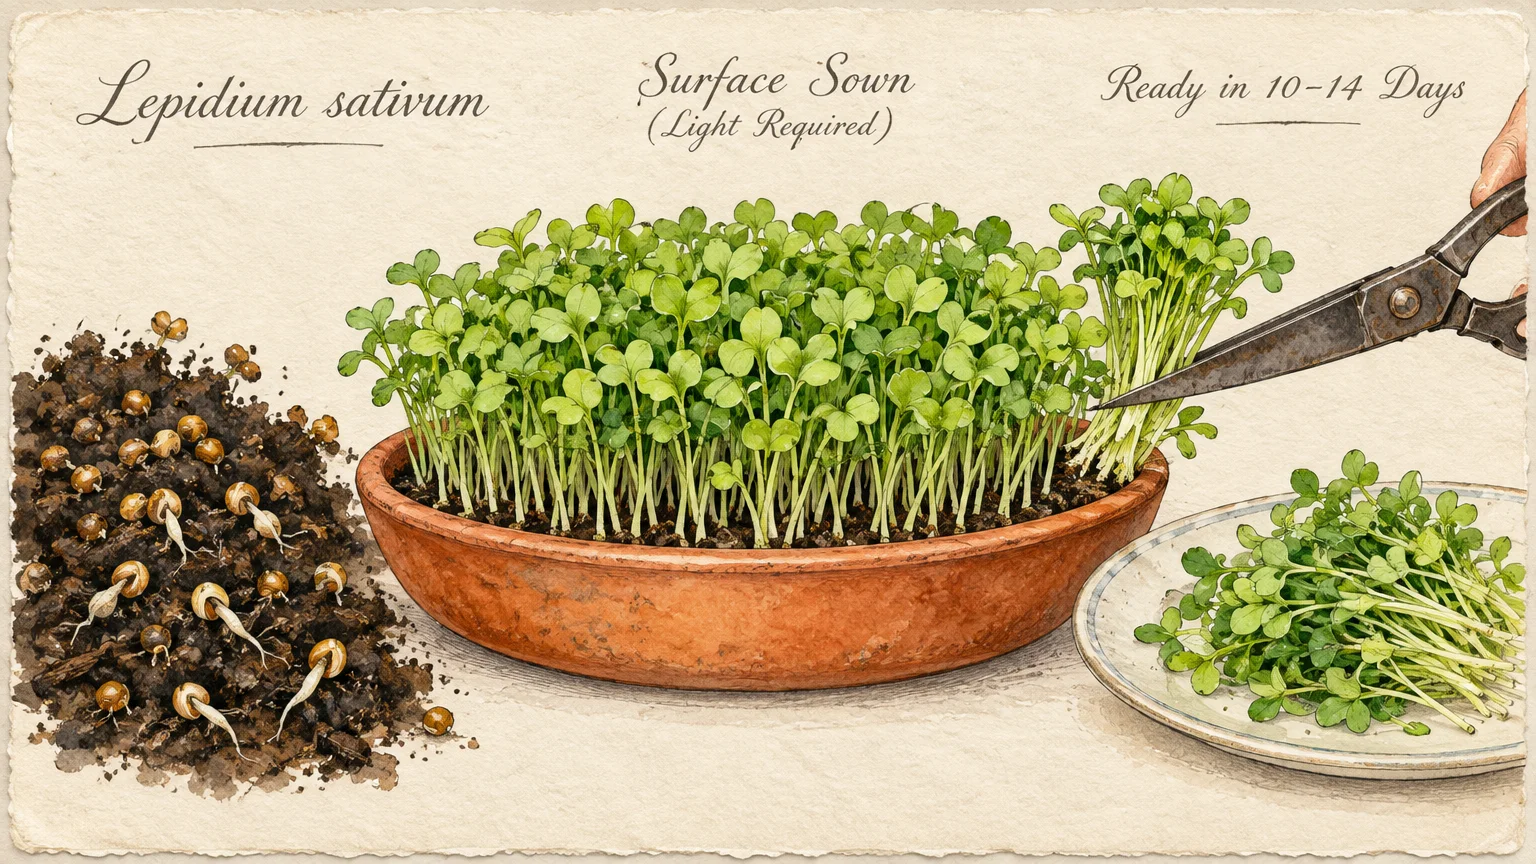
Garden cress offers the fastest harvest of any garden crop you can plant. This tangy, peppery green produces ready-to-eat sprigs in just ten to fourteen days.
Scatter the fine seeds across damp potting compost or fine garden soil; press them lightly into the surface without burying them. Cress seeds require ambient light to stimulate rapid germination.
Germination occurs within twenty-four to forty-eight hours under mild temperatures. Maintain consistent moisture by misting the soil surface daily with a spray bottle.
You can cultivate garden cress outdoors in partial shade or indoors on a sunny windowsill. It requires minimal root depth, making shallow seed trays or decorative containers ideal.
Snip the tender stems with sharp kitchen shears when they reach two inches tall. Add these zesty clippings to egg salads, sandwiches, and chilled soups for immediate flavor.
Sow small batches weekly to enjoy a continuous supply of microgreens. This remarkable crop delivers instant gratification for growers seeking lightning-fast culinary rewards.
Tip #3: Arugula
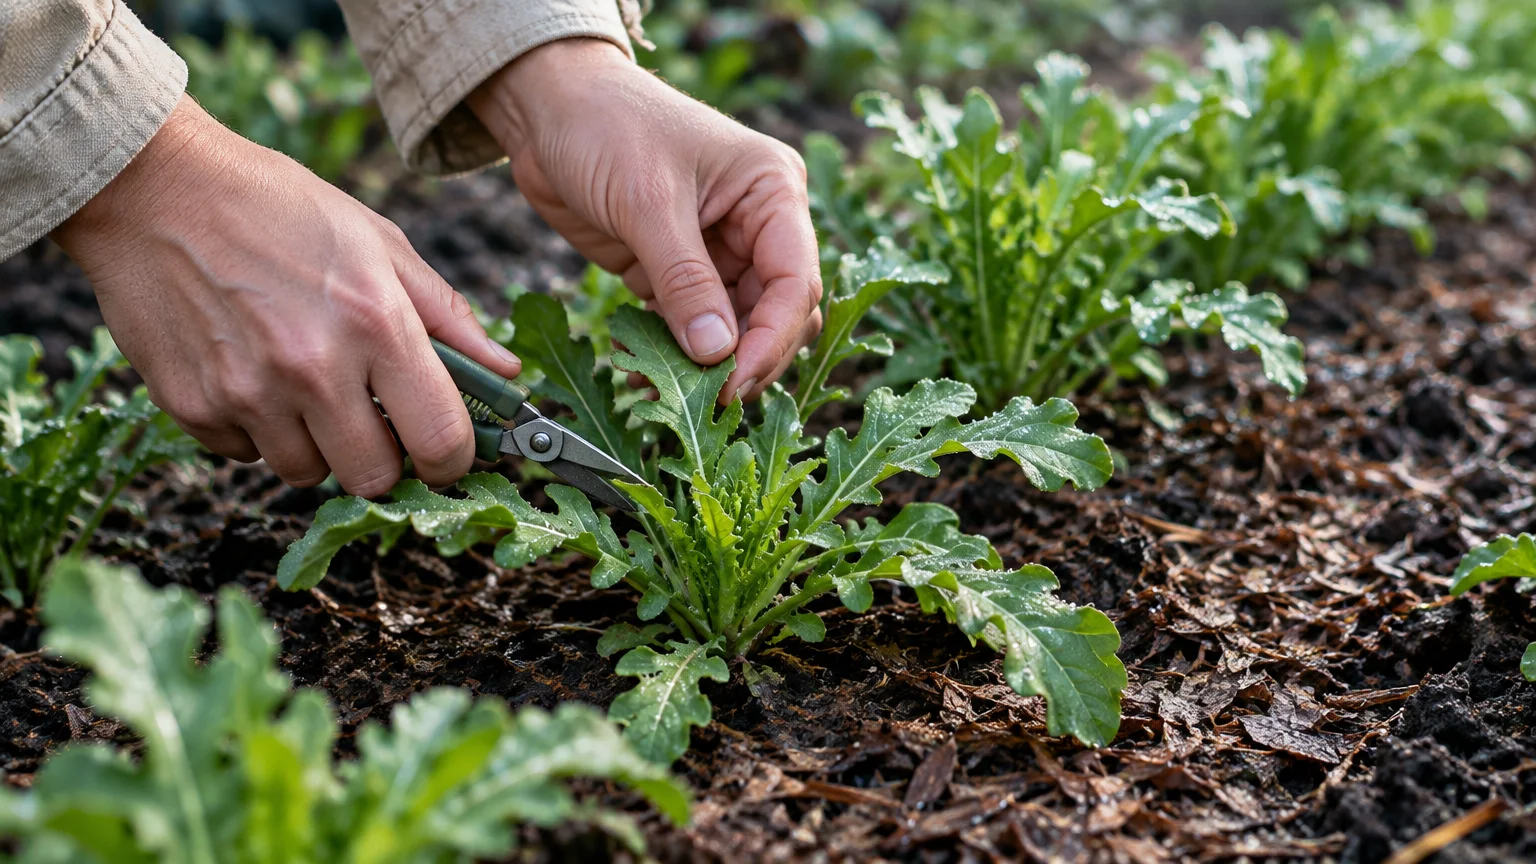
Arugula delivers a bold, nutty punch and ranks among the fastest gourmet salad greens. You can harvest baby leaves in just twenty-one days or mature rosettes within thirty-five days.
Sow seeds one-quarter inch deep in nutrient-rich soil as early as two weeks before your last spring frost. Arugula thrives in cool temperatures between 50 and 65 degrees Fahrenheit.
Space rows ten inches apart and thin your emergent seedlings to three inches apart. Toss the tender thinnings directly into your evening dinner salad rather than discarding them.
Provide consistent moisture to discourage this leafy brassica from bolting prematurely into flower. Hot summer temperatures induce bitter sap, so prioritize early spring and autumn sowings.
Harvest arugula using the cut-and-come-again method by clipping only the outer leaves. The protected central crown continues producing fresh foliage for several weeks.
Pair your homegrown leaves with shaved parmesan and balsamic vinegar for an effortless culinary delight. Its peppery zest elevates simple meals with homegrown luxury.
Tip #4: Leaf Lettuce
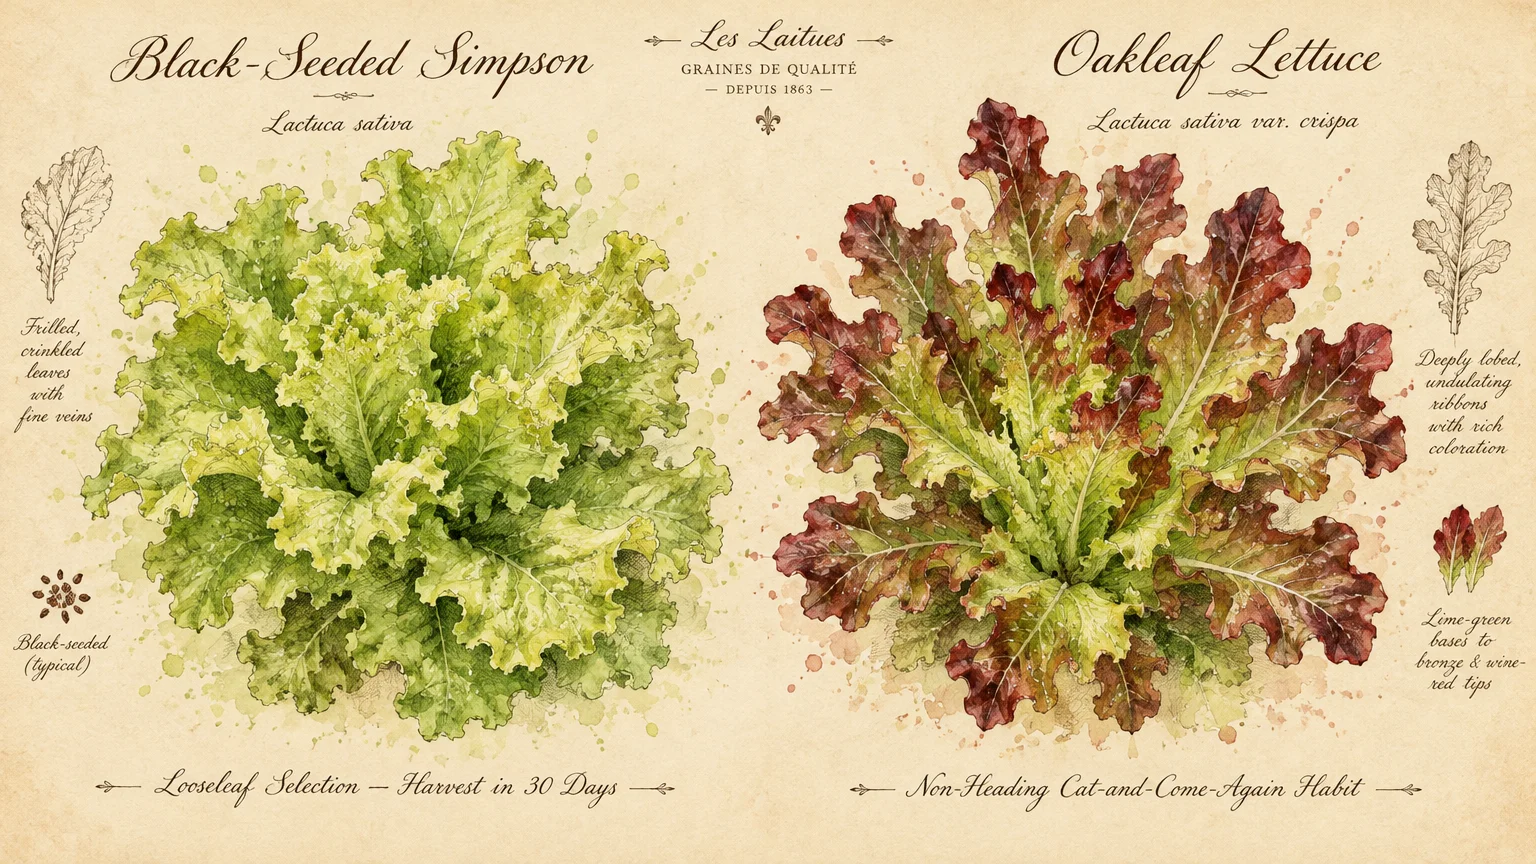
Looseleaf lettuce varieties outpace heading lettuces by several weeks. Cultivars like Black-Seeded Simpson and Salad Bowl yield tender baby leaves in twenty-eight to thirty days.
Surface-sow the tiny seeds by dusting them with a scant eighth-inch of fine compost. Lettuce seeds require gentle light exposure to break dormancy and sprout successfully.
Maintain soil temperatures below 75 degrees Fahrenheit for optimal germination rates. Excess heat triggers thermal dormancy, causing lettuce seeds to sleep rather than sprout.
Keep the planting bed uniformly damp until the delicate seedlings establish strong feeder roots. A gentle shower setting on your hose nozzle prevents dislodging the shallow seeds.
Harvest baby lettuce leaves when they reach three to four inches in length. Shear the tops one inch above the crown to stimulate vigorous second and third flushes.
Succession sow every two weeks until summer heat arrives. This simple routine supplies your kitchen with tender salad bowls throughout the growing season.
Tip #5: Spinach
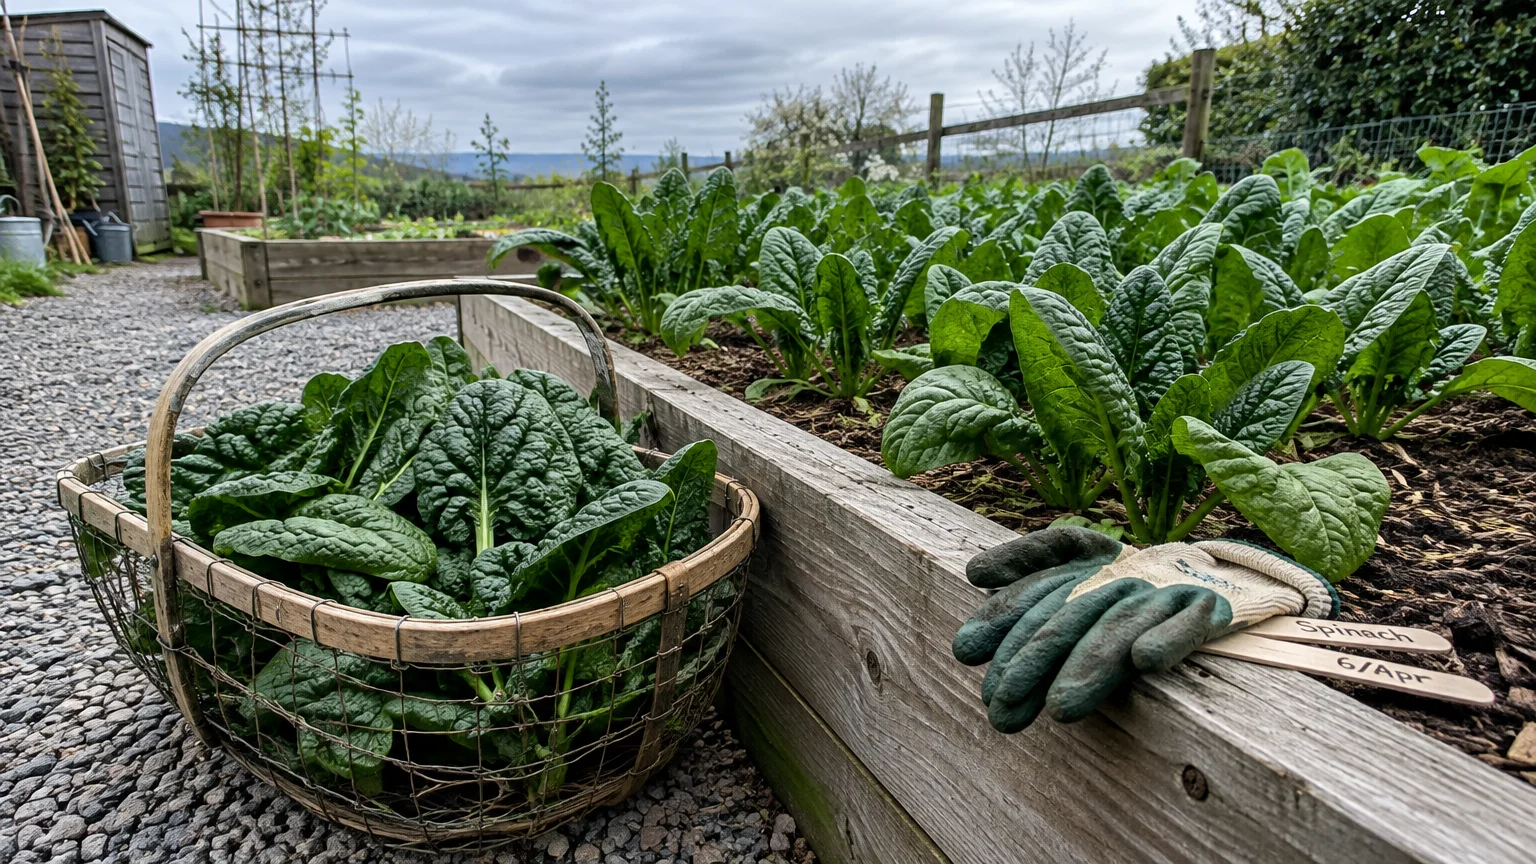
Spinach thrives in brisk weather and yields mineral-rich baby greens in thirty days flat. Mature leaves take roughly forty-five days to form broad, nutrient-dense rosettes.
Plant varieties such as Bloomsdale Long Standing or Space one-half inch deep in fertile, organic soil. Spinach appreciates rich nitrogen levels to fuel its lush foliage development.
Sow seeds two inches apart in rows twelve inches apart in early spring. Spinach withstands surprise frosts down to 20 degrees Fahrenheit without sustaining damage.
Thin seedlings to four inches apart to encourage broad leaf expansion and prevent fungal mildew. Adequate airflow between plants preserves crisp foliage during cool, humid mornings.
Cut individual outer leaves as soon as they reach palm size, leaving the inner rosette intact. This harvesting strategy yields multiple pickings from a single planting bed.
Plant a second crop in late summer for an abundant autumn and winter harvest. Cool autumn weather sweetens spinach leaves by converting complex starches into natural plant sugars.
Tip #6: Baby Bok Choy
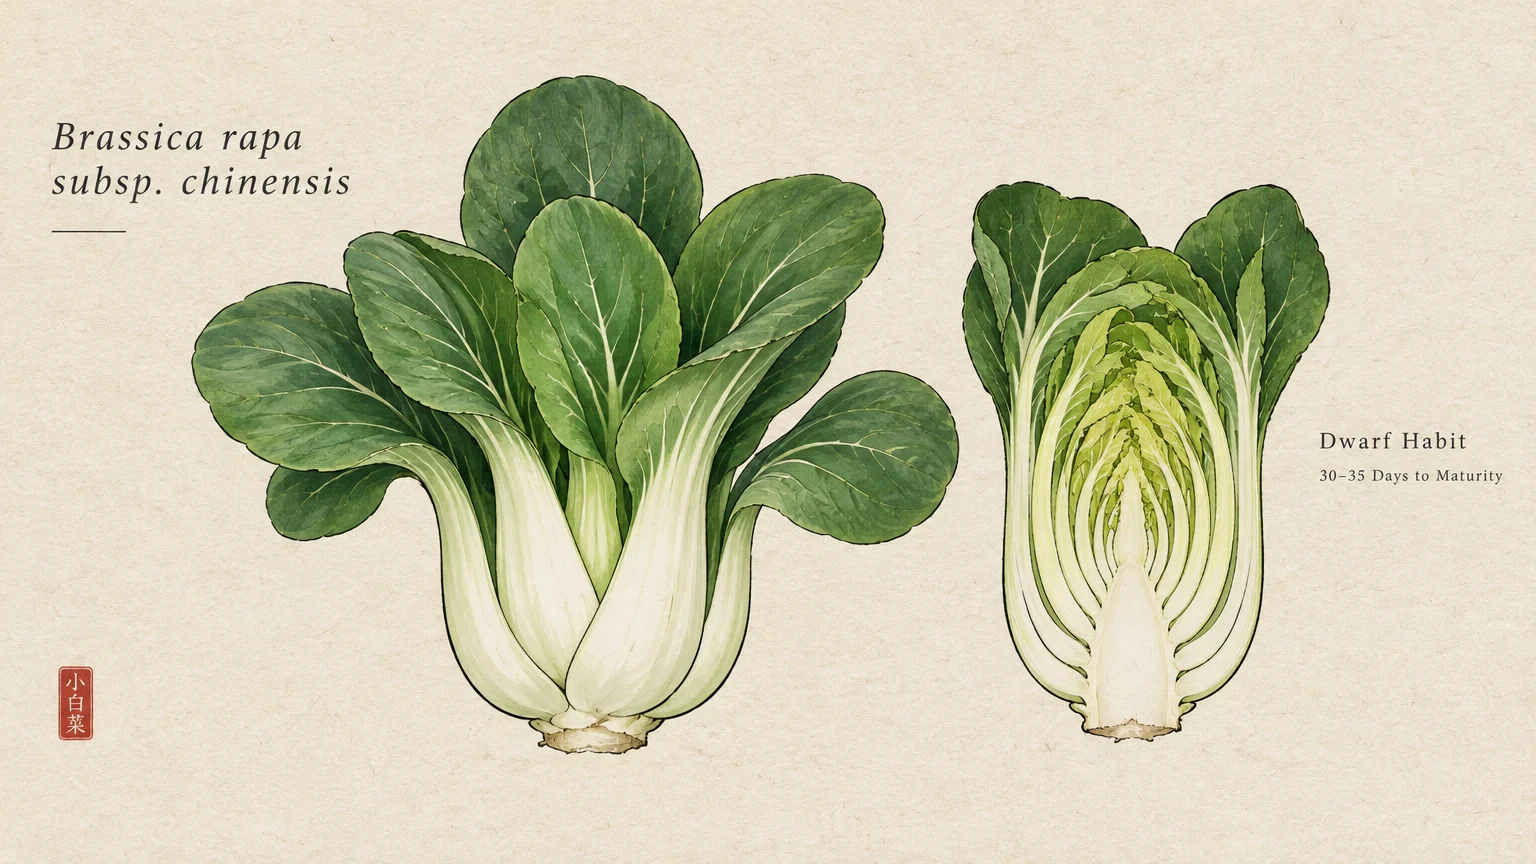
Baby bok choy provides succulent, crunchy white stems and tender dark green leaves in thirty to thirty-five days. Miniature varieties like Baby Choi and Ching Chiang fit beautifully into small garden beds.
Plant seeds one-quarter inch deep in loose, moisture-retentive soil amended with aged compost. This Asian green demands steady moisture to develop its signature juicy, crisp texture.
Space plants six inches apart to allow the compact vase-shaped heads room to swell. Water regularly during dry spells to prevent stress-induced premature flowering.
Protect your young bok choy seedlings from flea beetles by installing lightweight floating row covers at planting. This physical barrier stops pests without the use of chemical pesticides.
Harvest entire heads at ground level with a sharp harvesting knife when they reach five inches tall. Alternatively, pluck individual outer stems for continuous cooking.
Slice your fresh harvest in half and sear it in a hot skillet with sesame oil and garlic. The crisp sweetness straight from the garden surpasses any store-bought alternative.
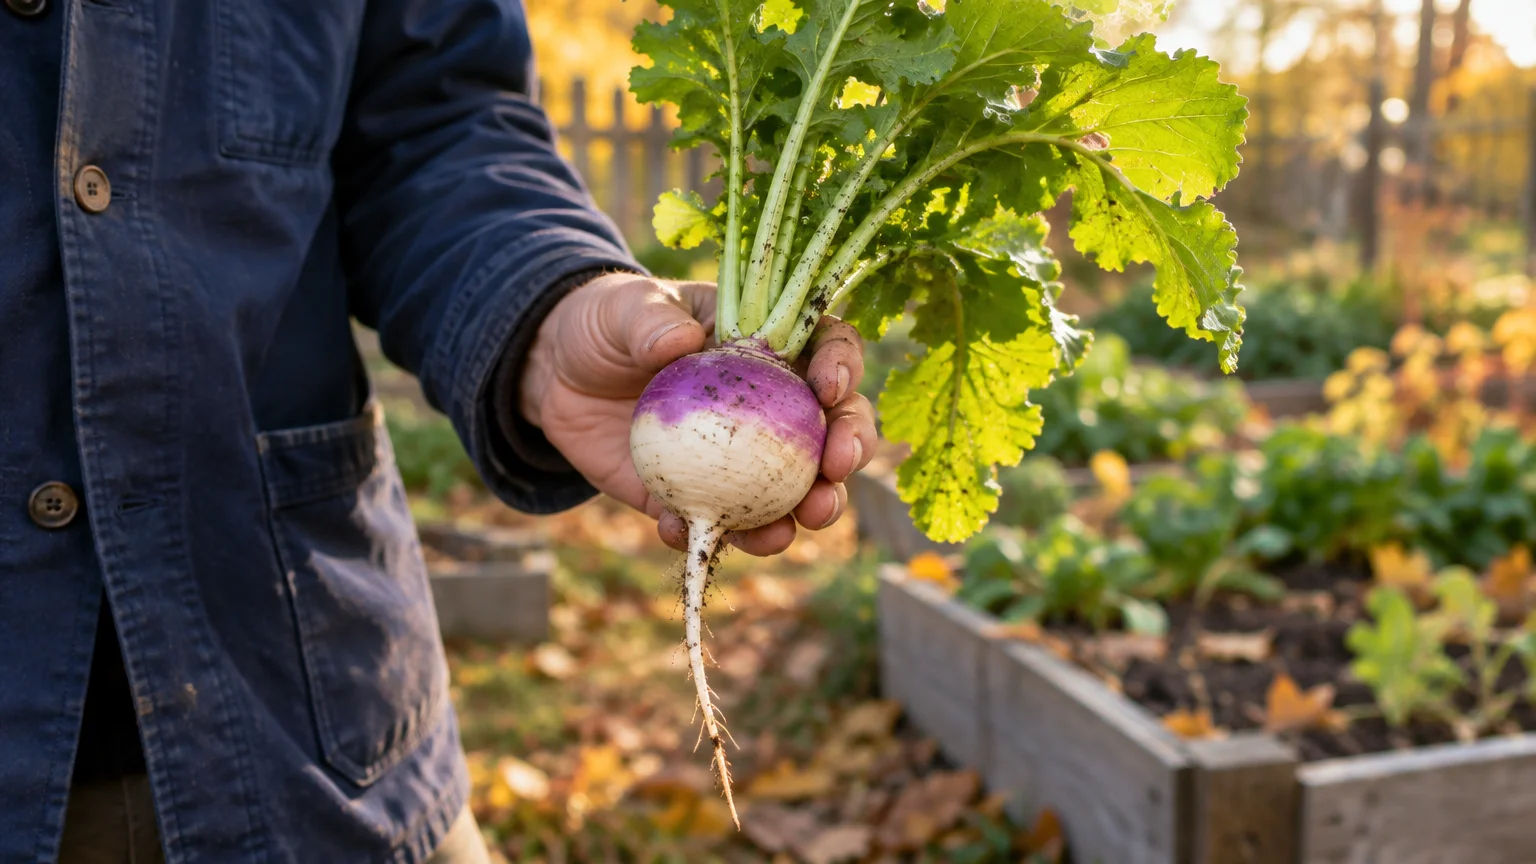
Tip #7: Turnips
Modern salad turnips defy outdated reputations of tough, bitter root vegetables. Japanese cultivars like Hakurei yield crisp, sweet, porcelain-white roots in thirty-five to forty days.
You can even begin harvesting the tender, vitamin-packed turnip greens in just twenty-one days. These dual-purpose crops maximize edible yields in limited garden footprints.
Sow turnip seeds one-quarter inch deep and one inch apart in weed-free soil. Maintain consistent moisture to facilitate rapid root expansion beneath the surface.
Thin your seedlings to three inches apart once they reach two inches in height. Proper spacing ensures the subterranean roots develop into symmetrical globes.
Pull the roots when they reach the size of ping-pong balls for the sweetest, juiciest crunch. Fresh salad turnips taste mellow and refreshing when eaten raw like sliced apples.
Roast the roots alongside their nutrient-packed tops for a flavorful, waste-free side dish. They provide an easy and dependable yield for both novice and experienced growers.
Tip #8: Mustard Greens
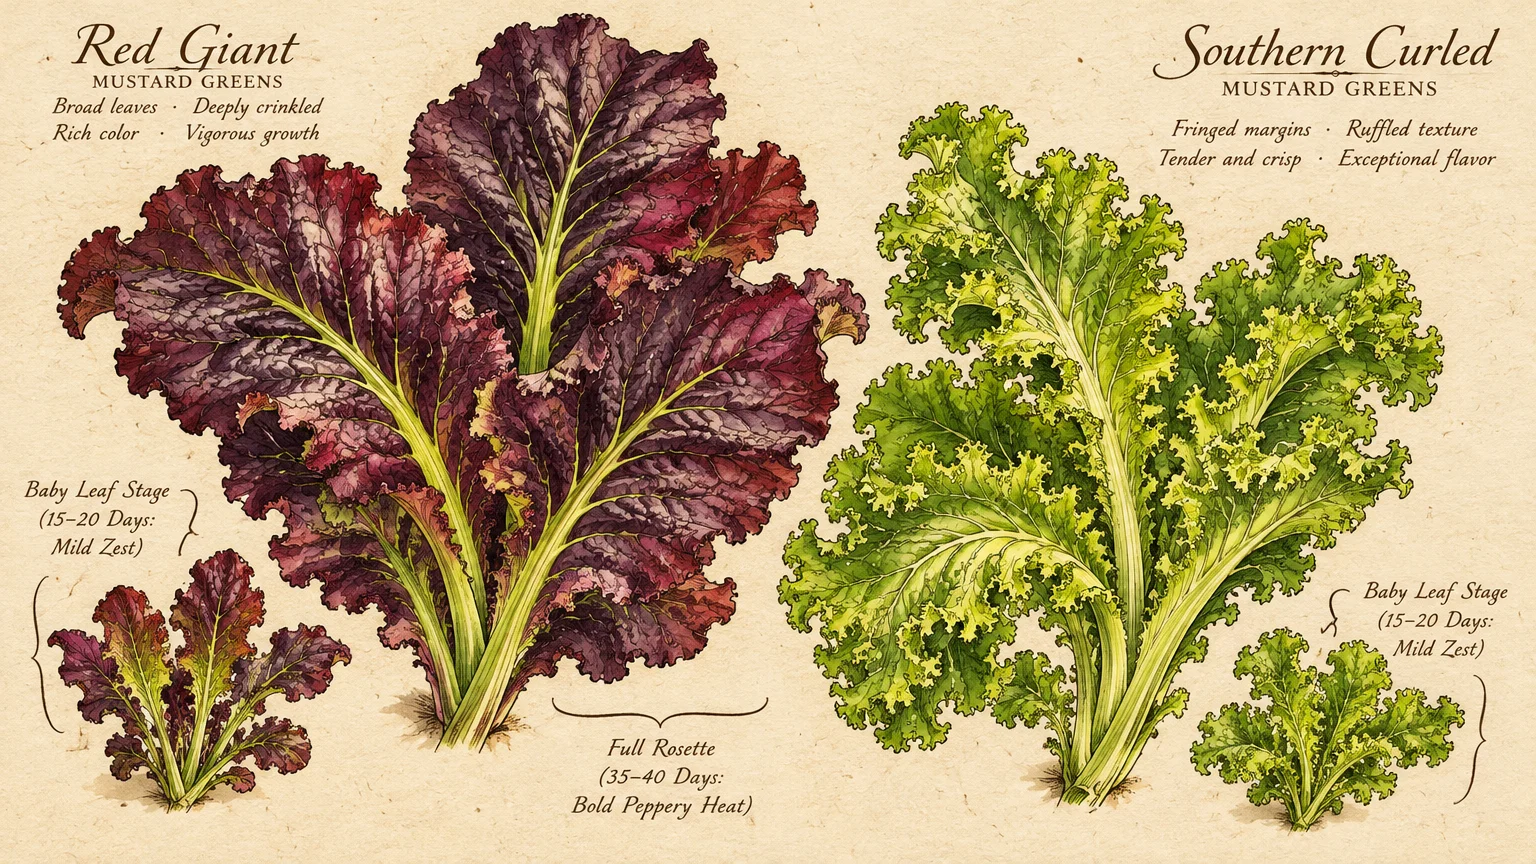
Mustard greens inject zesty warmth into fresh salads and cooked dishes alike. Fast cultivars like Southern Giant Curled and Red Giant provide baby greens in twenty-one to twenty-five days.
Sow seeds one-quarter inch deep in rows twelve inches apart under full sun or light afternoon shade. Mustard greens germinate vigorously in soil temperatures ranging from 45 to 75 degrees Fahrenheit.
Thin emergent sprouts to four inches apart to encourage broad, frilly leaf canopies. Use the spicy thinnings to add an invigorating kick to wraps and sandwiches.
Irrigate regularly to moderate the spicy allyl isothiocyanate oils within the foliage. Dry soil and high temperatures increase the pungent heat of the leaves significantly.
Clip outer leaves when they measure four inches long for a mild, peppery flavor profile. Cooking or steaming mature greens mellows their sharp bite into rich, savory goodness.
Plant mustard greens alongside brassica companions to naturally deter common garden nematodes. Their ornamental red and ruffled foliage doubles as a striking visual accent.
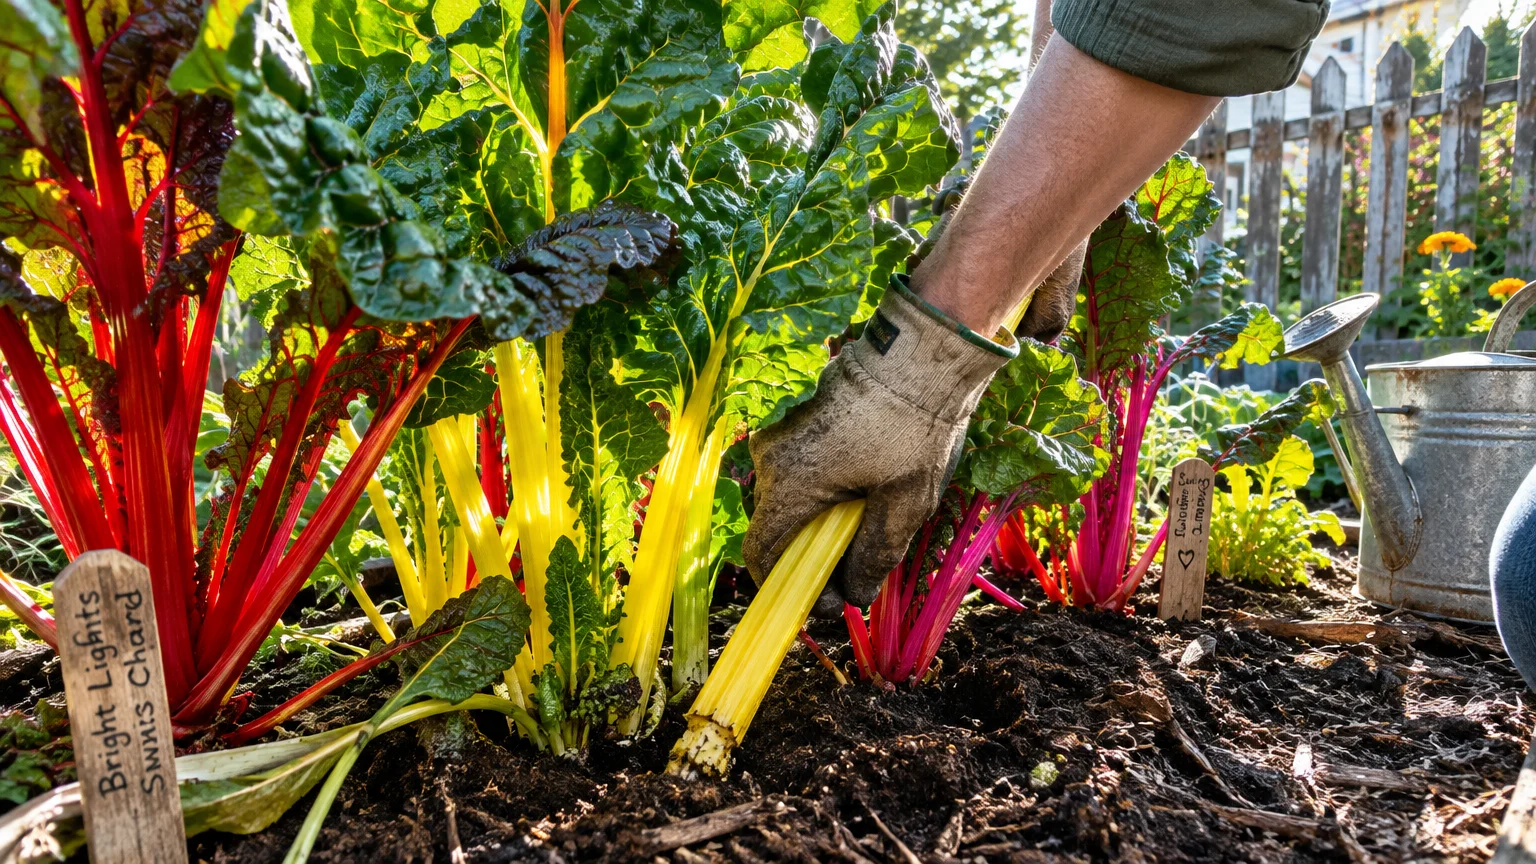
Tip #9: Swiss Chard
Swiss chard combines vibrant garden aesthetics with exceptional productivity. You can begin harvesting baby greens in thirty to thirty-five days, while mature stems take fifty-five days.
Varieties like Bright Lights showcase dazzling crimson, yellow, orange, and white stems. It tolerates light spring frosts as well as intense midsummer heat with remarkable grace.
Soak the hard seed clusters in lukewarm water for two hours before planting to accelerate germination. Each cluster contains multiple embryos that sprout together into small seedling clumps.
Sow seeds one-half inch deep and thin the emerging seedlings to six inches apart. Snip the extra seedlings at ground level to avoid disturbing neighboring roots.
Harvest outer stalks by slicing them two inches above the soil line with a pocket knife. The central heart continues unfurling fresh stems from spring through late autumn.
Sauté the colorful stems and broad leaves with olive oil and crushed garlic. Swiss chard remains one of the most reliable and long-lasting greens in the home garden.
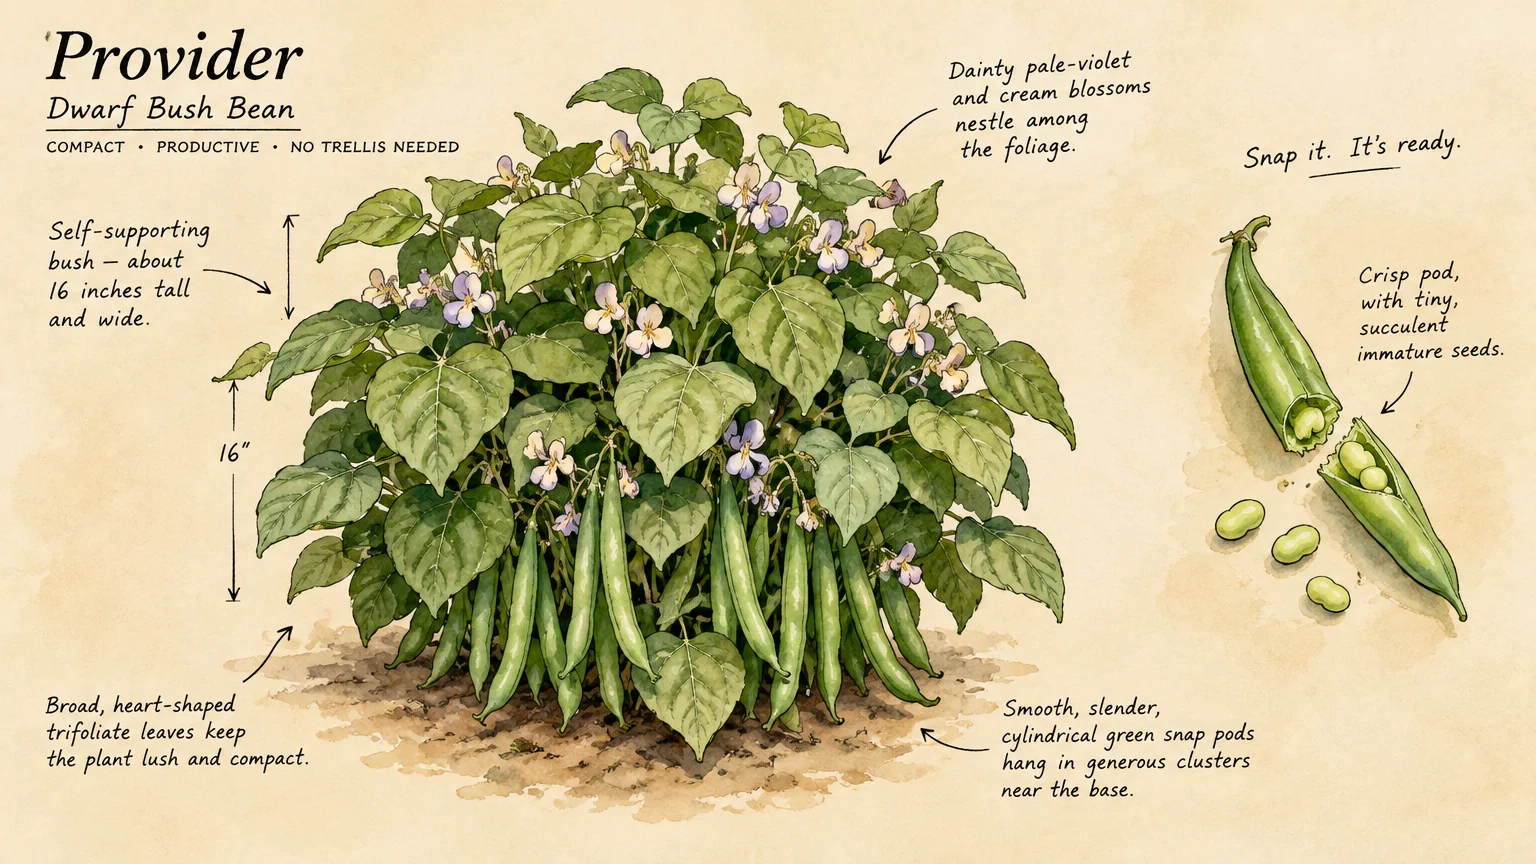
Tip #10: Bush Beans
Bush beans produce abundant pods far faster than their climbing pole bean cousins. Dependable varieties like Provider and Contender yield tender green snap beans in fifty to fifty-five days.
Wait until your garden soil warms to at least 65 degrees Fahrenheit before direct sowing. Cold, damp soil causes bean seeds to rot before they can establish roots.
Plant seeds one inch deep and three inches apart in full sun. Bush beans do not require stakes or trellises, forming tidy two-foot bushes that support themselves.
Inoculate bean seeds with beneficial nitrogen-fixing rhizobia bacteria before sowing to boost vigor naturally. Beans draw atmospheric nitrogen into the soil, feeding themselves and subsequent crops.
Pick the slender pods every two days once production begins to prolong the fruiting window. Regular picking signals the plant to keep setting new flowers and pods.
Steam your fresh beans immediately after picking to preserve their sweet crunch and vibrant chlorophyll. A single ten-foot row yields several pounds of prime produce over three weeks.
Tip #11: Green Onions (Scallions)
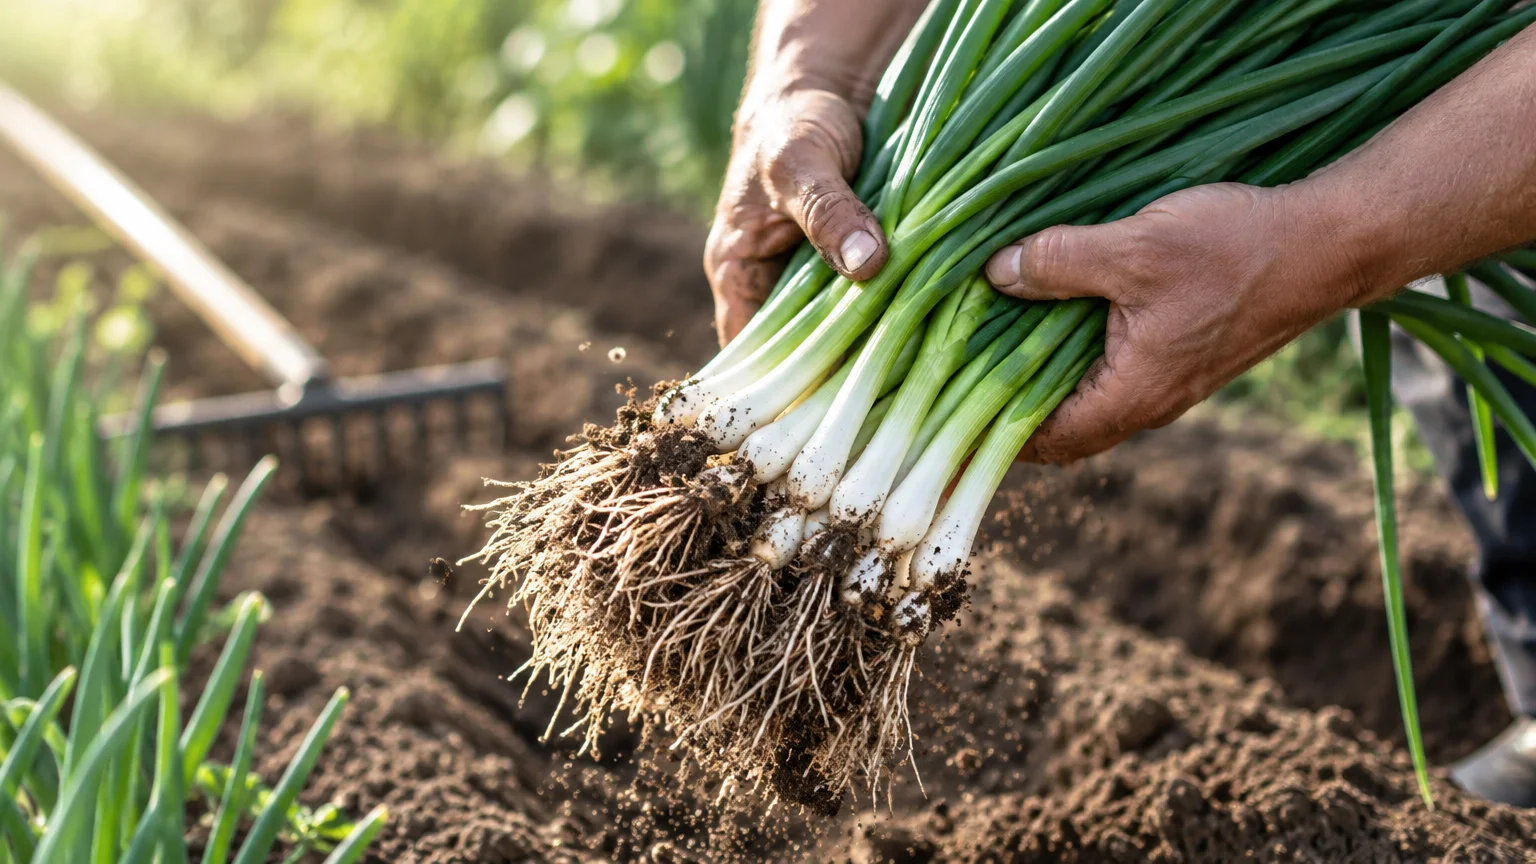
Green onions, also known as scallions, produce crisp, savory stalks with minimal effort. You can harvest slender green shoots in thirty days or thicker stalks in fifty days.
Sow varieties like Tokyo Long White and Evergreen Hardy White one-quarter inch deep in loose garden soil. Scallion seeds germinate within seven to twelve days in moist conditions.
Try multi-sowing scallions in small clumps of five to eight seeds spaced six inches apart. This method saves garden space while making harvesting tidy bunches exceptionally easy.
Hill soil gently around the stem bases as the scallions grow upward. This blanching technique shields the lower stalks from sunlight, yielding long, sweet, tender white shanks.
Harvest entire clumps by loosening the surrounding soil with a hand fork. Alternatively, snip green tops with kitchen scissors to encourage immediate regrowth from the basal roots.
Toss sliced scallions into stir-fries, omelets, and salads for an instant aromatic lift. They withstand frosty autumn chills and often overwinter successfully in moderate growing zones.
Putting It All Together: Enjoy Your Beautiful Garden
Cultivating fast growing vegetables transforms your relationship with home food production. You do not need to wait months to enjoy the satisfying rewards of your hard labor.
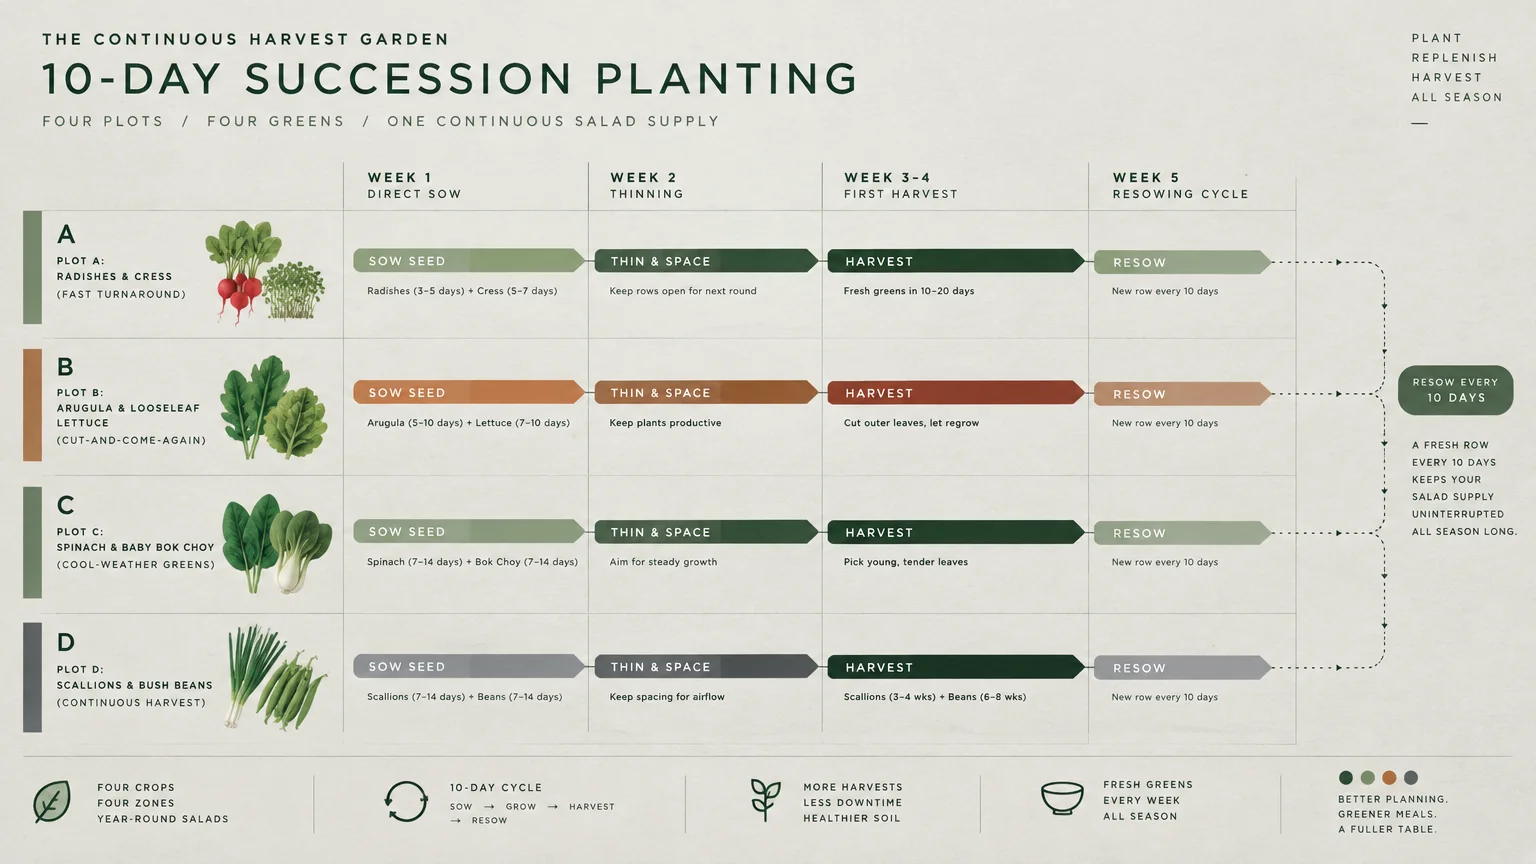
Stagger your plantings by sowing new seed patches every ten to fourteen days. This succession sowing technique prevents harvest gluts and ensures steady kitchen supplies.
Invest in quality compost to feed your soil biology and boost moisture retention naturally. Healthy, living soil fuels rapid cell division and vigorous root systems in young vegetable seedlings.
Keep a sharp eye on moisture levels during the critical first two weeks after sowing. Consistent soil hydration guarantees high germination percentages and prevents delicate sprouts from drying out.
Track your sowing dates and harvest yields in a simple garden notebook. Recording your seasonal results reveals which cultivars thrive best in your specific backyard microclimate.
Step into your garden each morning with your harvest basket and enjoy the crisp rewards. Growing quick harvest vegetables brings endless joy, wholesome nutrition, and vibrant beauty right to your table.
For region-specific advice, consult your local University Extension program (find yours via the USDA directory). For plant databases and inspiration, visit the Missouri Botanical Garden or the Royal Horticultural Society.
Disclaimer: This article provides general gardening advice; always consider your specific climate, soil conditions, and local pests. Follow manufacturer safety guidelines when using gardening tools and products.
Frequently Asked Questions
What is the absolute fastest vegetable to grow from seed?
Garden cress holds the crown as the fastest edible vegetable, maturing in ten to fourteen days. Radishes follow closely behind, offering full-sized edible root bulbs in twenty-one to twenty-five days.
Both crops sprout within two to three days after sowing. Their blazing speed makes them perfect for children and impatient home gardeners alike.
Can I grow quick harvest vegetables in containers and pots?
Yes, fast-growing vegetables thrive in pots, window boxes, and fabric grow bags. Shallow-rooted greens like lettuce, arugula, and cress require only four to six inches of container depth.
Ensure your containers have adequate drainage holes to prevent soggy potting mix. Container gardening allows you to move crops into optimal sunlight throughout the changing seasons.
How often should I water fast-growing vegetable seeds?
Keep the top layer of soil consistently damp until seeds germinate and form roots. In warm weather, this may require light daily watering or misting with a gentle spray nozzle.
Once seedlings establish true leaves, water deeply two to three times per week. Deep watering encourages roots to delve downward rather than lingering near the dry surface.
Why are my radishes growing lush tops but no bulbs?
Excessive soil nitrogen and crowded spacing are the two most common culprits behind bulb failure. Heavy nitrogen fertilizer stimulates luxuriant leaf growth at the expense of root expansion.
Always thin your radish seedlings to two inches apart shortly after germination. Adequate personal space gives each root room to swell into a plump, tender bulb.