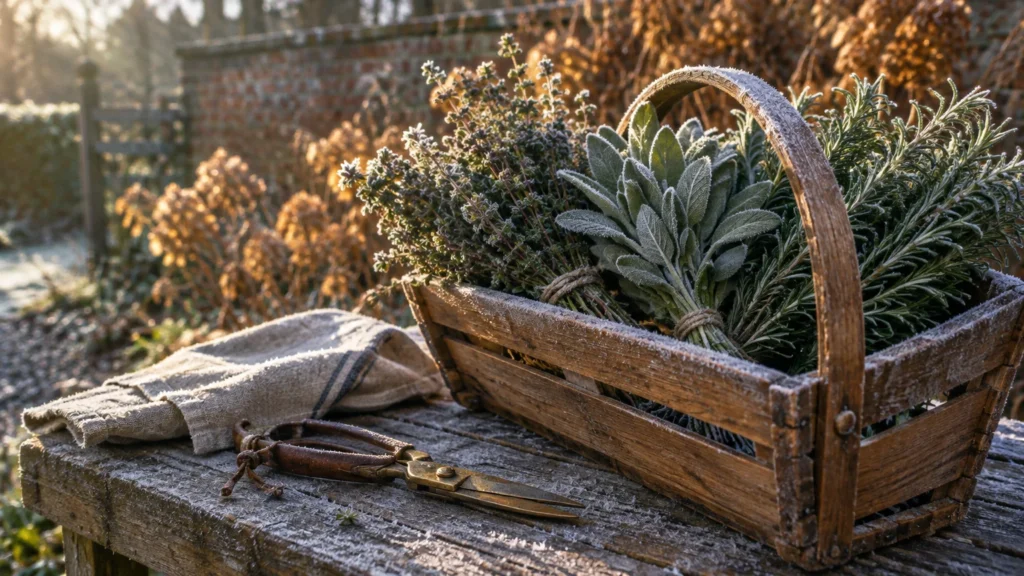
Preserving garden-fresh flavor for chilly months begins with harvesting your culinary herbs at their peak. Learning how to dry herbs locks in rich essential oils, transforming simple weeknight stews and roasted vegetables into fragrant feasts.
Drying herbs for winter saves money at the grocery store and reduces kitchen waste. You capture the essence of summer sunshine right before frost hits your garden beds.
Stocking your pantry with home-dried seasonings elevates your everyday dried herbs cooking with unmatched potency. Let us explore the finest herbs to dry and discover how simple herb preservation can be.
Tip #1: Rosemary
Rosemary stands out as one of the sturdiest woody herbs in your garden. Its needle-like leaves contain concentrated resinous oils that retain intense flavor when dried.
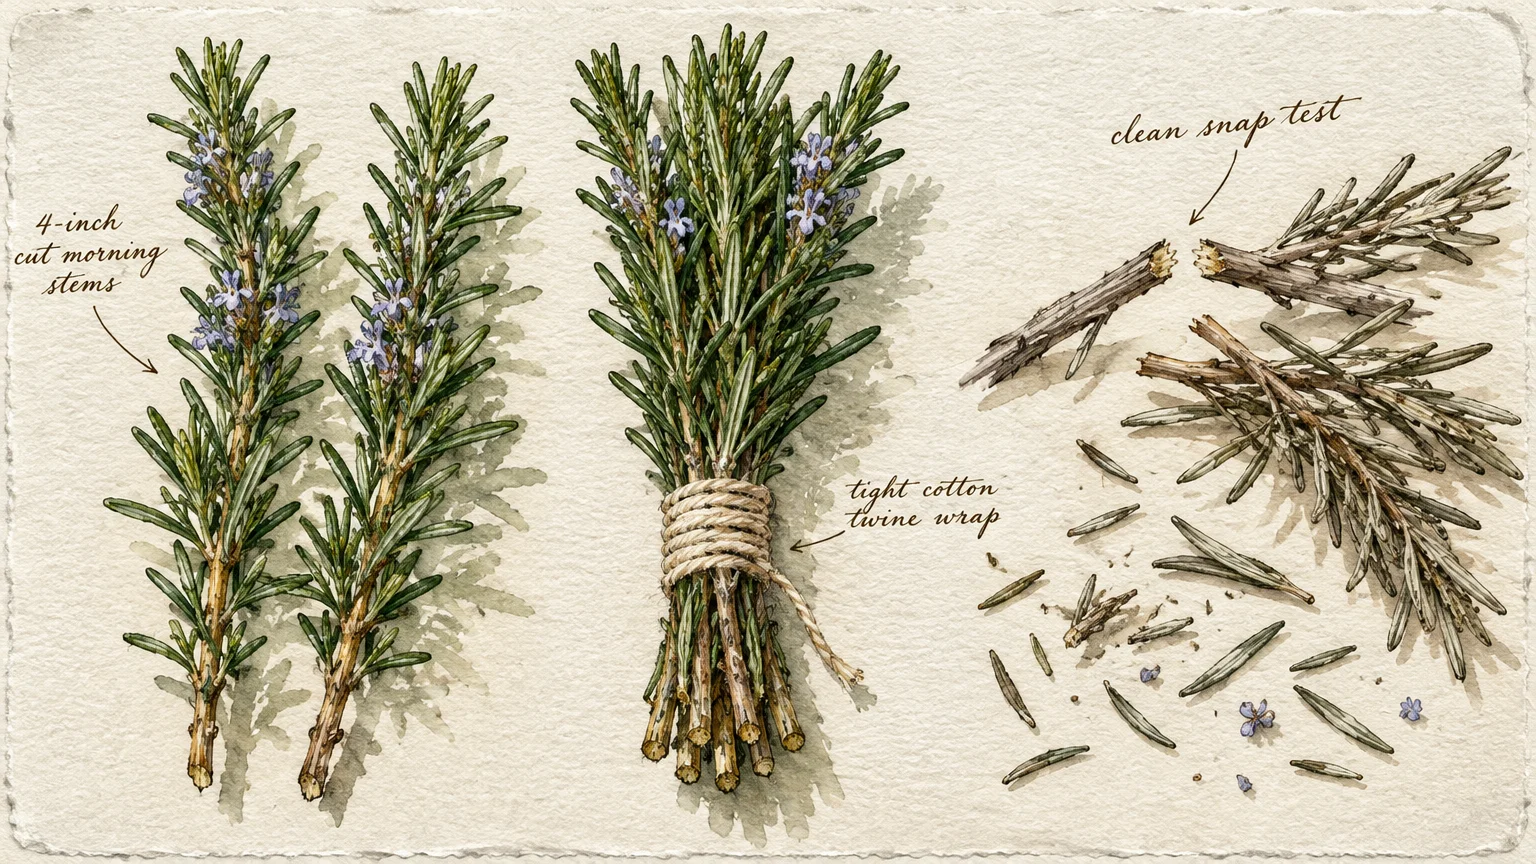
Cut four-inch sprigs in the morning after dew evaporates but before the afternoon heat peaks. Look for fresh stems that have not yet turned completely brittle or brown.
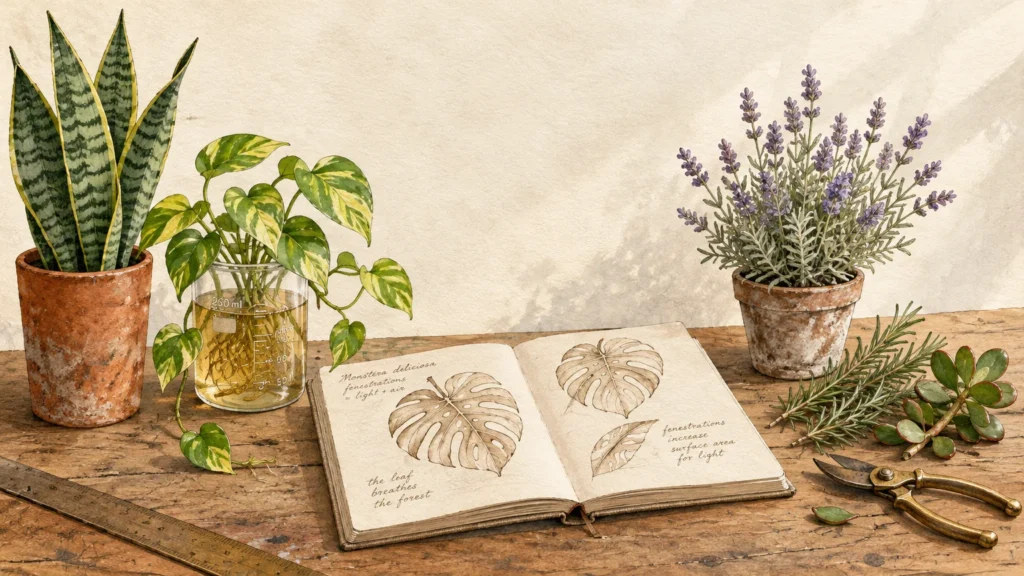
Tie small bundles of five stems together using natural cotton twine. Hang them upside down in a warm, dark space with plenty of circulating air.
Avoid humid spots like kitchens or bathrooms, which can encourage mold growth. The leaves should turn crisp and snap cleanly off the woody stems within two weeks.
Strip the dried needles from their stems and seal them in airtight glass jars. Crush the needles slightly before adding them to slow-cooked roasts, potatoes, and artisan breads.
Whole dried rosemary needles also infuse winter olive oils and savory soups with an earthy pine aroma. Keep the jars in a dark pantry to preserve their vibrant green hue.
Tip #2: Thyme
Thyme produces tiny, potent leaves packed with thymol, an essential oil that provides deep warmth and herbal complexity. It maintains its pungent earthy taste exceptionally well throughout the drying process.
Snip your thyme branches just as tiny flower buds begin to form. This stage represents the moment of peak oil concentration in the plant tissue.
Bundle small clusters of stems with rubber bands, which contract naturally as stems shrink during moisture loss. Hang the clusters in a well-ventilated, shaded pantry or closet.
Alternatively, spread the sprigs in a single layer over a fine mesh drying rack. Good air circulation beneath the stems prevents damp spots from forming on fragile leaves.
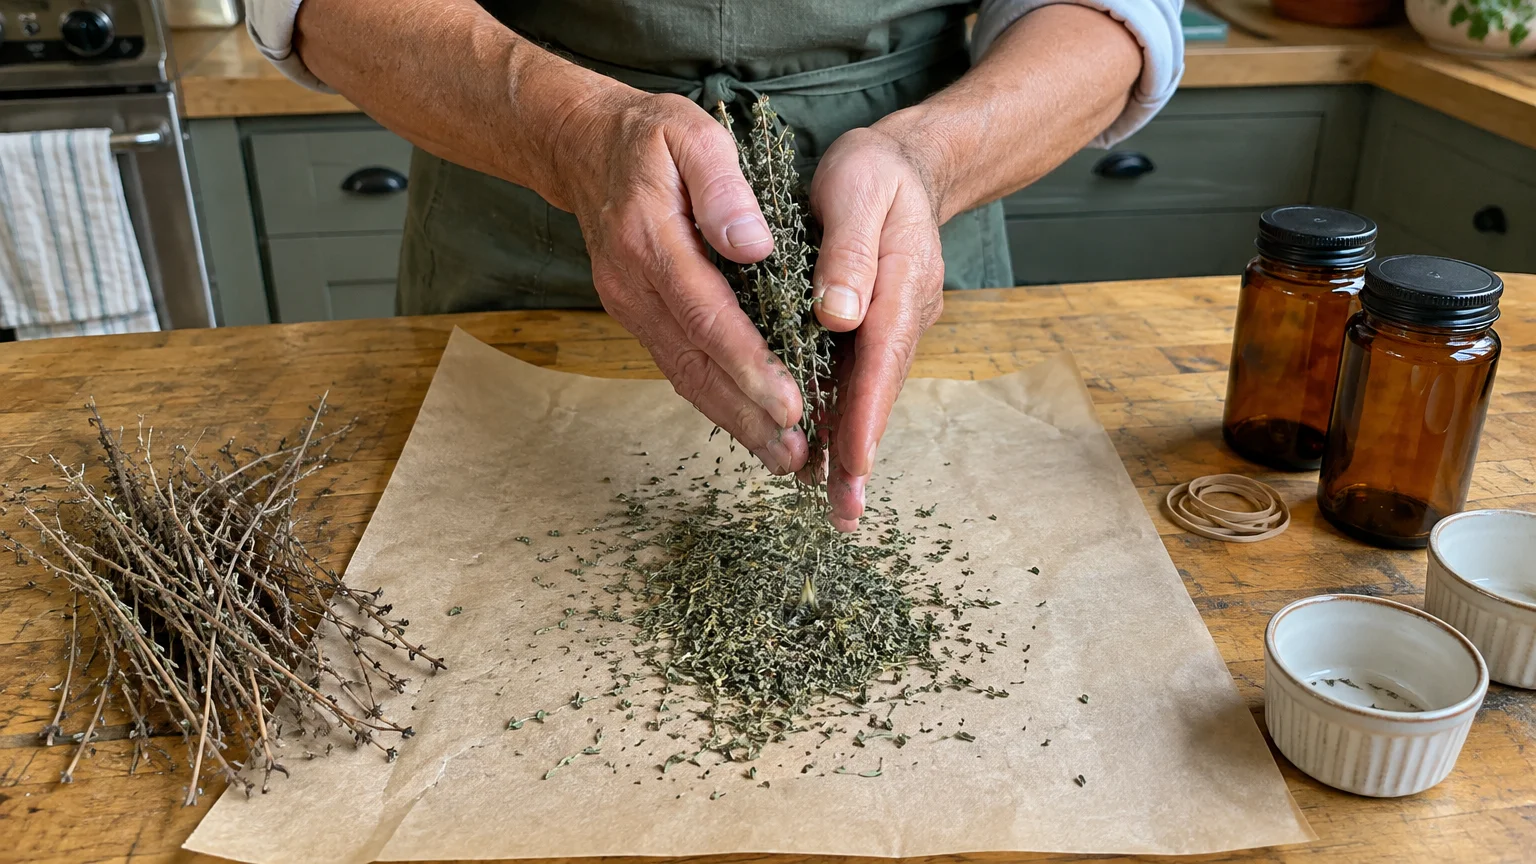
Once the leaves feel bone-dry, roll the stems gently between your palms over clean parchment paper. The leaves will tumble off effortlessly, leaving bare woody twigs behind.
Store your dried thyme in tightly capped glass spice containers away from heat. Toss a generous pinch into hearty beef stews, poultry rubs, and roasted root vegetables.
Tip #3: Oregano
Oregano actually tastes more concentrated and assertive dried than fresh. Its peppery, robust oils intensify during dehydration, making it an indispensable staple for comforting winter meals.
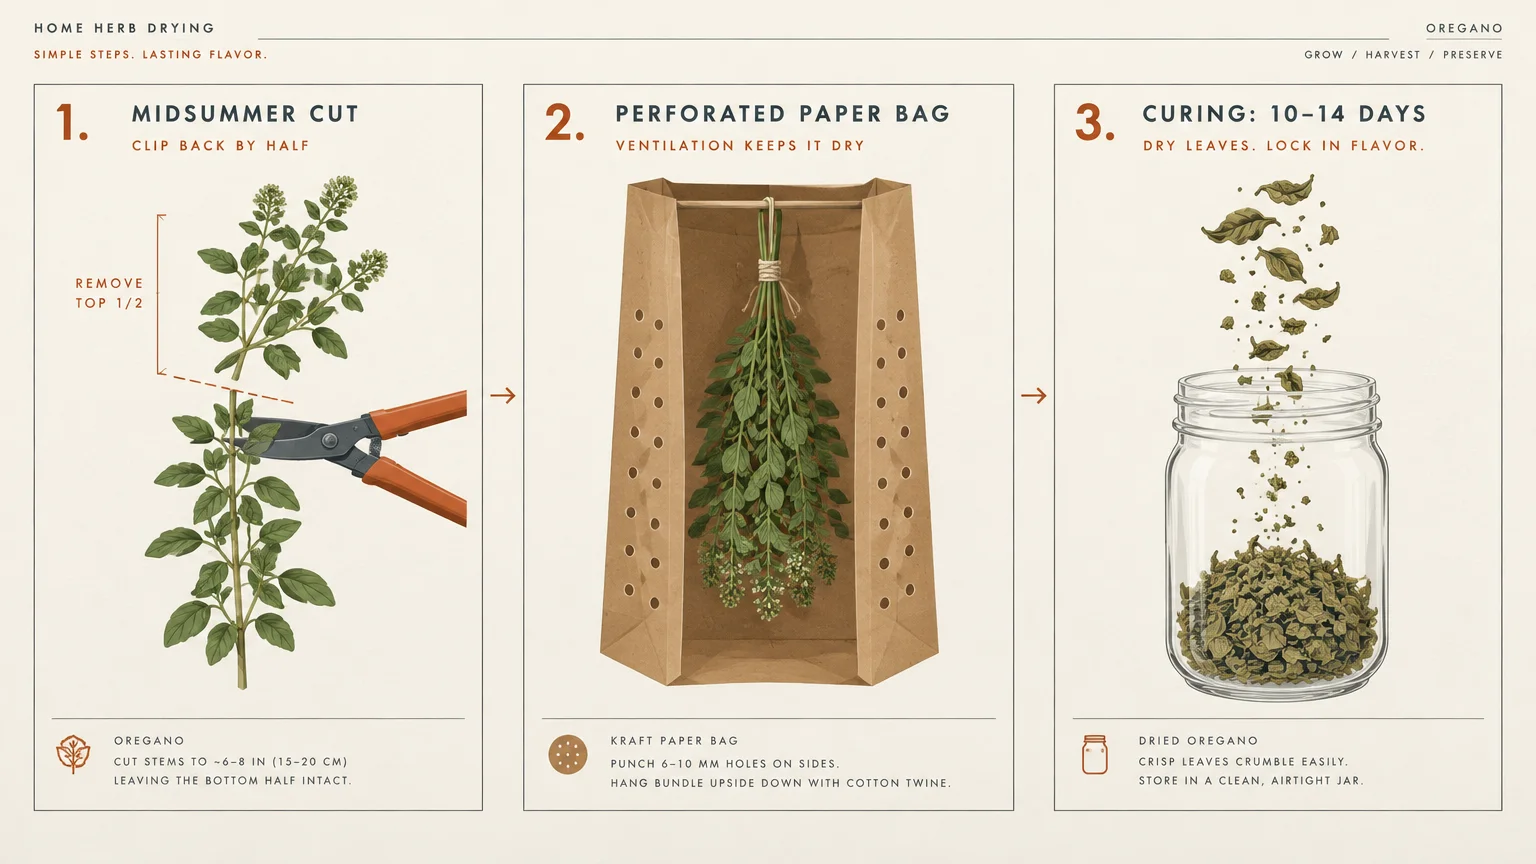
Harvest leafy stems in midsummer before the blossoms open completely. Cut stems back by about half their length to encourage vigorous bushier growth for later.
Rinse the cut stems lightly only if garden soil clings to them, then blot them dry with a clean towel. Lingering surface moisture invites mold, which quickly ruins whole harvests.
Hang bundles upside down inside paper bags with small holes punched in the sides. The paper bag keeps dust off the leaves while collecting any stray foliage that drops.
After ten to fourteen days, crumble the dried oregano leaves into clean mason jars. You can rub them between your fingers directly over simmering pasta sauces and homemade pizzas.
Combine dried oregano with garlic powder and dried basil for a versatile dry rub. This classic Mediterranean blend brightens roasted chicken and vegetable sheet-pan dinners all season.
Tip #4: Sage
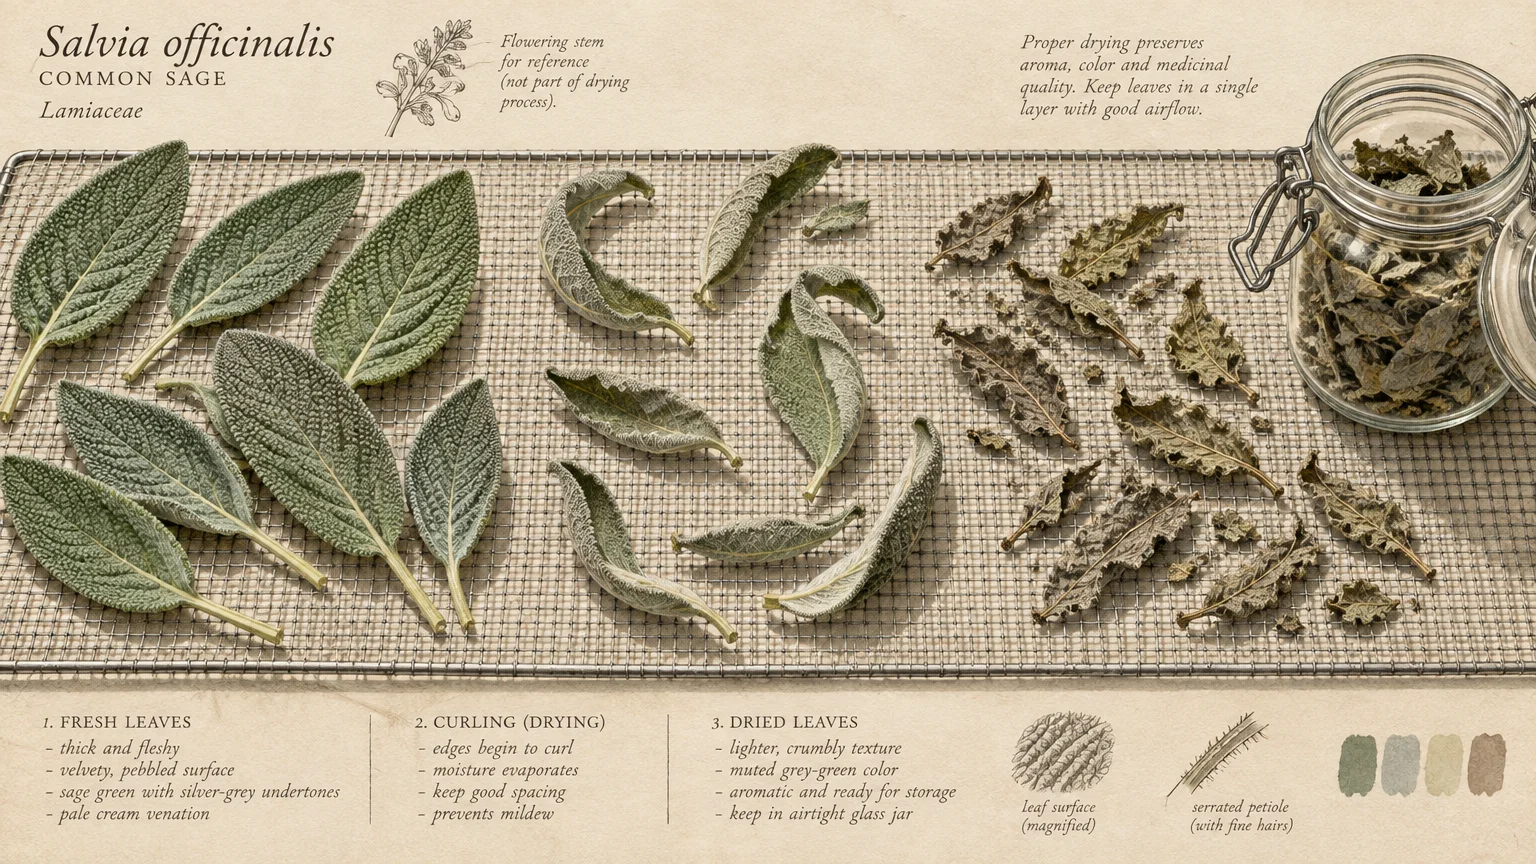
Sage features thick, velvety leaves that dry into tender, aromatic treasures for your kitchen shelf. Its warm, slightly peppery profile pairs naturally with rich poultry, squash, and butter sauces.
Gather individual whole sage leaves or entire woody sprigs in late morning. Select clean, healthy foliage free from insect damage or mildew spots.
Because sage foliage holds moisture within its dense, fuzzy surface, spread leaves across mesh screens in single layers. Do not let leaves overlap, or they will dry unevenly.
You can also use an electric food dehydrator set to ninety-five degrees Fahrenheit. Low heat preserves the delicate herbal aroma without scorching the plant oils.
The leaves finish drying when they crumble to the touch with a papery rustle. Store them whole rather than crushed, since whole leaves retain essential oils far longer.
Crumble whole dried sage directly into winter dressing, sausage stuffings, and butternut squash risotto. Its robust flavor stands up well to extended simmering and braising times.
Tip #5: Bay Laurel
Fresh bay laurel leaves often impart an overly bitter, medicinal taste to broths and braises. Drying mellows these astringent notes, unlocking sweet herbal undertones reminiscent of tea and eucalyptus.
Pick mature, deep green bay leaves from your bush rather than tender new growth. Older leaves possess a higher concentration of aromatic oils and dry with superior structure.
Lay the clean bay leaves flat between sheets of unbleached parchment paper. Place a heavy book on top of them for several days to prevent them from curling.
After a week of pressing, transfer the leaves to a flat drying tray away from direct sunlight. The drying process takes between two and four weeks in an airy room.
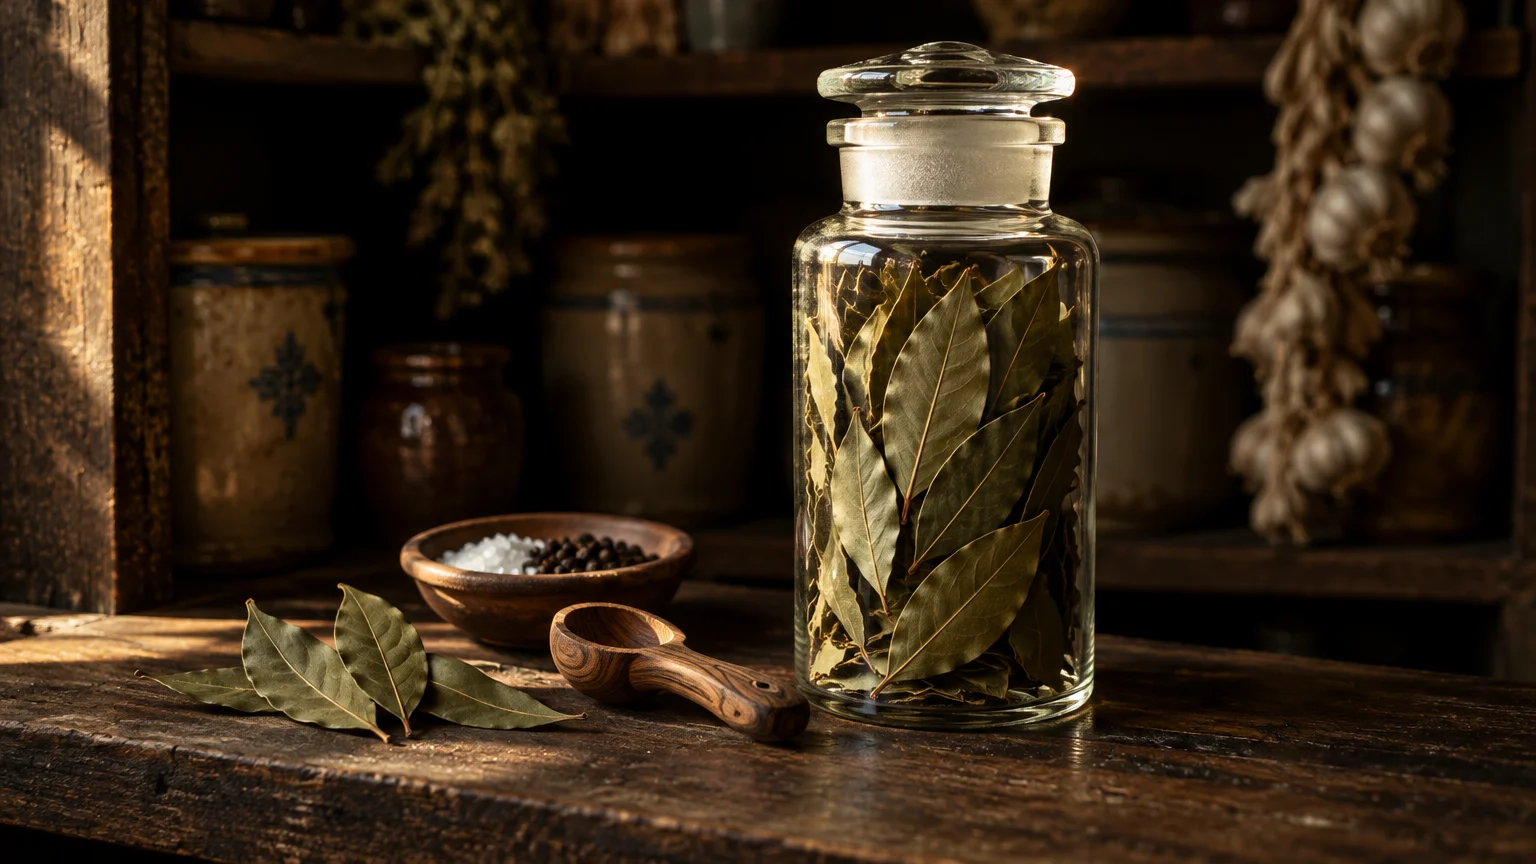
The leaves will fade to a soft olive-green color when fully dehydrated. They should feel firm and snap cleanly when bent between your fingers.
Drop whole dried bay leaves into bubbling bone broths, chili pots, and winter bean stews. Remember to fish out the leathery leaves before dishing portions onto dinner plates.
Tip #6: Mint
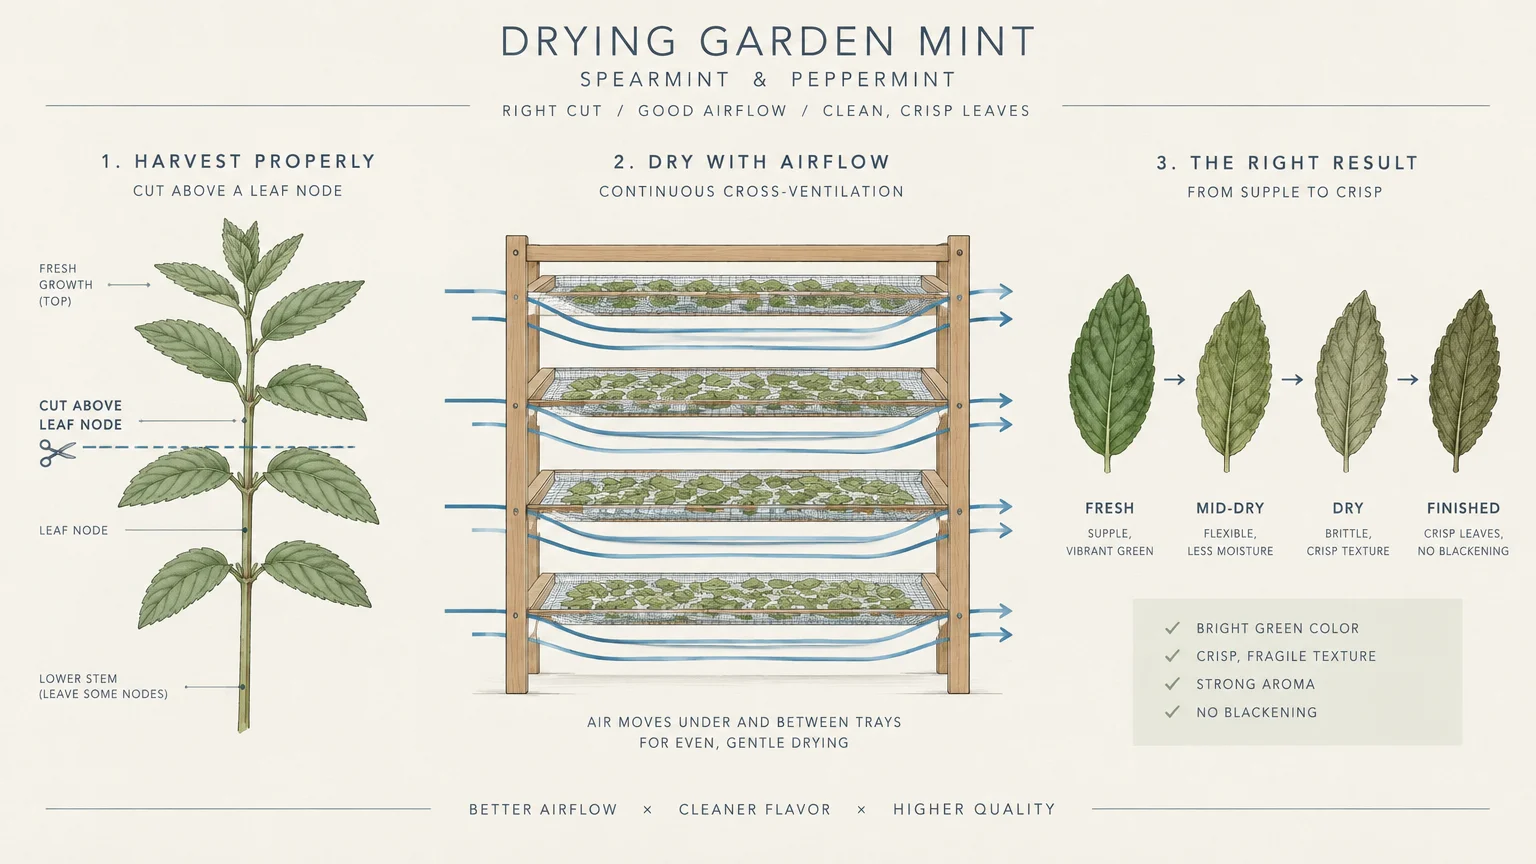
Spearmint and peppermint bring brisk, refreshing brightness to hearty cold-weather cooking and herbal teas. Drying mint concentrates its menthol content, yielding a vibrant pantry basic for sweet and savory recipes.
Snip whole mint stems just before the plant enters bloom in late summer. Harvesting before flowering guarantees sweet leaves without any bitter aftertaste.
Strip the lower leaves from each stem and tie the stalks into loose bunches. Suspend them upside down in a warm, well-ventilated pantry out of bright light.
Mint leaves dry rapidly within five to seven days thanks to their relatively thin structure. Check them regularly so you can store them before they absorb ambient room moisture.
Rub the dried leaves into coarse flakes, discarding the stiff square stems. Keep the flakes sealed inside tinted glass jars to shield them from color-fading light.
Steep a tablespoon of dried mint in boiling water for a soothing digestive tea. You can also mix it into winter lamb marinades, grain bowls, and spiced lentil stews.
Tip #7: Marjoram
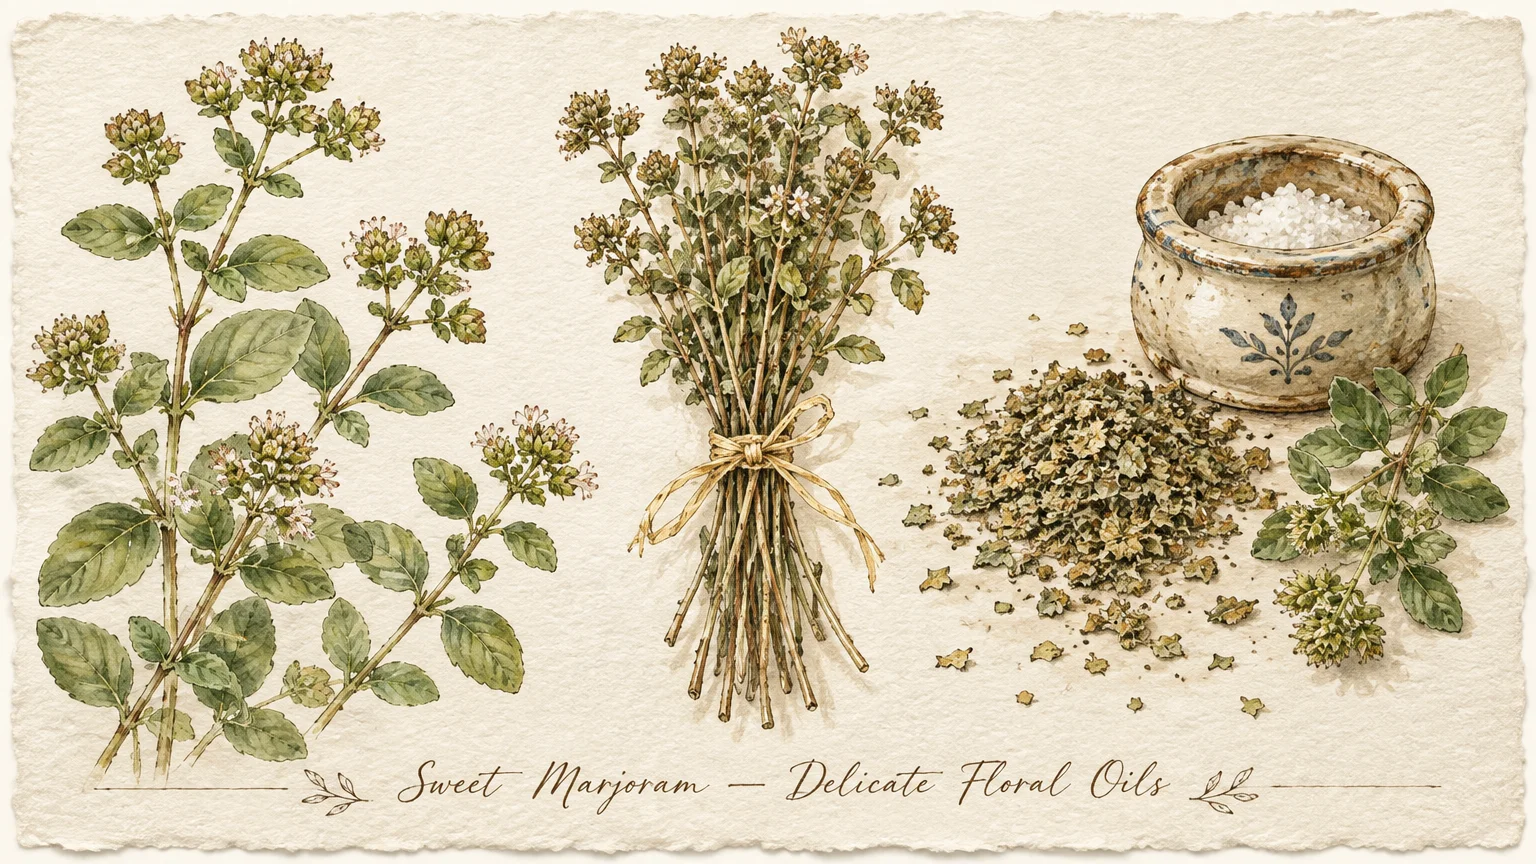
Sweet marjoram offers a gentler, more floral profile than its wild oregano cousin. It introduces a delicate, citrusy sweetness to savory cold-weather fare like pork loins and poultry roasts.
Harvest your marjoram branches right when the flower heads form compact round knobs. Cutting stems at this budding stage captures the purest essential oil concentrations.
Spread the dainty sprigs across flat dehydrator trays or mesh screens lined with cheesecloth. Space them evenly to allow unobstructed airflow around every fragile stem.
If you use a food dehydrator, keep the temperature at ninety-five to one hundred degrees Fahrenheit. High heat burns off marjoram’s subtle floral nuances in a matter of hours.
When the leaves feel crispy, strip them from the thin stems over a wide bowl. Pack the green flakes into airtight glass jars and store them in a cool cabinet.
Add dried marjoram toward the end of cooking to preserve its nuanced, aromatic bouquet. It balances tomato sauces, vegetable gratins, and roasted chicken dishes beautifully.
Tip #8: French Tarragon
True French tarragon delivers a distinct anise and licorice flavor that elevates winter cuisine. While some cooks prefer it fresh, careful dehydration preserves its sharp culinary character for cold-weather sauces.
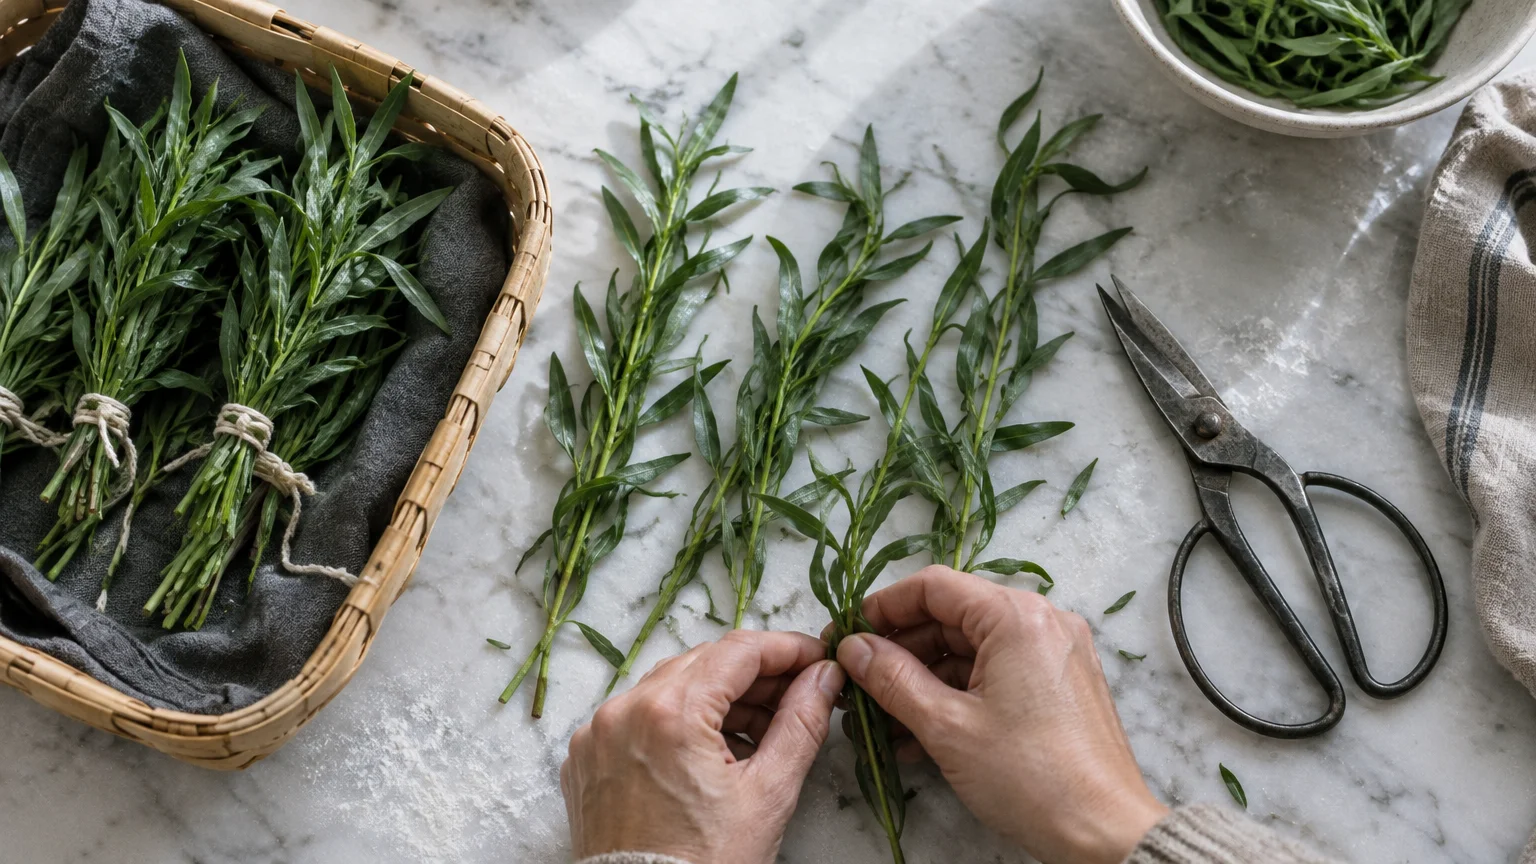
Ensure you grow true French tarragon rather than flavorless Russian tarragon. Clip top branches during early summer mornings while the foliage remains supple and full of sap.
Tarragon leaves bruise easily, so handle freshly harvested cuttings with a gentle touch. Lay the slender stems in single layers across clean cooling racks.
Air-dry the stems in a warm, dark room with low humidity for roughly one week. Alternatively, run an electric dehydrator on its lowest herbal setting until leaves crumble cleanly.
Strip the dry, dark green leaves from the stems without crushing them into fine dust. Storing whole leaves locks in volatile oils until you crush them for your recipes.
Rehydrate dried tarragon in warm white wine vinegar for dressing roasted vegetables and poultry dishes. It also lends classic French sophistication to creamy winter soups and egg bakes.
Tip #9: Winter Savory
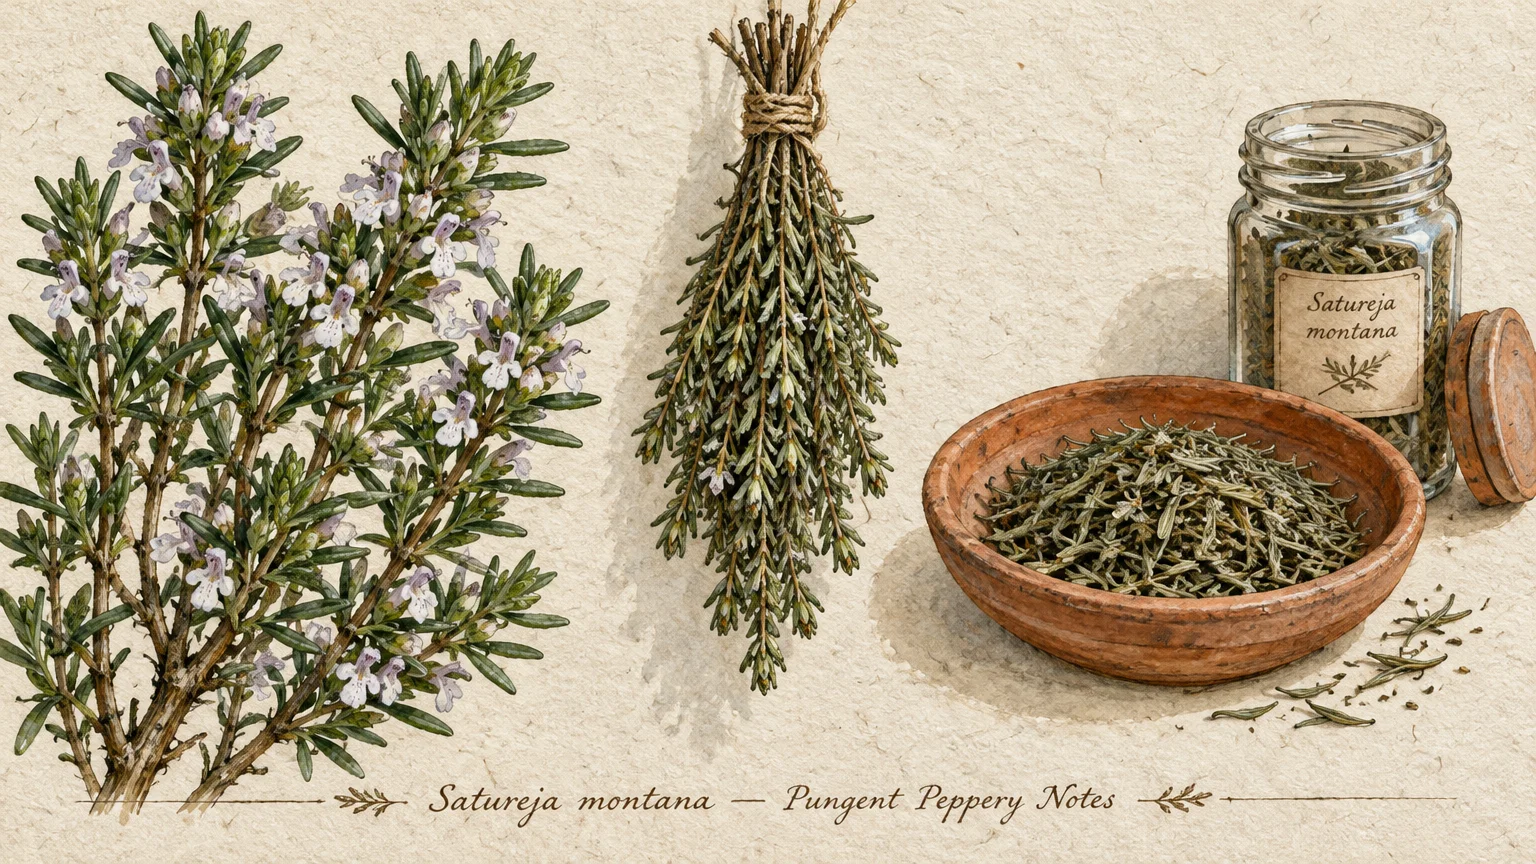
Winter savory provides a robust, peppery flavor that resembles a blend of thyme and sage. This evergreen sub-shrub withstands light frosts and dries with incredible resilience.
Snip tender top stems in late autumn before the plant stops active growth for the season. Trim non-woody branch tips that display healthy, bright green needles.
Fasten the stems into small bundles using twine, hanging them in a dry, shaded room. Its tough, narrow leaves dry quickly without losing their punchy oils.
You can also strip the leaves directly onto a shallow baking sheet lined with clean parchment paper. Stir the needles daily to ensure even air contact and thorough dehydration.
Once dry, funnel the spicy green needles into amber spice bottles. Stored in darkness, dried winter savory maintains its pungent bite for well over twelve months.
Use winter savory to season rich bean dishes, heavy stews, and roasted wild game. Its natural compounds enhance digestion while cutting through rich, fatty braises.
Tip #10: Dill
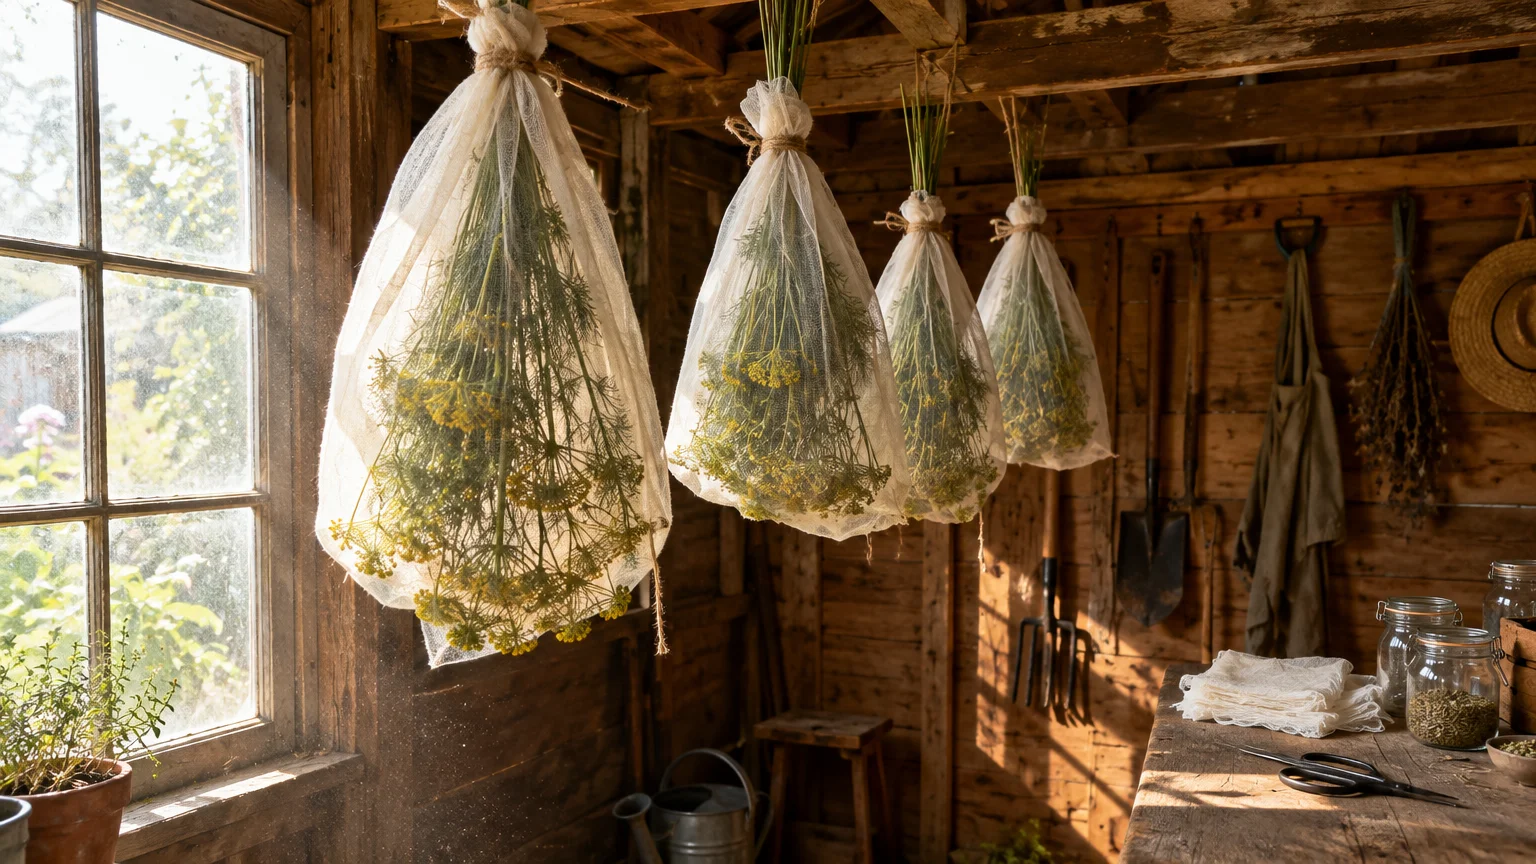
Dill weed brings a bright, grassy tang to cold-weather pantry cooking. Preserving dill leaves captures their lively, clean flavor to season potato dishes, fish, and winter chowders.
Harvest dill foliage early in the season before the plant sends up tall flower umbrellas. Once dill bolts and sets seed, its feathery fronds quickly lose their sweet flavor.
Rinse the fragile foliage gently to remove garden dirt, then shake off excess moisture. Pat the fronds between paper towels until they feel completely dry on the outside.
Food dehydrators work best for dill, which can mold easily when hung in humid rooms. Set your dehydrator to ninety-five degrees Fahrenheit for four to six hours.
The fronds will turn crumbly and bright green when dehydrated properly. Snip them over a glass jar using clean kitchen shears, avoiding crushing them into fine powder.
Stir dried dill into sour cream for a quick winter vegetable dip. It also complements creamy salmon chowders, roasted root vegetables, and warm potato salads.
Tip #11: Flat-Leaf Parsley
Flat-leaf Italian parsley provides a clean, grassy foundation for seasoning rubs and warming winter broths. While delicate, drying preserves its rich mineral profile and earthy brightness for cold-weather cooking.
Cut outer stems near the base of the plant during mid-morning. Choose vibrant, deep green stems that show no yellowing or wilting along their leaf margins.
Wash the stems thoroughly in cold water to dislodge garden grit, then spin them dry in a salad spinner. Removing surface water prevents browning during the drying process.
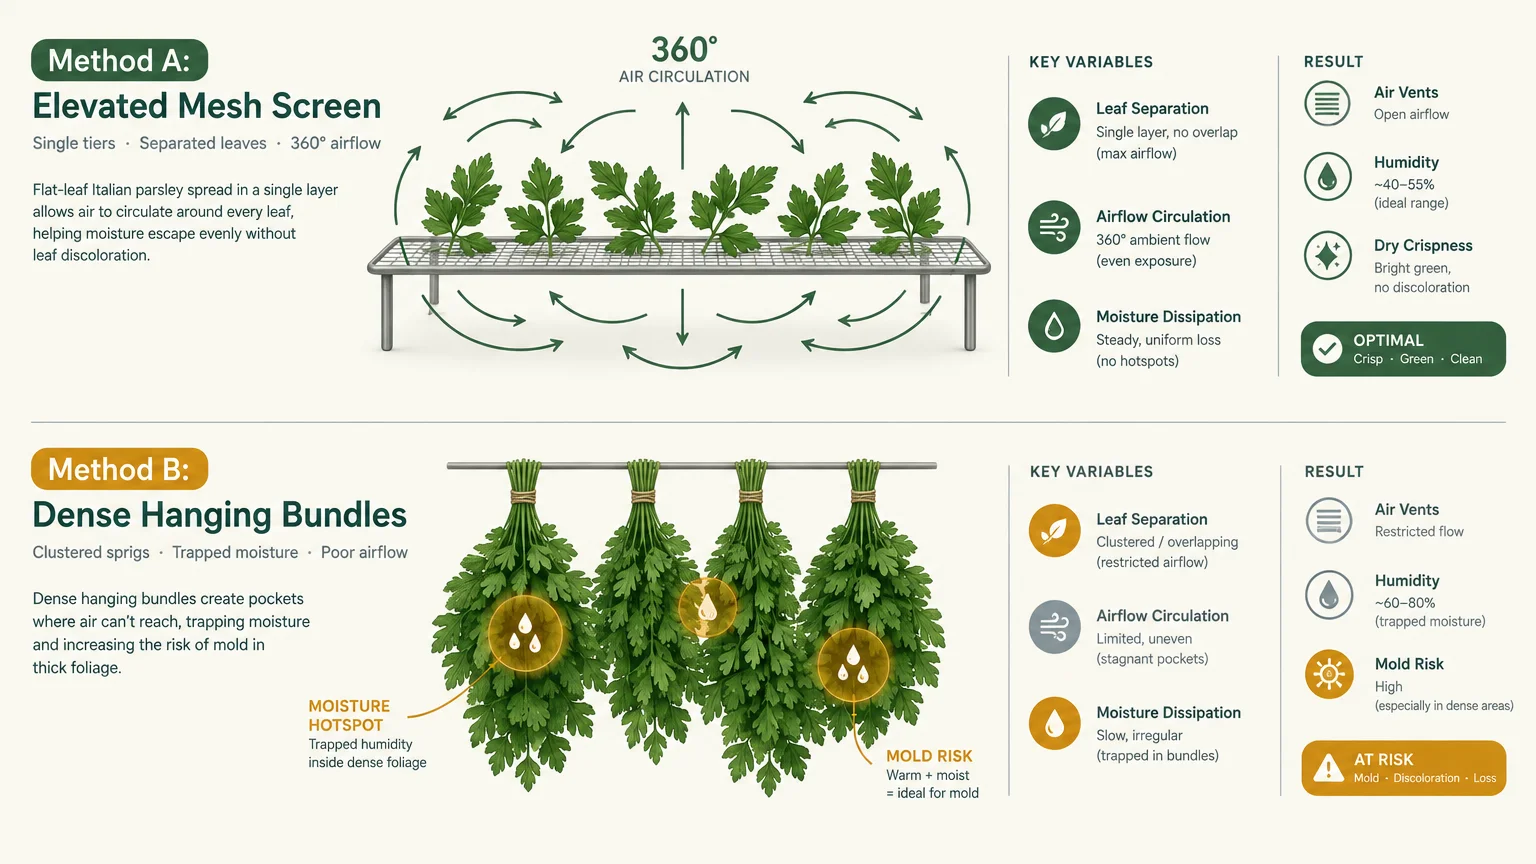
Spread parsley sprigs across food dehydrator trays, ensuring adequate space between leaves. Run the dehydrator at one hundred degrees Fahrenheit until the leaves feel paper-thin and crisp.
Air drying also works well if you hang small bunches in a warm, draft-free pantry. Strip the dried leaves from their bitter stems and store them in sealed glass jars.
Sprinkle dried flat-leaf parsley into winter poultry soups, homemade meatballs, and hearty grain casseroles. Its gentle freshness cuts through heavy winter textures and balances complex spice blends.
Putting It All Together: Enjoy Your Beautiful Garden
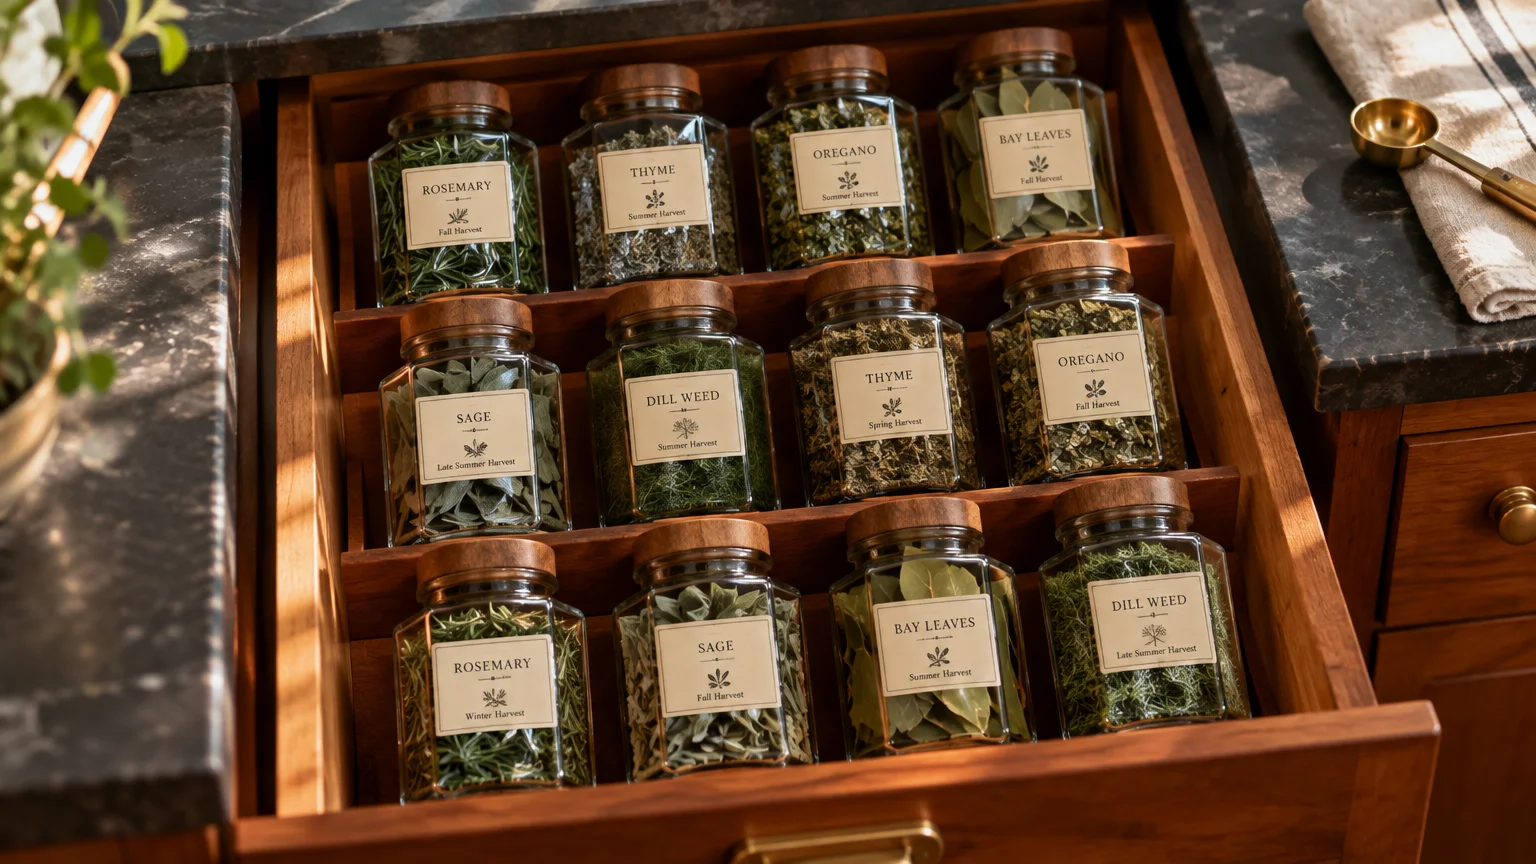
Preserving your homegrown herbs bridges the gap between summer garden abundance and cozy winter cooking. Each jar in your pantry represents careful stewardship and a connection to your land.
Store all your dried herbs in airtight glass containers kept away from direct sunlight, heat, and moisture. Proper storage protects delicate essential oils from oxidizing and losing their culinary potency.
Remember that dried herbs are more concentrated than fresh cuttings. Use one teaspoon of dried herbs in place of one tablespoon of fresh herbs in your favorite recipes.
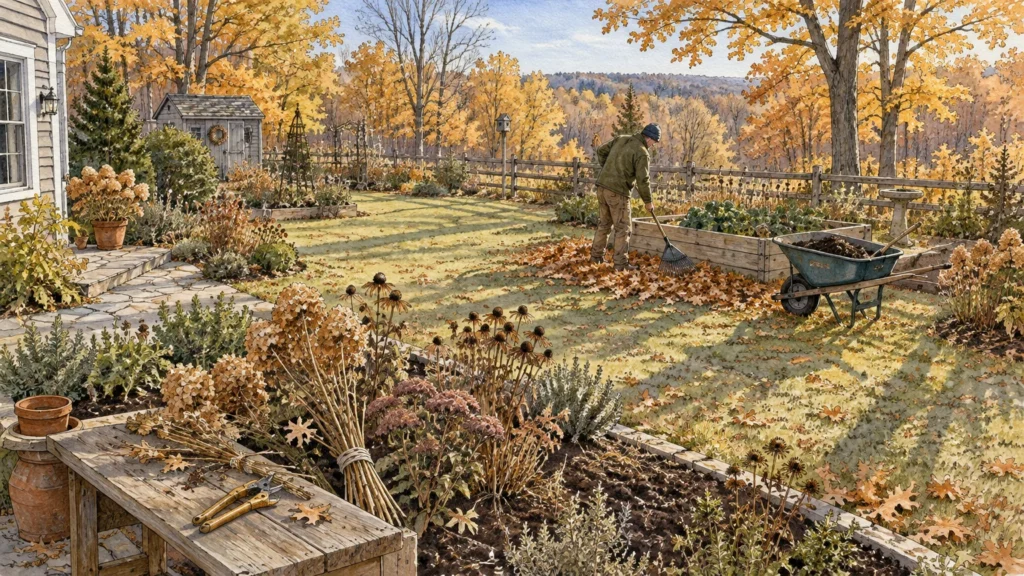
Start harvesting your garden herbs before the first killing frost sweeps through your backyard beds. Your winter kitchen will reward your efforts with rich, fragrant dinners all season long.
For region-specific advice, consult your local University Extension program (find yours via the USDA directory). For plant databases and inspiration, visit the Missouri Botanical Garden or the Royal Horticultural Society.
Disclaimer: This article provides general gardening advice. Always consider your specific climate, soil conditions, and local pests.
Follow safety guidelines when using gardening tools and products.
Frequently Asked Questions
How long do home-dried herbs stay potent?
Home-dried herbs maintain peak flavor for roughly one to two years when stored properly. Keep them in sealed glass containers inside a cool, dark cabinet away from the stove.
To test their freshness, crush a small pinch between your fingers and smell them. If the herbal scent is faint or absent, compost the batch and dry fresh cuttings.
Can I dry herbs using a standard kitchen oven?
You can use an oven, but you must keep the temperature as low as possible. Set your oven to warm or its lowest setting, ideally below one hundred seventy degrees Fahrenheit.
Prop the oven door open with a wooden spoon to encourage air circulation. Watch the leaves closely, as high heat quickly scorches essential oils and ruins herb flavor.
Should I crush dried herbs before putting them in storage jars?
Keep your dried herbs in whole-leaf form whenever possible during storage. Whole leaves protect volatile essential oils from air exposure and keep seasonings fresh far longer.
Crush the dried leaves between your palms right before adding them to your cooking pot. This releases fragrant oils directly into your food at the perfect culinary moment.
Can I wash herbs before drying them?
Wash herbs only if they carry visible soil, grit, or garden pests. If you wash them, dry them completely with clean towels or a salad spinner before beginning the drying process.
Any lingering surface moisture invites fungal mold, which can destroy an entire batch. Clean herbs harvested from pristine garden beds rarely require washing before drying.