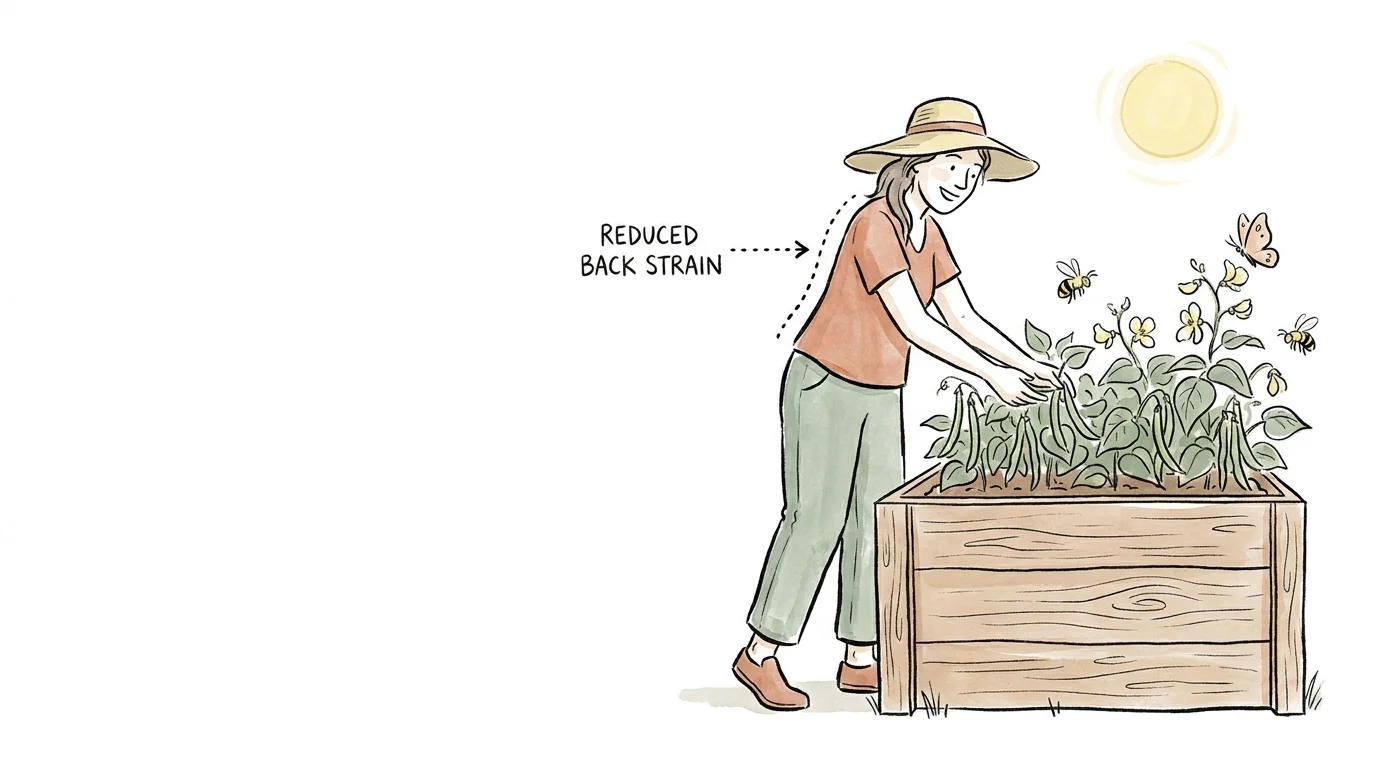
Growing your own food yields unmatched flavor, and using raised garden beds practically guarantees a higher success rate for your harvest. Elevated planters give you total control over soil quality, eliminate the struggle of battling compacted earth, and warm up much faster in the spring for an earlier planting season. You will notice fewer weeds invading your crops, and the extra height significantly reduces back strain—making this a brilliant strategy for easy gardening. While you can cultivate almost anything in these versatile structures, certain plants truly thrive and produce exceptional yields when lifted above the native ground. Transform your backyard harvests by dedicating your boxes to the crops that benefit most from superior drainage and pristine loam.
Tip #1: Carrots
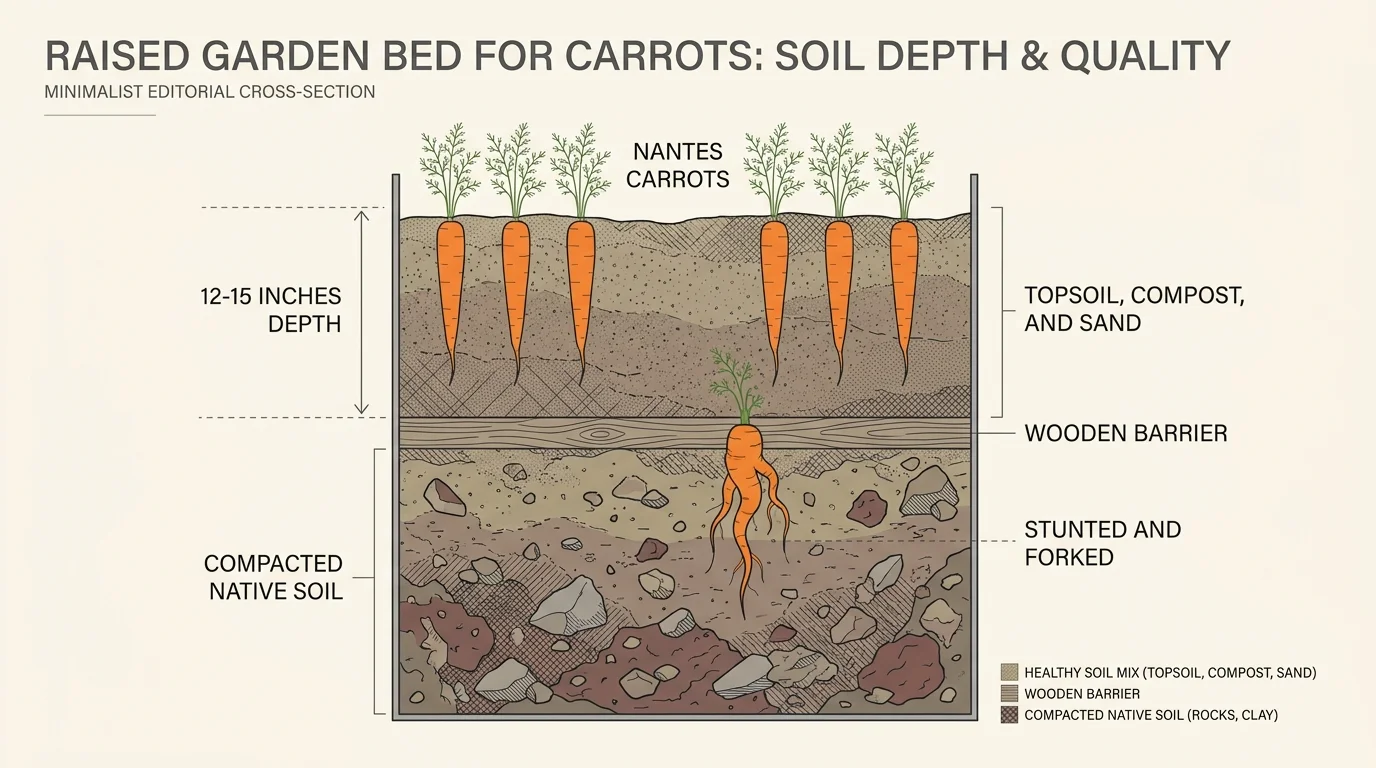
Carrots demand loose, deeply aerated soil to reach their full potential; without it, you end up with stunted, twisted, or forked roots that look nothing like the prize-winning vegetables you envisioned. When you sow carrot seeds directly into native backyard dirt, they inevitably strike rocks, heavy clay, or compacted layers that force the growing taproot to bend or split. Raised beds completely eliminate this frustrating problem. By filling your frames with a premium blend of topsoil, aged compost, and coarse sand, you create the perfect friable texture that allows carrots to plunge straight down without encountering a single obstacle.
To achieve the best results, construct your planters to a depth of at least twelve to fifteen inches. This gives long varieties like Imperator or Nantes plenty of vertical space to stretch out. Before planting, aggressively fluff the soil with a broadfork or hand trowel to ensure maximum aeration. Because carrots require consistent moisture for their tiny seeds to germinate, the excellent drainage provided by an elevated environment means you must monitor their water intake carefully. A daily light misting during the first two weeks keeps the top crust soft, ensuring those fragile green shoots can break through the surface.
Once your carrots establish themselves, the controlled environment of an elevated box makes thinning and weeding incredibly manageable. The extra height puts the foliage right within your reach, drastically reducing the bending and stooping typically associated with root crop maintenance. When harvest time arrives, you can practically pull the pristine, perfectly straight orange taproots right out of the fluffy soil by their green tops, leaving the heavy digging fork safely tucked away in the garden shed.
Tip #2: Potatoes
Harvesting potatoes from traditional ground plots involves backbreaking labor and the constant risk of slicing your prized spuds with a sharp digging tool. Cultivating these starchy favorites in elevated boxes transforms a physically demanding chore into a delightful, rewarding experience. This approach serves as a prime example of why elevated structures are perfect for senior gardening; the raised profile eliminates the need to dig deep trenches into hard native earth.
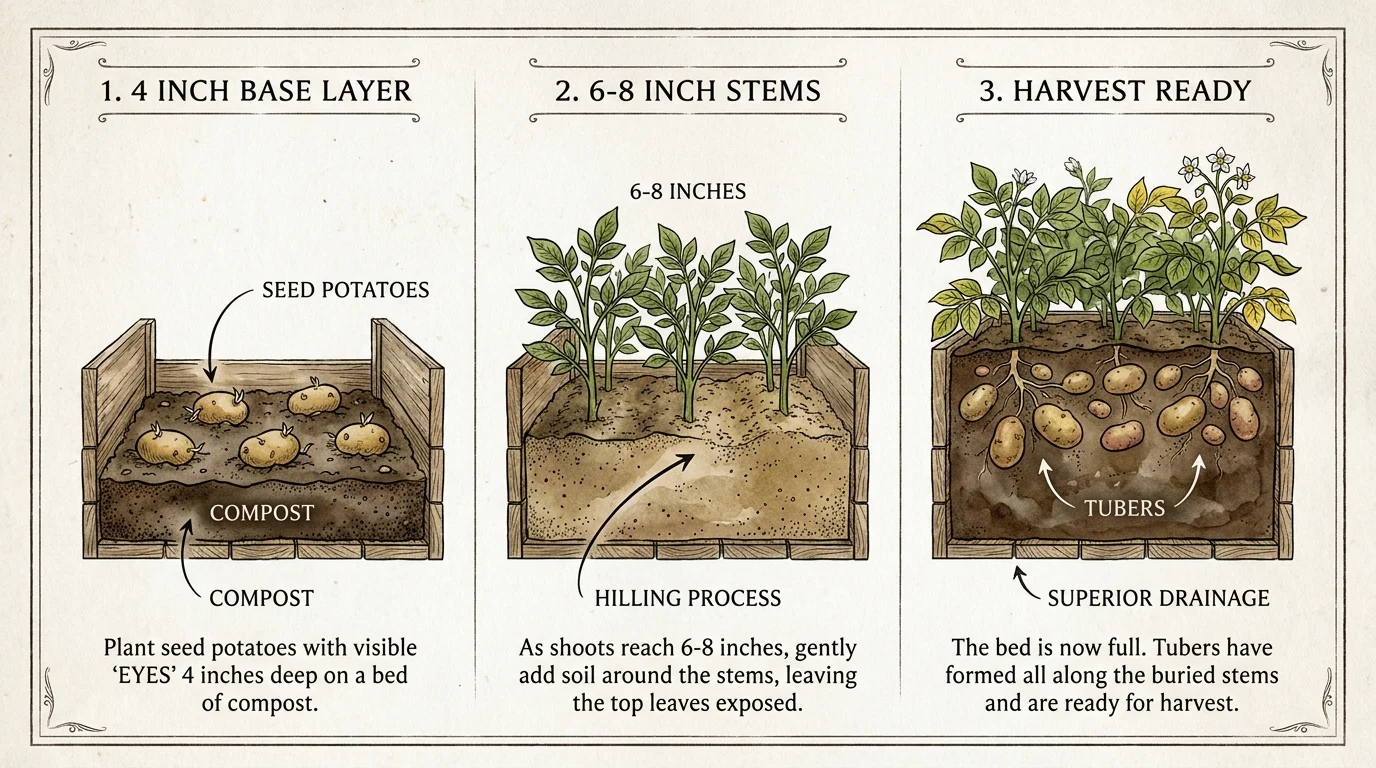
Start your potato journey by filling the bottom four inches of your planter with a rich mixture of soil and compost. Place your seed potatoes—cut pieces featuring at least two “eyes” each—directly onto this base layer. As the green stems emerge and reach about six to eight inches tall, simply add more soil, straw, or compost around the stems, leaving just the top few leaves exposed. This process, known as hilling, encourages the plant to produce more tubers along the buried stem. You repeat this layering technique until the organic material reaches the top of the container.
The superior drainage of a constructed planter protects your potato crop from sitting in cold, waterlogged conditions, effectively preventing devastating rot diseases. When the foliage eventually turns yellow and dies back late in the season, harvesting is astonishingly simple. Instead of excavating compacted dirt, you just push aside the loose, friable soil mixture with your gloved hands to reveal dozens of pristine potatoes hidden like buried treasure.
Tip #3: Tomatoes
Tomatoes are notorious heavy feeders that despise sitting in soggy conditions, making them ideal candidates for the controlled environment of elevated growing spaces. Native ground often takes weeks to thaw and dry out after winter snows or heavy spring rains. Raised garden beds capture the sun’s ambient heat, warming the contained soil significantly earlier in the season. This crucial temperature boost allows you to transplant your tomato seedlings outdoors sooner, giving them a vital head start on producing those first delicious summer fruits.
Disease prevention represents another major advantage when growing tomatoes above the native ground level. Fungal infections like early blight frequently spread when heavy rains splash soil-borne spores onto the lower leaves of the plant. By providing pristine, disease-free potting mixes and maintaining excellent drainage, you drastically reduce the chances of blight decimating your crop. You can easily amend your dedicated planter mix with crushed eggshells or bone meal before planting, ensuring your tomatoes receive the abundant calcium required to prevent blossom-end rot.
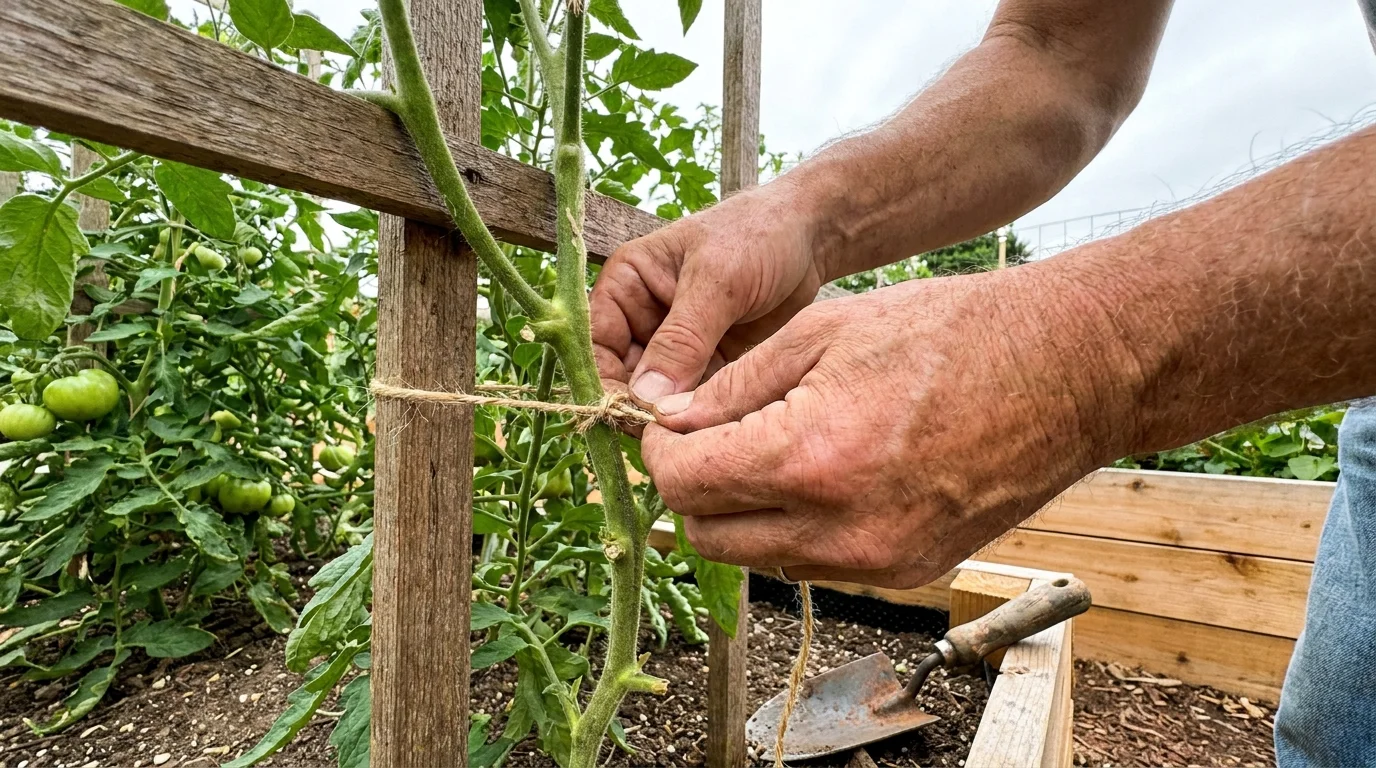
To maximize your yield, select indeterminate tomato varieties and install a sturdy trellis system directly into the deep soil of the box. The loose structure encourages the plants to develop extensive, deep root systems that firmly anchor heavy, fruit-laden vines. Apply a thick layer of organic mulch around the base of each stem; this traps essential moisture during the scorching summer months while keeping the surrounding area tidy and weed-free.
Tip #4: Onions
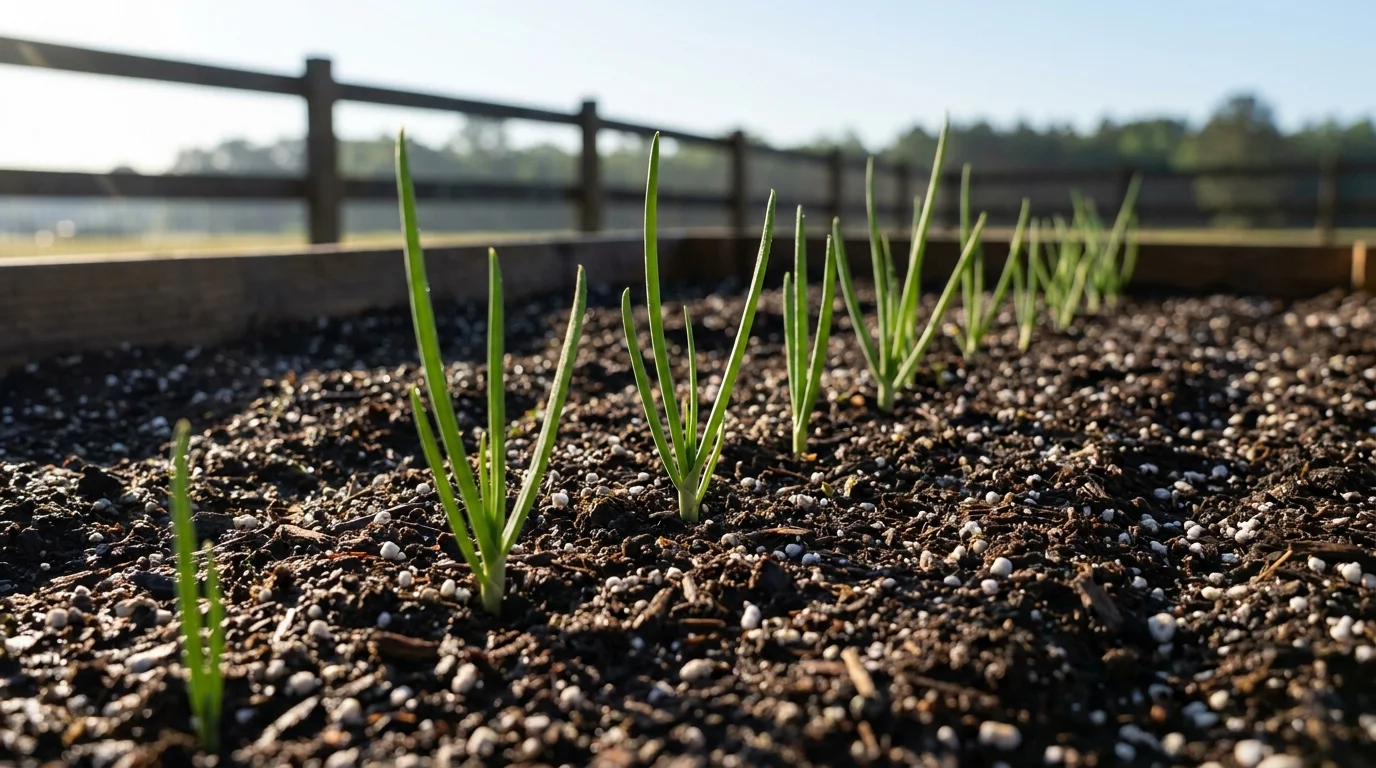
Growing massive, flavorful onions requires a growing medium that yields easily as the bulbs expand throughout the season. Heavy clay naturally restricts this horizontal growth, leaving you with disappointing, golf-ball-sized harvests despite months of careful tending. Elevating your crop provides the loose, accommodating environment that onions desperately need to swell to their full, impressive size.
Onions possess relatively shallow root systems, making them highly susceptible to both drought and waterlogging. The balanced composition of a well-prepared planter mix perfectly addresses this delicate watering balance. The soil retains just enough moisture to keep the shallow roots hydrated while allowing excess water to drain away rapidly. This rapid drainage prevents fungal issues and bulb rot, which frequently destroy ground-level onion crops during unusually wet spring weather.
Planting your onion sets or transplants in an elevated frame also optimizes spacing and light exposure. You can plant them in tightly organized grids—typically spaced four to six inches apart—maximizing the yield per square foot without forcing the plants to compete for scarce nutrients. Keep the topsoil lightly cultivated to eliminate weed competition, as onions despise sharing their growing space with invasive roots. When the green tops naturally flop over in late summer, your easily accessible, massive bulbs will be ready to cure.
Tip #5: Bush Beans
Bush beans offer incredible yields and demand very little maintenance, especially when you leverage the unique benefits of elevated planting. These prolific legumes hate cold, damp conditions; seeds sown directly into chilly spring earth often rot before they ever manage to sprout. Because the soil in a raised structure warms up quickly, bush beans germinate rapidly and evenly, resulting in a lush, uniform canopy of productive foliage.
Unlike pole beans that require elaborate vertical supports, bush varieties grow into compact, sturdy plants reaching about two feet tall. Planting them in dedicated boxes keeps the delicate bean pods safely off the wet ground, protecting them from soil-borne diseases and hungry pests. As natural nitrogen fixers, beans actively improve the quality of the soil they inhabit by pulling nitrogen from the air and storing it in nodules on their roots. This leaves the growing medium perfectly primed for nitrogen-hungry vegetables like leafy greens or brassicas in the following season.
Harvesting beans requires constant picking to encourage continuous production. The added height of your garden structure transforms this repetitive task from a chore into a pleasure. You can comfortably inspect the dense foliage and snap off the crisp, mature pods without crouching uncomfortably for extended periods. Applying these simple gardening tips ensures you harvest basket after basket of fresh, tender beans right up until the first autumn frost.
Tip #6: Bell Peppers
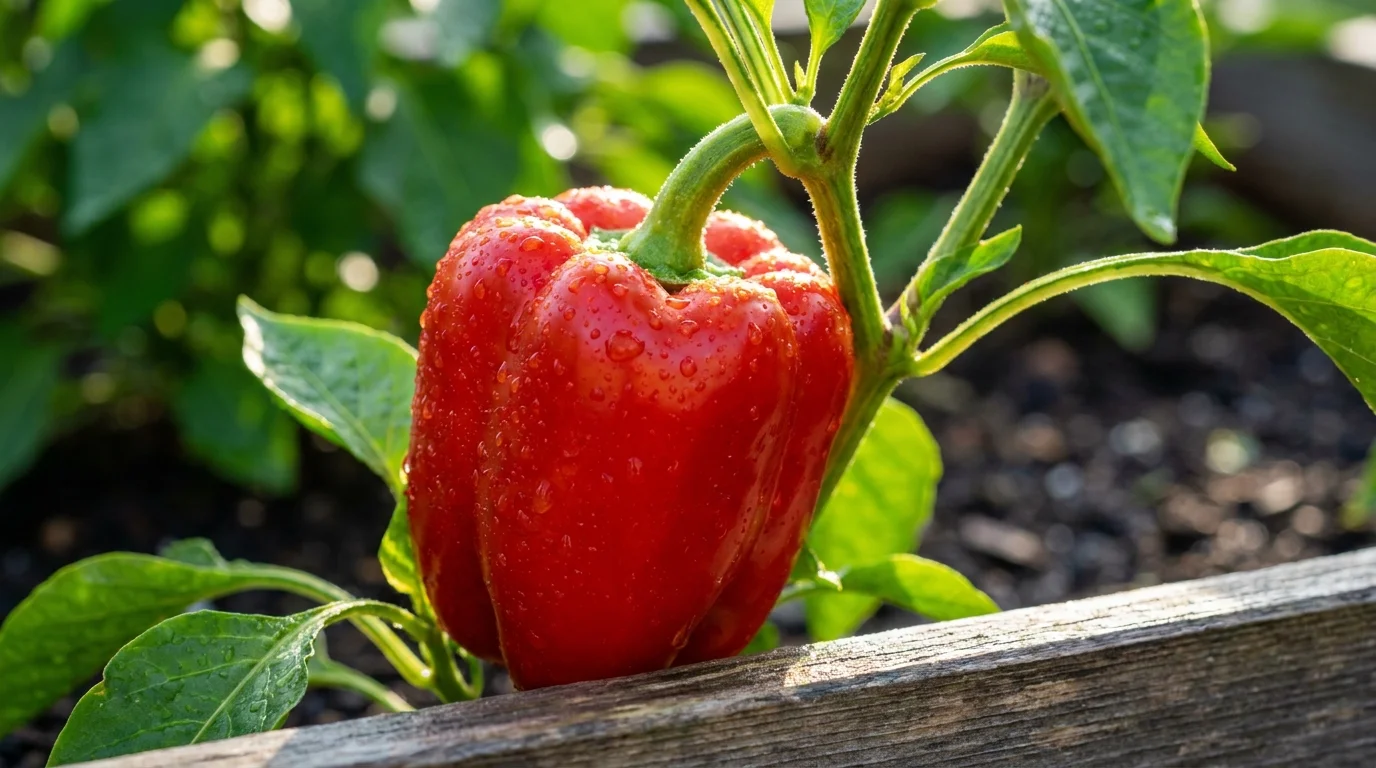
Bell peppers thrive on intense heat; they crave warm roots just as much as they desire bright sunshine on their leaves. Planters constructed from wood or metal naturally absorb and retain solar energy, creating a cozy microclimate that supercharges pepper plant growth. This retained heat helps peppers transition smoothly from their indoor seedling trays to the outdoor environment, significantly reducing transplant shock.
Consistent moisture management dictates the success of your pepper harvest. Too much water drowns the roots and causes flowers to drop prematurely, while too little water results in thin-walled, bitter fruits. The custom soil blend in an elevated box acts like a sponge, holding precise amounts of moisture while letting heavy rainfall drain away efficiently. You can tailor your soil mix perfectly for peppers by adding organic compost and a slow-release granular fertilizer rich in phosphorus and potassium to encourage robust flowering and thick, sweet fruit walls.
As your pepper plants mature and load up with heavy fruits, their branches frequently threaten to snap under the weight. The deep, fluffy soil allows you to easily sink bamboo stakes right next to the main stem for crucial support. Keep a close eye on the weather; the slightly warmer microclimate of an elevated frame often extends the pepper growing season by several weeks, granting you a final late-autumn harvest before winter arrives.
Tip #7: Spinach and Leafy Greens
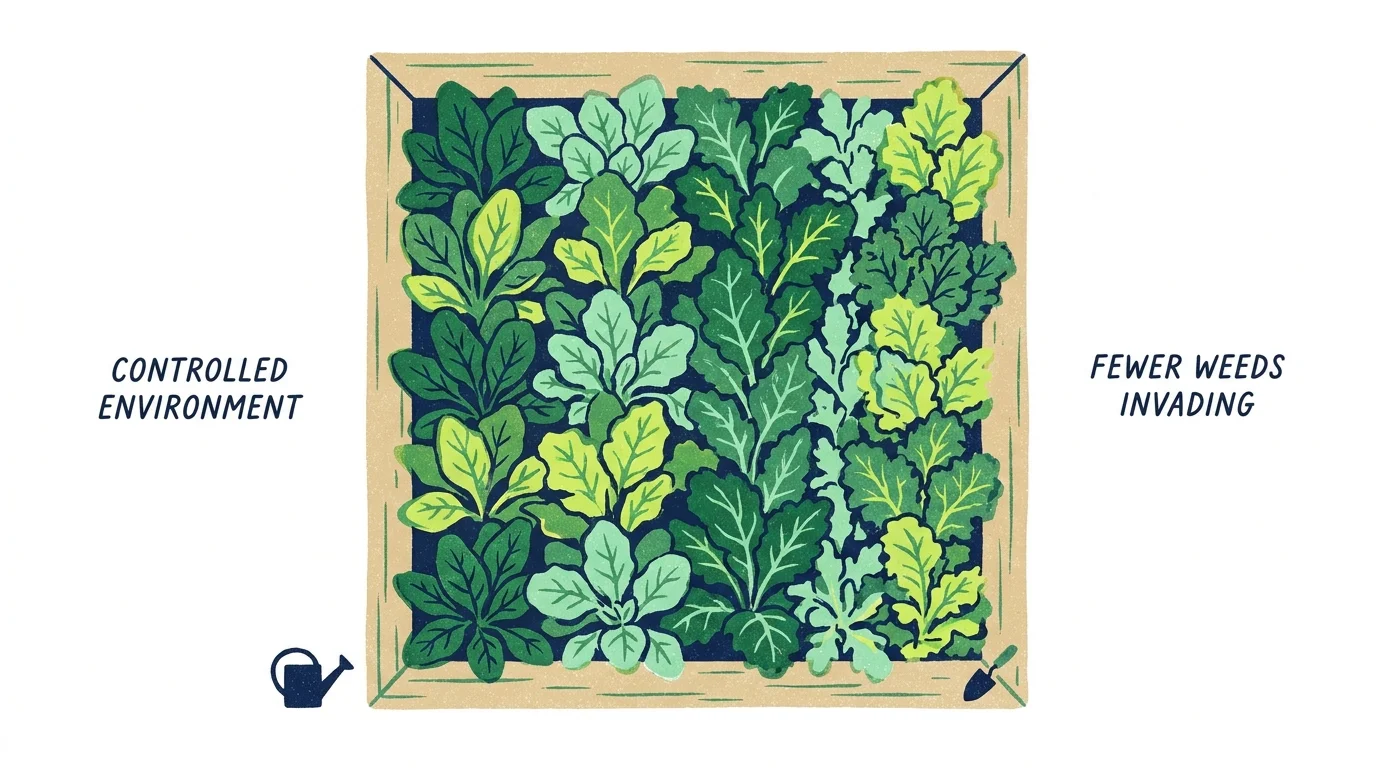
Tender leafy greens like spinach, lettuce, and Swiss chard frequently fall victim to ground-dwelling pests and aggressive weed competition when grown in traditional garden rows. Slugs, snails, and rabbits consider fresh spinach a delicacy, quickly decimating an entire row overnight. Lifting these delicate crops off the ground creates a physical barrier that discourages many common garden pests from reaching your precious salad greens.
Weed management becomes completely effortless in this controlled environment. Because you fill the frame with imported, weed-free soil and compost, you completely bypass the dormant weed seeds lurking in your native backyard dirt. Spinach features shallow roots and thrives in nitrogen-rich, loose organic matter. The pristine growing medium provides immediate access to essential nutrients, resulting in vibrant, dark green leaves that grow faster and taste significantly sweeter than their ground-grown counterparts.
Leafy greens actively prefer cooler weather and tend to bolt or turn bitter when exposed to extreme heat. The distinct borders of an elevated frame make it incredibly easy to attach specialized row covers or shade cloth. You can construct a simple PVC hoop system directly onto the wooden sides, allowing you to stretch shade fabric over the spinach during the hot afternoon sun. This clever technique extends your delicate green harvest well into the warmer summer months.
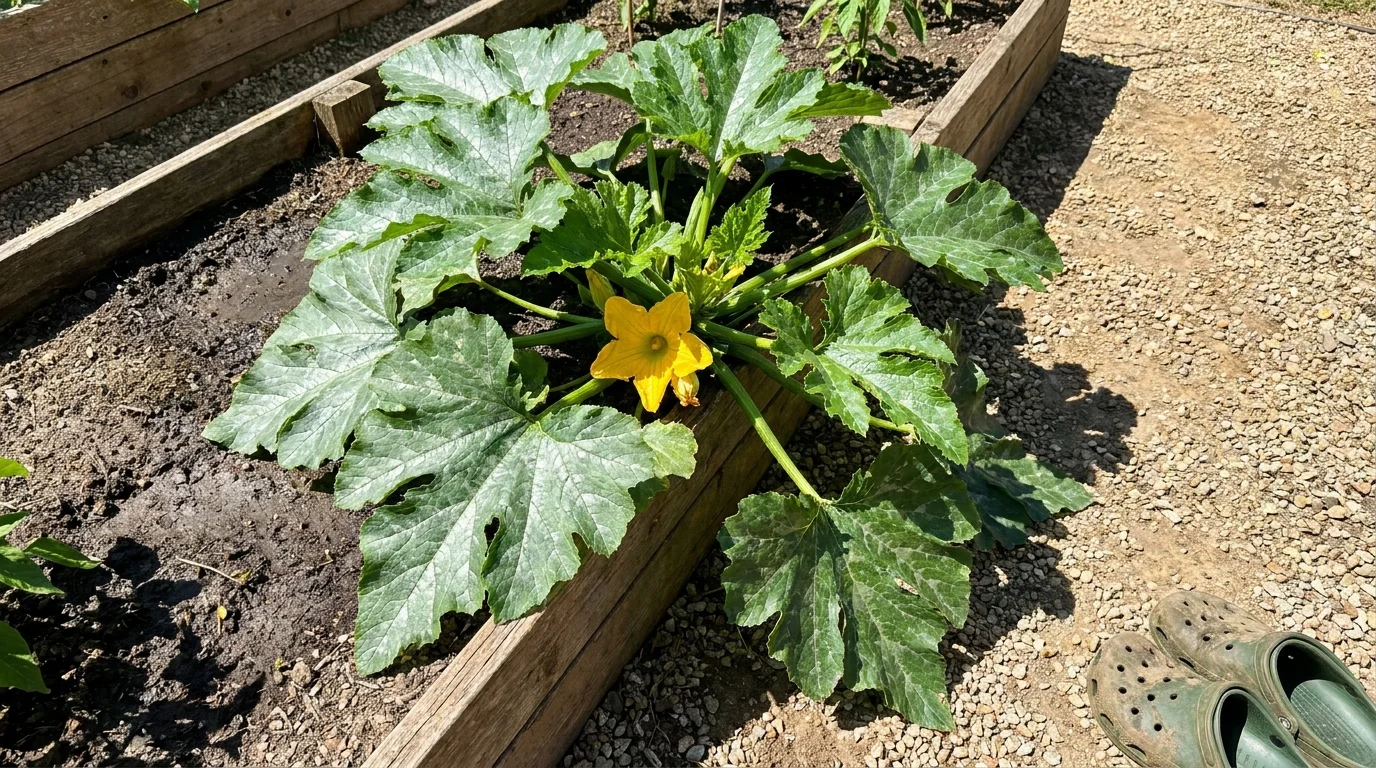
Tip #8: Zucchini and Summer Squash
Summer squash plants demand immense amounts of nutrients and exceptional air circulation to produce their legendary bumper crops. A single healthy zucchini plant requires several square feet of growing space and heavily depletes the surrounding soil of its resources. Planting them in the nutrient-dense, compost-heavy environment of a raised garden bed provides the massive energetic boost these vigorous plants require to sustain their rapid growth.
Squash plants are notoriously susceptible to powdery mildew, a devastating fungal disease that coats the large leaves in a white, dusty film. Powdery mildew thrives in stagnant, damp air near the ground level. Elevating the plants improves overall airflow around the dense foliage, helping the leaves dry out quickly after morning dew or heavy rain showers. You can intentionally plant your zucchini near the edges of the box, allowing the massive vines to trail elegantly over the sides. This strategic positioning maximizes your available growing area while keeping the delicate squash fruits elevated and away from rotting on damp soil.
Watering squash effectively requires delivering moisture directly to the root zone without wetting the expansive leaves. The soft, uncompacted soil of an elevated frame absorbs water instantly, ensuring deep penetration directly to the taproot. Supplement the soil with generous helpings of aged manure or rich compost mid-season to replenish the heavy nutrient draw, and you will enjoy a staggering abundance of fresh zucchini all summer long.
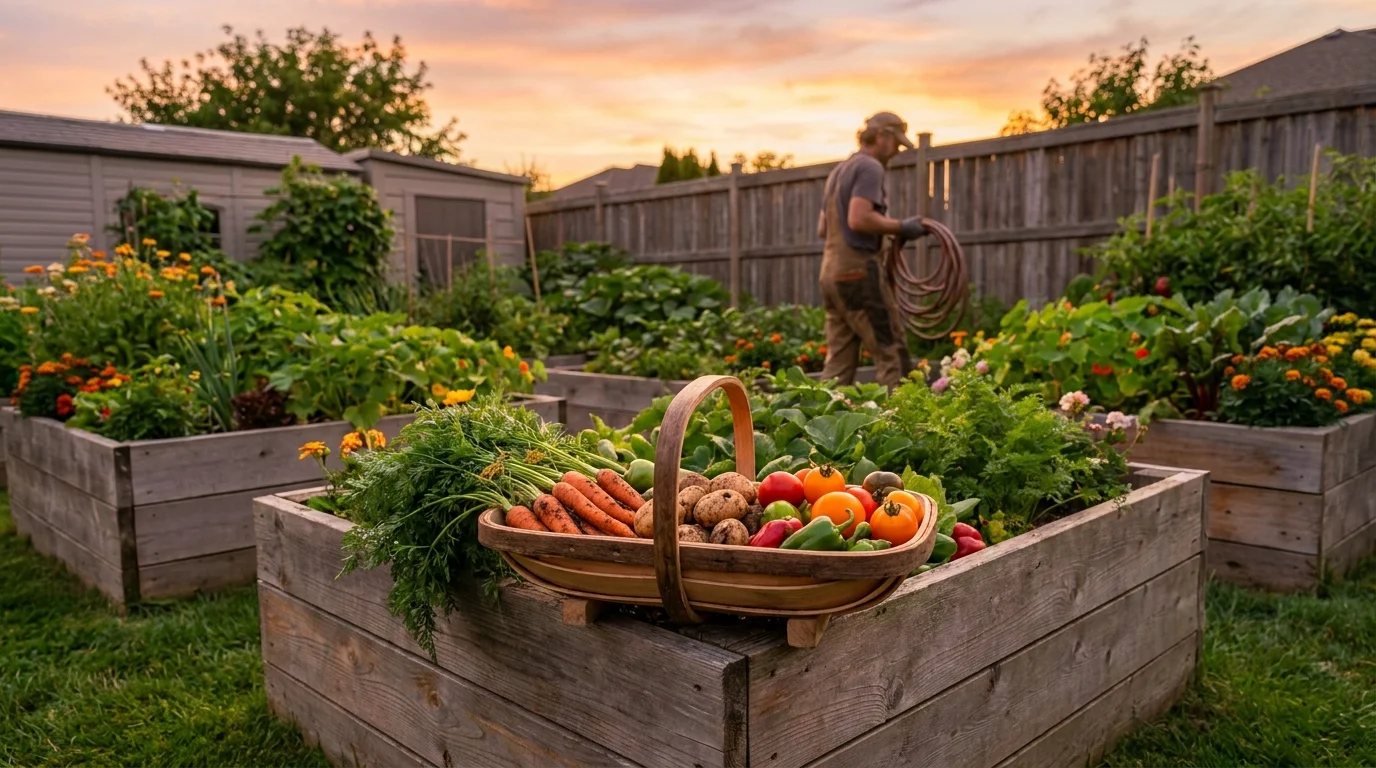
Putting It All Together: Enjoy Your Beautiful Garden
Transitioning your favorite crops into elevated planters fundamentally shifts how you experience backyard cultivation. By embracing this incredibly efficient growing method, you bypass the frustrations of rocky dirt, poor drainage, and constant bending. Carrots grow straight and true, potatoes practically unearth themselves, and your heat-loving tomatoes and peppers gain the critical head start they need to produce staggering yields. The initial effort required to construct and fill these structures pays massive dividends in the form of healthier plants and a drastically reduced workload.
Remember that the true secret to this method lies in the exceptional quality of the soil you create. Maintain your boxes by top-dressing them with fresh compost every season to keep the nutrient profile high and the texture delightfully loose. Step outside, plan your layout, and start transforming your outdoor space into an incredibly productive, easily manageable oasis of fresh food.
Frequently Asked Questions
How deep should a raised garden bed be to grow vegetables effectively?
For most vegetables, a depth of eight to twelve inches provides ample space for healthy root development. However, if you plan to grow deep-rooted crops like large tomatoes, potatoes, or long carrots, aim for a depth of eighteen to twenty-four inches. Deeper frames also offer greater ergonomic benefits, requiring significantly less bending during maintenance and harvesting.
What is the best soil mixture to use when filling new planters?
The ideal blend balances drainage, moisture retention, and rich nutritional value. A highly effective and popular recipe consists of fifty percent high-quality screened topsoil, thirty percent organic compost, and twenty percent drainage material like coarse sand, perlite, or vermiculite. Avoid using pure garden dirt from your yard, as it quickly compacts and defeats the primary purpose of the elevated structure.
Do I need to line the bottom of the frame before adding soil?
Lining the bottom is highly recommended to suppress underlying weeds and deter burrowing pests. Lay down overlapping sheets of plain, unwaxed cardboard or several layers of black-and-white newspaper directly over the grass or native dirt; this organic barrier smothers weeds and eventually decomposes to attract beneficial earthworms. If moles or gophers are an issue in your area, securely staple a layer of galvanized hardware cloth to the bottom of the frame before placing the cardboard.
For region-specific advice, consult your local University Extension program (find yours via the USDA directory). For plant databases and inspiration, visit the Missouri Botanical Garden or the Royal Horticultural Society.
Disclaimer: This article provides general gardening advice. Always consider your specific climate, soil conditions, and local pests. Follow safety guidelines when using gardening tools and products.