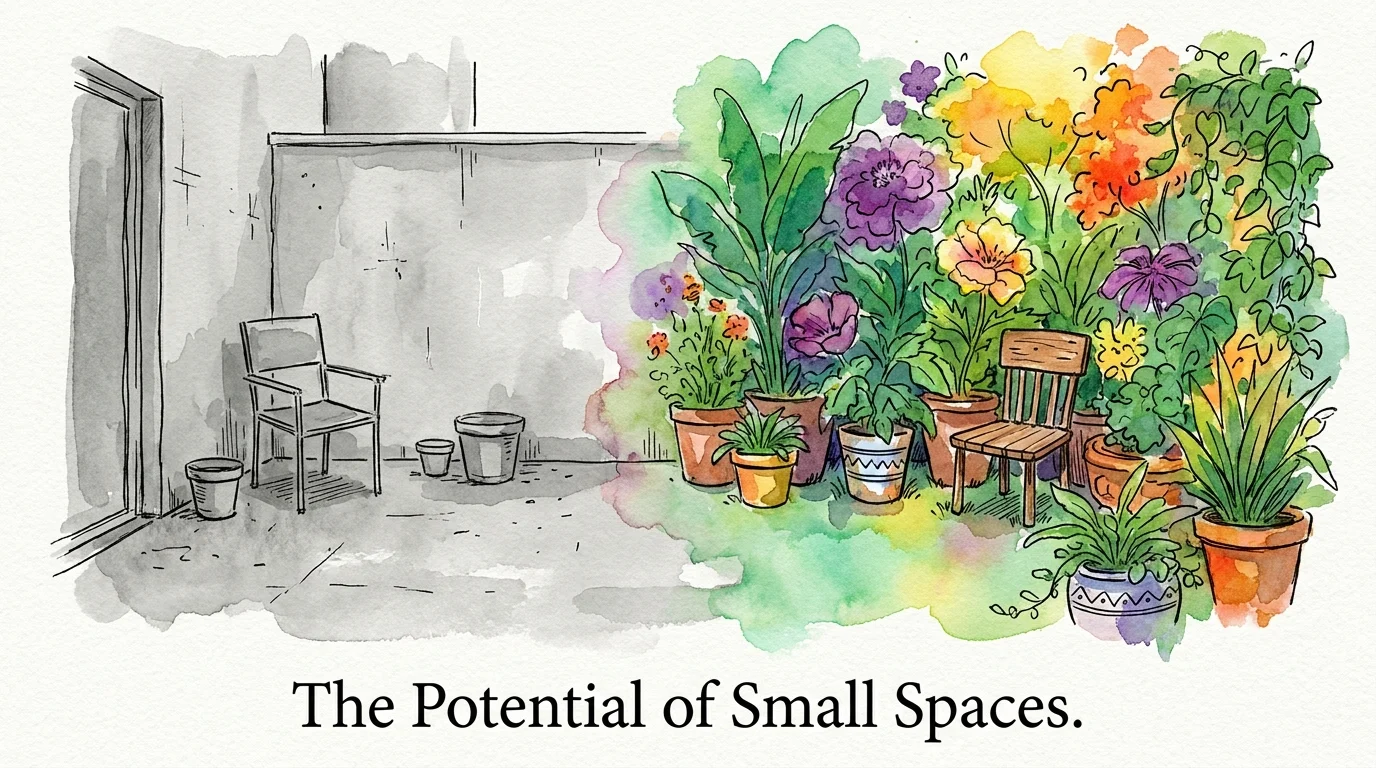
Introduction: Transforming Your Yard with These Ideas
Looking out at a bare patio, a narrow balcony, or a tiny concrete courtyard can feel limiting when you dream of lush foliage and fresh harvests. You might assume that a vibrant landscape requires sprawling garden beds and endless weekends of tilling soil. Fortunately, small space gardening offers a brilliant alternative that brings nature right to your doorstep. By shifting your focus from the ground to carefully curated pots, you can transform absolutely any sunny corner into a productive, beautiful oasis.
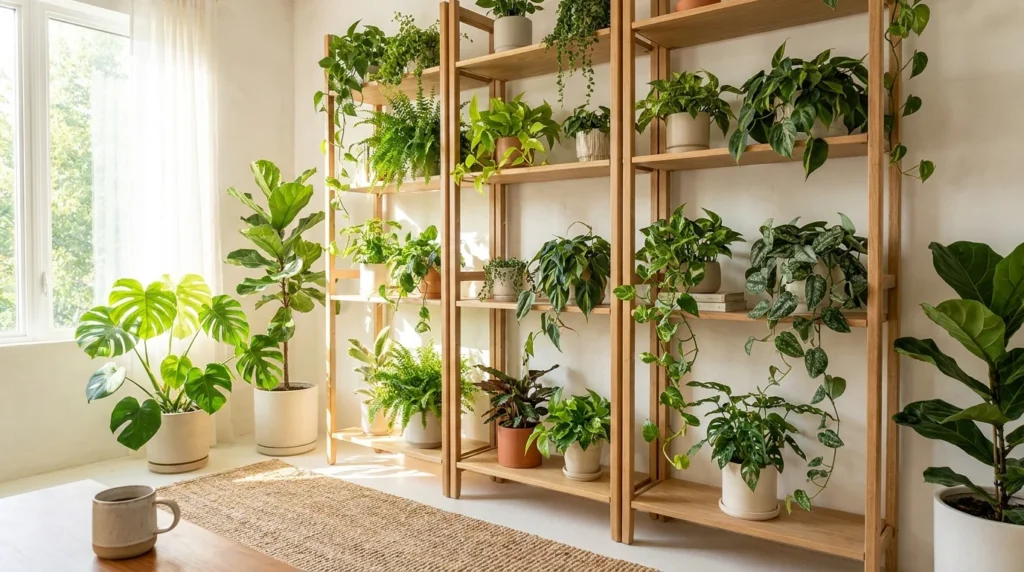
Container gardening strips away the heavy labor of traditional landscaping while delivering incredible flexibility. You dictate the soil quality, control the moisture levels, and easily rearrange your layout whenever the mood strikes. This raised format also creates an accessible container garden seniors and individuals with mobility issues can comfortably maintain without the strain of deep bending or kneeling. We will explore five highly effective outdoor strategies to help you launch a thriving potted landscape. These practical methods will guide you through choosing the right materials, mixing the perfect soil, and selecting plants that guarantee success regardless of your square footage.
Outdoor Strategy #1: Select the Proper Vessels for Your Climate and Footprint
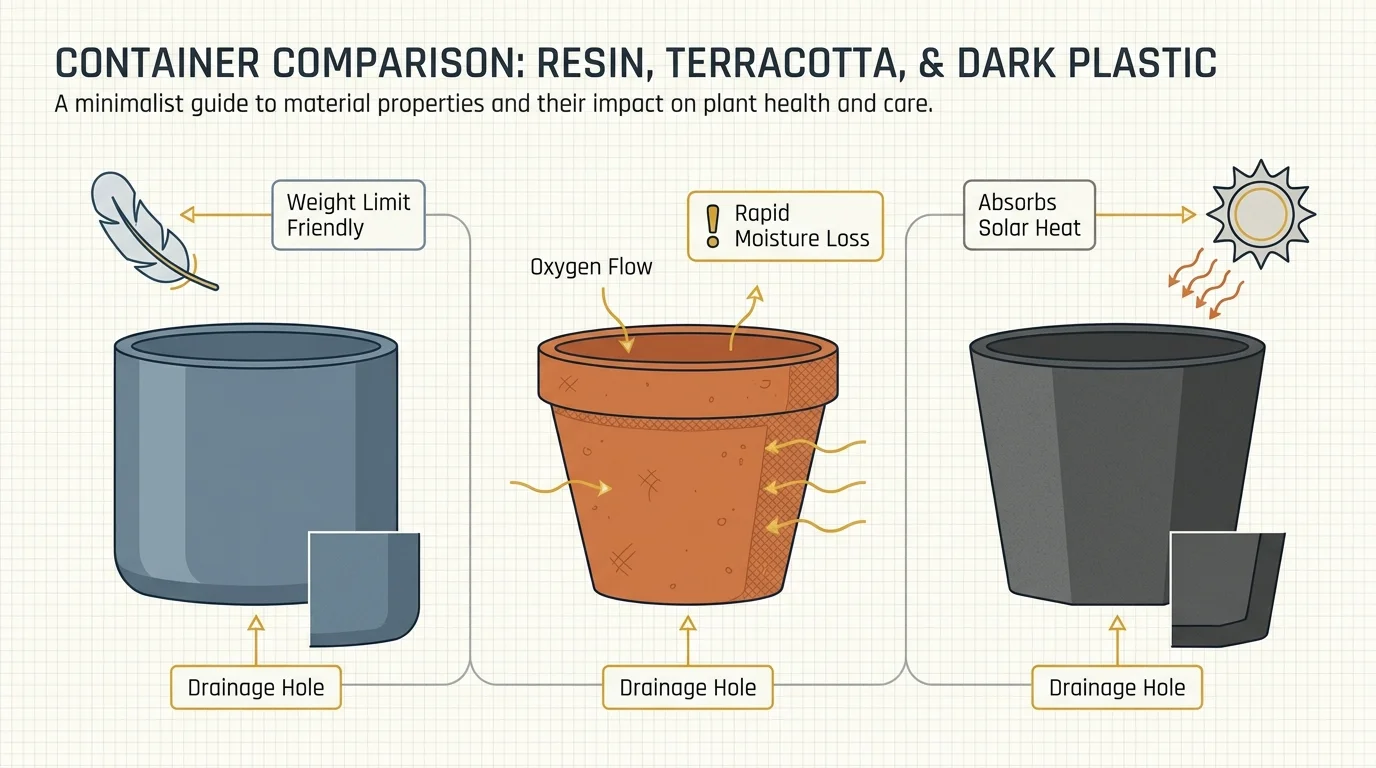
Your choice of container dictates the overall health of your plants and the structural safety of your space. Before you buy a single seed or seedling, you must evaluate the microclimate of your specific outdoor area. If you garden on a high-rise structure, one of the most vital balcony garden tips is to calculate your weight limits. Wet soil becomes incredibly heavy; a single large ceramic pot filled with damp earth can easily weigh over a hundred pounds. To prevent overloading your deck, opt for high-density resin, fiberglass, or thick plastic containers. These modern materials mimic the aesthetic of heavy stone or terracotta but weigh a fraction of the amount.
Drainage stands as the single most critical feature of any container. Plants sitting in stagnant water will quickly develop root rot, a fungal condition that suffocates the plant. Always ensure your chosen pots feature at least one large drainage hole at the base. If you fall in love with a decorative cachepot that lacks holes, simply drill your own using a masonry bit, or use the decorative pot as an outer shell to hold a slightly smaller, well-draining nursery pot inside.
You must also consider how container materials interact with the sun. Terracotta breathes beautifully, allowing oxygen to reach plant roots, but it also wicks moisture away rapidly. If you live in an area with scorching summer temperatures, terracotta pots will force you to water constantly. Dark-colored plastic pots absorb intense solar heat, which can effectively cook the delicate root systems of your plants. In hot climates, favor light-colored, thick-walled containers that reflect sunlight and insulate the root zone against extreme temperature fluctuations.
Outdoor Strategy #2: Master Your Soil Mix for Potted Environments
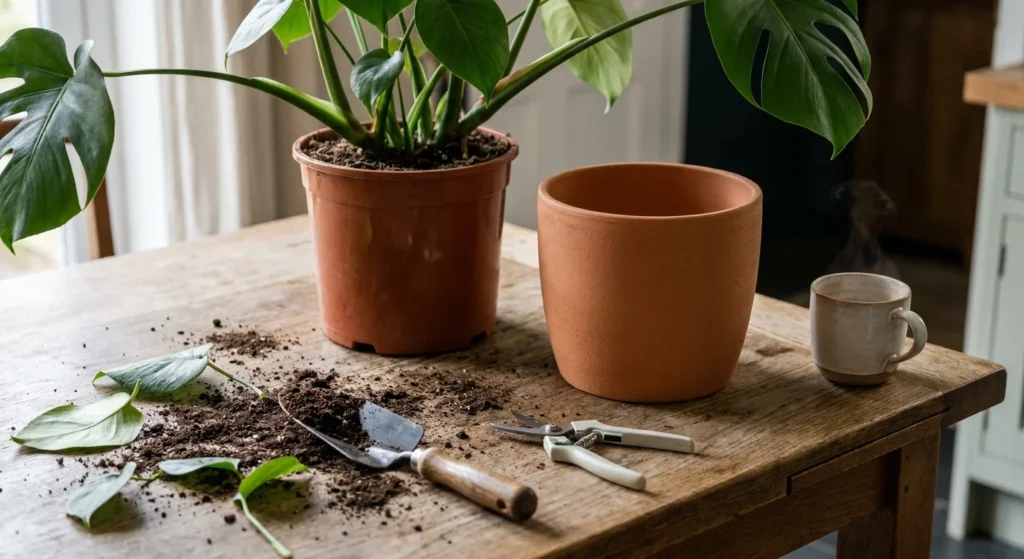
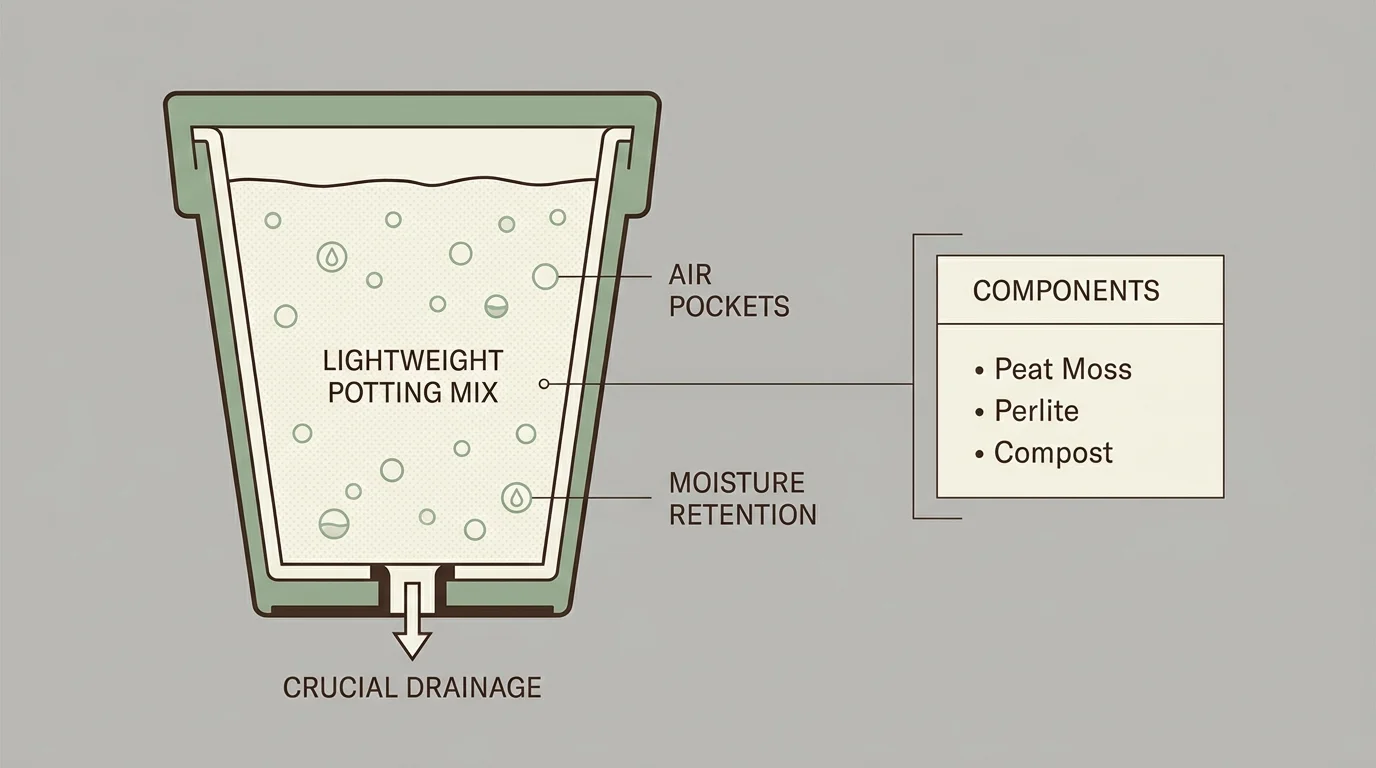
Novice gardeners often make the critical mistake of filling their beautiful new pots with bags of standard topsoil or dirt dug straight from the yard. Garden soil relies on a complex underground ecosystem of earthworms, insects, and deep moisture reserves to maintain its structure. When you scoop that dirt into a confined pot, it compacts into a dense brick after just a few watering cycles. This severe compaction eliminates vital air pockets, suffocating your plants and preventing water from reaching the lower roots.
You must rely entirely on a high-quality, lightweight potting mix designed specifically for container use. A premium potting medium balances moisture retention with aggressive drainage. You can easily blend your own professional-grade mix at home to save money and ensure quality. Combine one part sphagnum peat moss or coconut coir for moisture retention, one part mature compost to provide a steady release of gentle nutrients, and one part perlite or pumice to guarantee fluffy aeration. Perlite—those small white volcanic rocks you see in commercial bags—prevents the mix from settling and ensures oxygen flows freely around the root zone.
Because frequent watering flushes essential nutrients out through the drainage holes, your soil requires regular replenishment. Incorporate a slow-release granular organic fertilizer into your potting mix before you plant. This provides a baseline of nutrition that will feed your plants steadily for several months. As the season progresses, you can supplement this base layer with a liquid organic fertilizer every two weeks to keep foliage green and encourage heavy blooming.
Outdoor Strategy #3: Select Easy Container Plants for Maximum Visual Impact
Designing a visually striking container requires more than just dropping a single plant into a pot. Professional landscape designers rely on a classic formula known as the thriller, filler, and spiller technique. This method creates lush, balanced arrangements that look beautiful from every angle. Choosing easy container plants ensures your design remains vibrant and full without demanding hours of daily pruning or fussing.
Start with your thriller. This is a tall, dramatic plant placed in the center or back of the pot to draw the eye upward and establish the overall scale of your arrangement. Excellent outdoor thrillers include architectural ornamental grasses like Purple Fountain Grass, brightly colored Cannas, or even structural tropicals like a small Majesty Palm. Your thriller dictates the light requirements for the entire pot; if you choose a sun-loving thriller, every other plant in the container must also thrive in full sun.
Next, surround your focal point with fillers. These mid-sized, mounding plants bridge the gap between the tall center and the rim of the pot, creating a dense look that hides the bare soil. Fantastic, low-maintenance fillers include Coleus, which offers spectacular foliage in shades of neon pink and deep burgundy, or continuous bloomers like Zinnias, Begonias, and dwarf Marigolds. Fillers add texture and contrasting colors to make the arrangement pop.
Finally, soften the hard edges of your container with spillers. These trailing vines cascade dramatically over the sides of the pot, grounding the arrangement and drawing the eye downward. Sweet Potato Vine, Creeping Jenny, and trailing Lobelia serve as incredibly reliable spillers. By combining these three elements, you maximize the vertical and horizontal space within a single container, transforming a basic pot into a miniature, self-contained landscape.
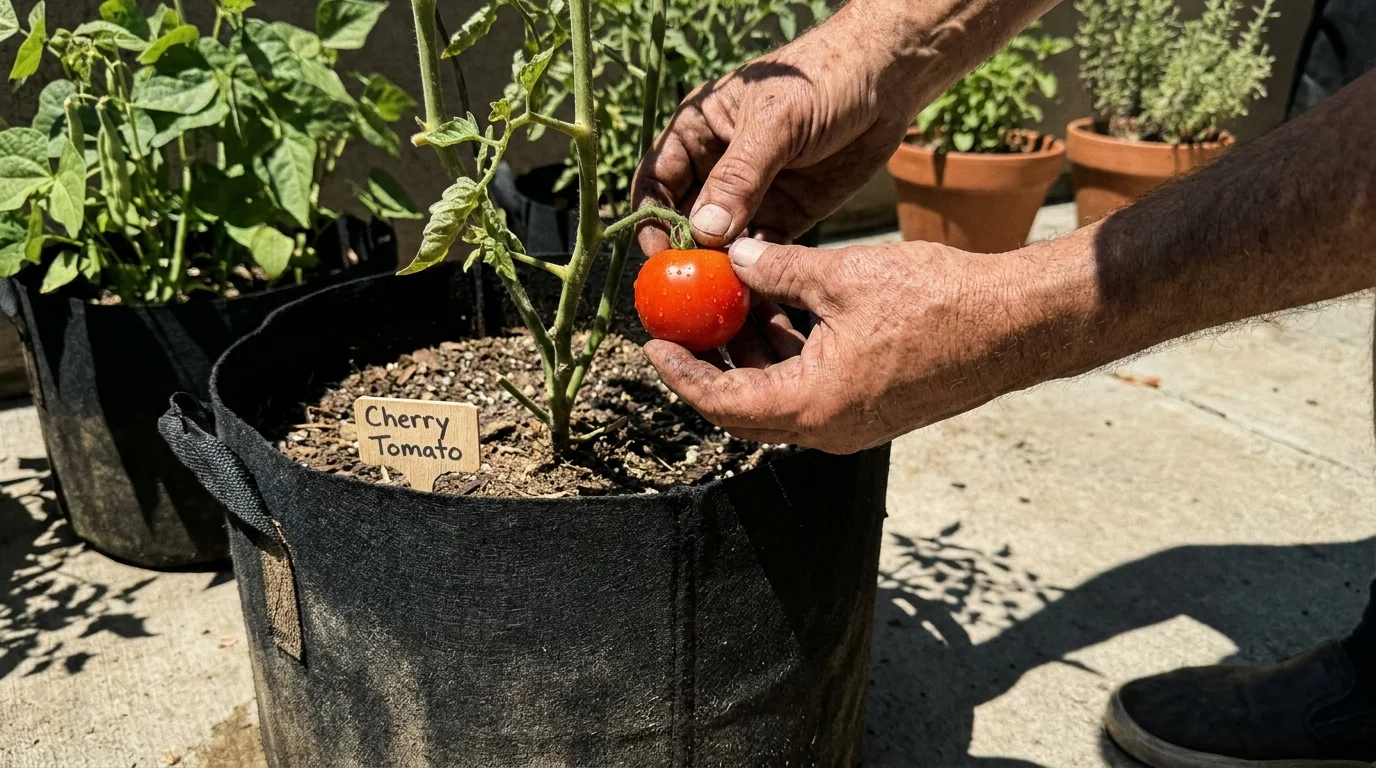
Outdoor Strategy #4: Cultivate Potted Vegetables for Fresh Harvests
You do not need a sprawling backyard to enjoy the unparalleled taste of a sun-ripened tomato or the crisp snap of fresh lettuce. Growing potted vegetables offers a highly rewarding way to turn a sunny balcony or patio into a productive urban farm. The secret to a successful harvest in a confined space involves selecting the right varieties and providing adequate soil volume to support aggressive vegetable root systems.
Always seek out seed packets or seedlings labeled with terms like patio, bush, dwarf, or compact. Determinate tomatoes, for instance, grow to a fixed height of about three to four feet and produce all their fruit within a concentrated window, making them perfect for large pots. Plant a determinate variety like Patio Princess or Bush Early Girl in a container that holds at least five to ten gallons of soil. Provide a sturdy support cage at the time of planting so you do not disturb the roots later.
Peppers, both hot and sweet, thrive exceptionally well in medium-sized pots because they naturally possess a compact growth habit and prefer warm soil. A three-gallon container easily supports a jalapeño or bell pepper plant. If you only have a few small, shallow pots, focus your efforts on fast-growing leafy greens and root crops. Radishes, spinach, arugula, and loose-leaf lettuce require only four to six inches of soil depth. You can scatter these seeds directly onto the surface of your potting mix, lightly cover them, and harvest fresh salads just a few weeks later.
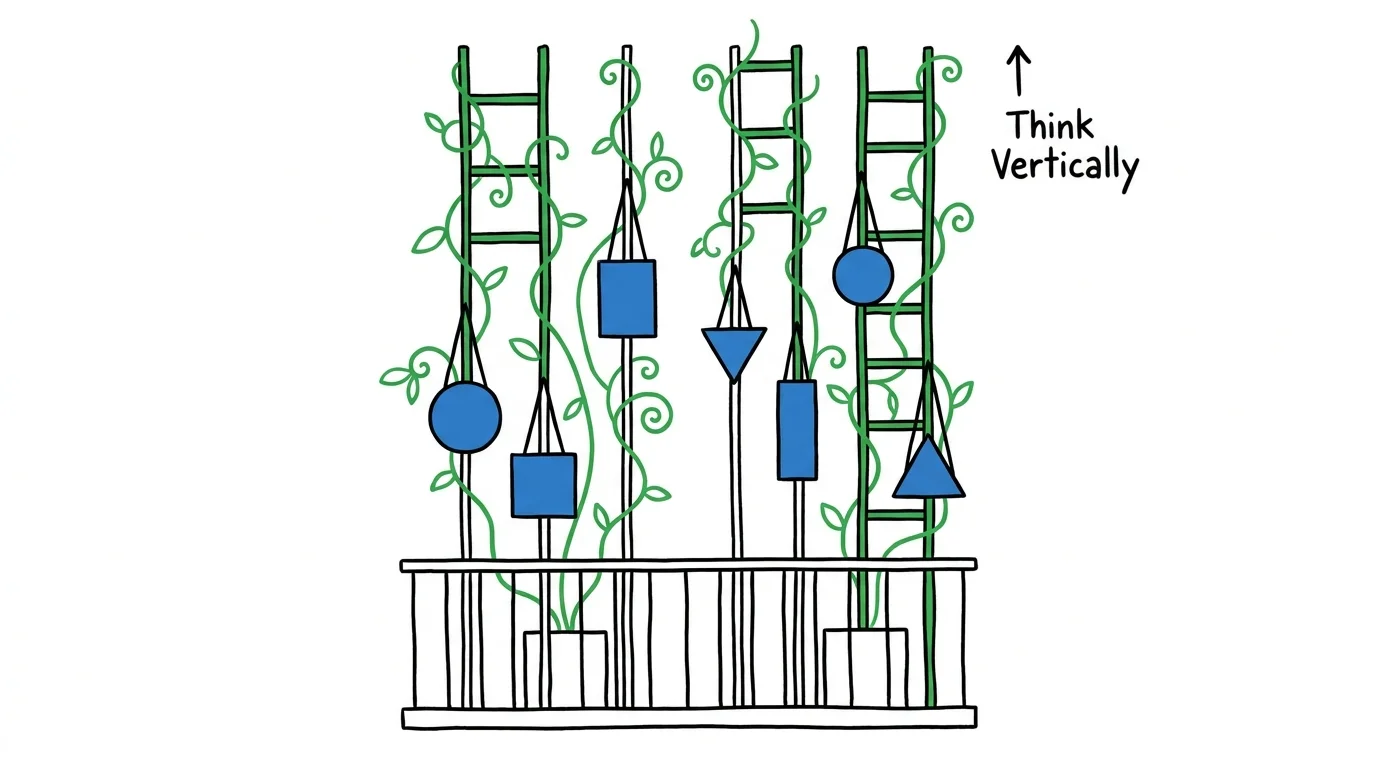
Outdoor Strategy #5: Maximize Vertical Real Estate on Balconies and Patios
When horizontal floor space vanishes, your only option is to look up. Vertical gardening techniques allow you to multiply your growing area exponentially without cluttering your primary walking paths. Taking advantage of walls, railings, and overhead structures keeps your small outdoor space functional for entertaining while completely surrounding you with lush greenery.
Railing planters offer an immediate solution for balconies and deck perimeters. These saddle-style pots straddle the top of your railing, instantly converting dead space into a continuous ribbon of flowers or trailing herbs. Ensure you secure these tightly with heavy-duty zip ties or brackets, especially if you live in a windy area. Wall-mounted pocket planters made from breathable felt provide another excellent vertical option. You can hang these modular systems on an empty exterior wall or a sturdy privacy fence to create a dense, living wall of ferns, succulents, or culinary herbs.
Tiered plant stands also optimize your footprint by allowing you to stack multiple smaller pots vertically. Place sun-loving, drought-tolerant plants like thyme or rosemary on the top tiers where they will receive the most intense light. Position shade-tolerant, moisture-loving plants like mint or parsley on the lower shelves, where they will benefit from the filtered light and the excess water that naturally drips down from the containers above. By utilizing vertical space, you create a dynamic, layered environment that feels much larger than its actual dimensions.
Seasonal Considerations for Your Garden
Your potted landscape requires different care routines as the seasons shift. In the spring, you must exercise patience. Containers warm up much faster than ground soil, which tempts many gardeners to plant summer annuals too early. Wait until all danger of frost has passed before moving tender plants outdoors permanently. When you do purchase greenhouse-grown seedlings, harden them off by placing them in a sheltered, partially shaded outdoor spot for a few hours each day, gradually increasing their sun exposure over a week to prevent severe shock.
Summer demands rigorous attention to moisture. Because your plants live entirely above ground, the surrounding air pulls moisture out of the pots rapidly. During July and August heatwaves, you may need to water your outdoor containers early every morning and check them again in the late afternoon. Stick your finger two inches into the soil; if it feels totally dry, drench the pot until water runs freely out of the bottom drainage holes.
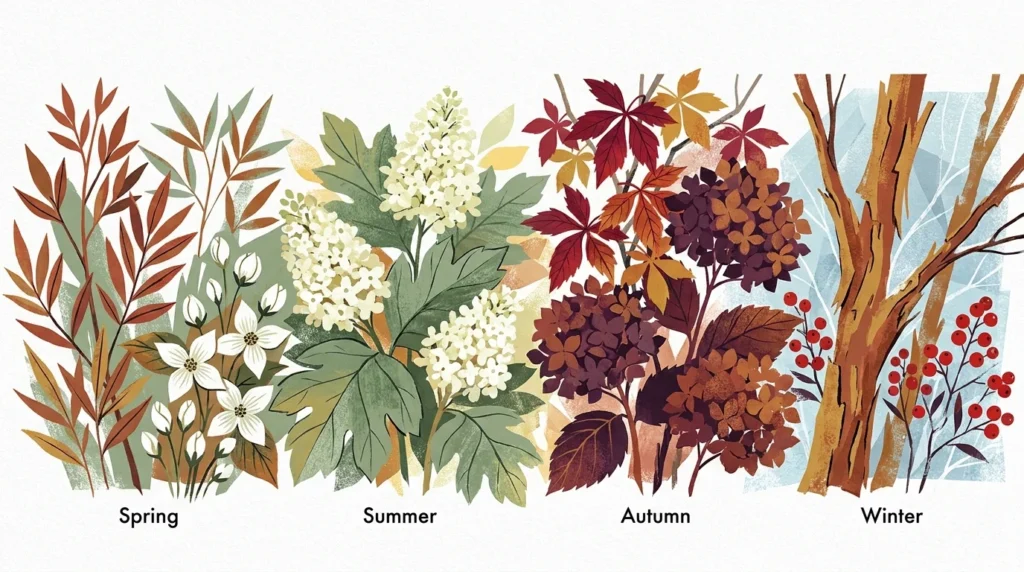
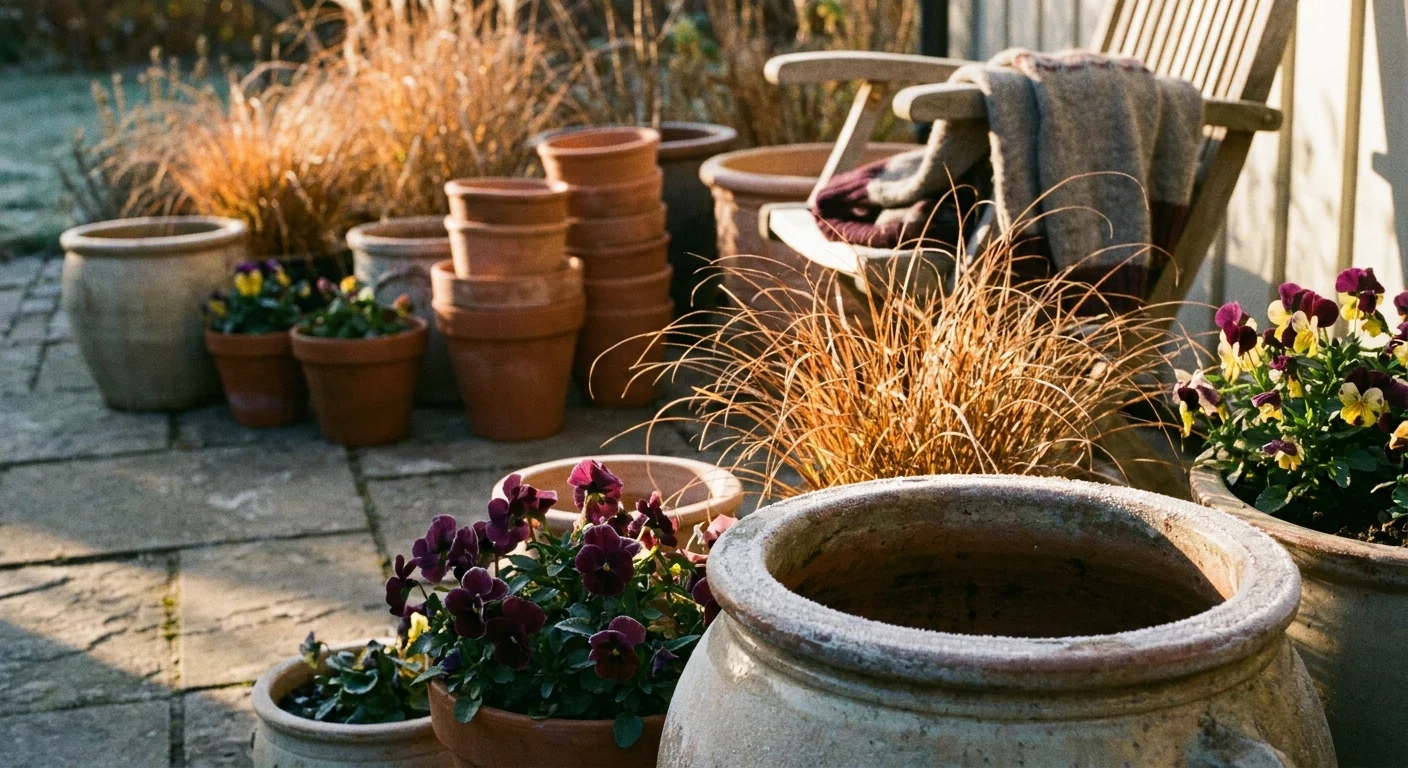
As autumn approaches, your summer annuals will begin to fade. Do not view this as the end of your gardening season. Pull out the exhausted plants and refresh the containers with cold-hardy varieties. Ornamental kale, garden mums, and vibrant pansies can withstand light frosts and will keep your space colorful well into November. Finally, if you live in a region with freezing winters, you must prepare your pots for the cold. Clay and terracotta containers will crack if left outside to freeze and thaw. Empty these fragile pots, clean them out, and store them in a garage or shed. If you have hardy perennials in large, frost-proof containers, remember that roots in pots lack the deep insulation of the earth; a plant in a pot effectively experiences winter temperatures two USDA hardiness zones colder than your actual location.

Dealing with Outdoor Pests and Weather
Container gardens generally experience fewer weed problems and soil-borne diseases than traditional beds, but they remain vulnerable to common outdoor pests and extreme weather events. Spider mites and aphids often target stressed potted plants, especially those situated against hot brick walls where air circulation is poor. Inspect the undersides of your leaves weekly. If you spot tiny webs or clusters of green and black insects, spray the foliage thoroughly with a gentle blast from the garden hose to knock the pests off. For persistent infestations, treat the leaves heavily with an organic insecticidal soap or neem oil spray, applying it in the evening to prevent the sun from burning the treated foliage.
Weather poses a significant challenge for pots, particularly high winds. Tall thrillers act like sails in a strong gust, catching the wind and easily toppling lightweight plastic pots. To anchor your containers, place a heavy layer of river rock or gravel at the very bottom of the pot before adding your potting soil. This lowers the center of gravity and provides excellent stability. During periods of torrential, multi-day rainstorms, you might need to temporarily slide your smaller containers under a roof overhang or patio umbrella. Prolonged soaking drowns delicate roots and washes all the liquid fertilizer completely out of your carefully prepared soil mix.
Frequently Asked questions
Do container plants require a different fertilizer than plants growing in the ground?
Yes, potted plants have entirely different nutritional needs. When you water a container, the excess liquid drains out the bottom, carrying valuable, water-soluble nutrients away with it. Plants in the ground can send their roots deep to search for food, but a potted plant is trapped. You must replace those leached nutrients frequently. Use a water-soluble liquid fertilizer every two weeks during the active growing season. Avoid heavy, granular agricultural fertilizers, which can build up toxic salt levels in the confined space of a pot and chemically burn the root systems.
How can I maintain a beautiful container garden on a tight budget?
Gardening absolutely does not require expensive designer urns or costly mature plants. You can upcycle virtually any sturdy household item into a planter, provided you drill adequate drainage holes in the bottom. Galvanized metal buckets, old wooden crates, and even heavy-duty plastic storage bins make excellent, rustic containers. Furthermore, save money by purchasing seeds instead of established nursery plants. Fast-growing items like nasturtiums, sweet peas, beans, and radishes sprout easily from inexpensive seed packets and will fill your upcycled pots in just a matter of weeks.
How do I handle watering my pots when I leave for a summer vacation?
Drought stress is the primary cause of plant death during the summer holidays. If you plan to leave for more than two days, you need a watering strategy. Move all your containers completely out of the direct sun and cluster them tightly together in a shady corner; this raises the local humidity and drastically reduces evaporation. For trips lasting up to a week, install inexpensive water globes or self-watering spikes that attach to recycled plastic water bottles. These devices slowly release moisture into the soil as it dries out. For longer vacations, you will either need to invest in an automated drip irrigation system connected to a battery-operated hose timer or ask a reliable neighbor to thoroughly soak your pots every few days.
Check your USDA Plant Hardiness Zone at the USDA’s website. For lawn and garden care advice, consult your local University Extension program (listed here). Find native plant information from the National Wildlife Federation.
Disclaimer: This article provides general outdoor gardening advice. Success can vary greatly based on your specific climate, soil type, and local conditions. Always choose plants appropriate for your USDA Hardiness Zone.