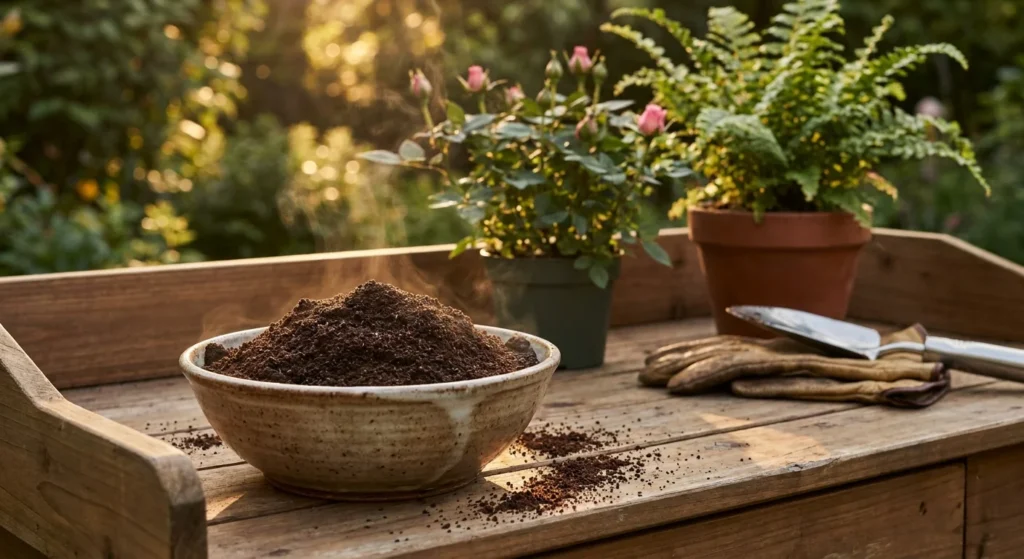
Growing specific plants in containers guarantees a healthier harvest and protects your main landscape from aggressive spreaders. Mint and lemon balm famously overtake entire beds if left unchecked, turning a relaxing hobby into a constant weeding battle. By utilizing container gardening, you maintain complete control over soil drainage, sunlight exposure, and plant growth, ensuring your favorite culinary staples thrive. Pots warm up faster in the spring sun and drain more efficiently than ground soil, creating the perfect microclimate for heat-loving or drought-tolerant varieties. This approach keeps essential flavor-makers right on your patio or windowsill, making daily harvesting effortless while saving you hours of unnecessary yard work.
Tip #1: Mint
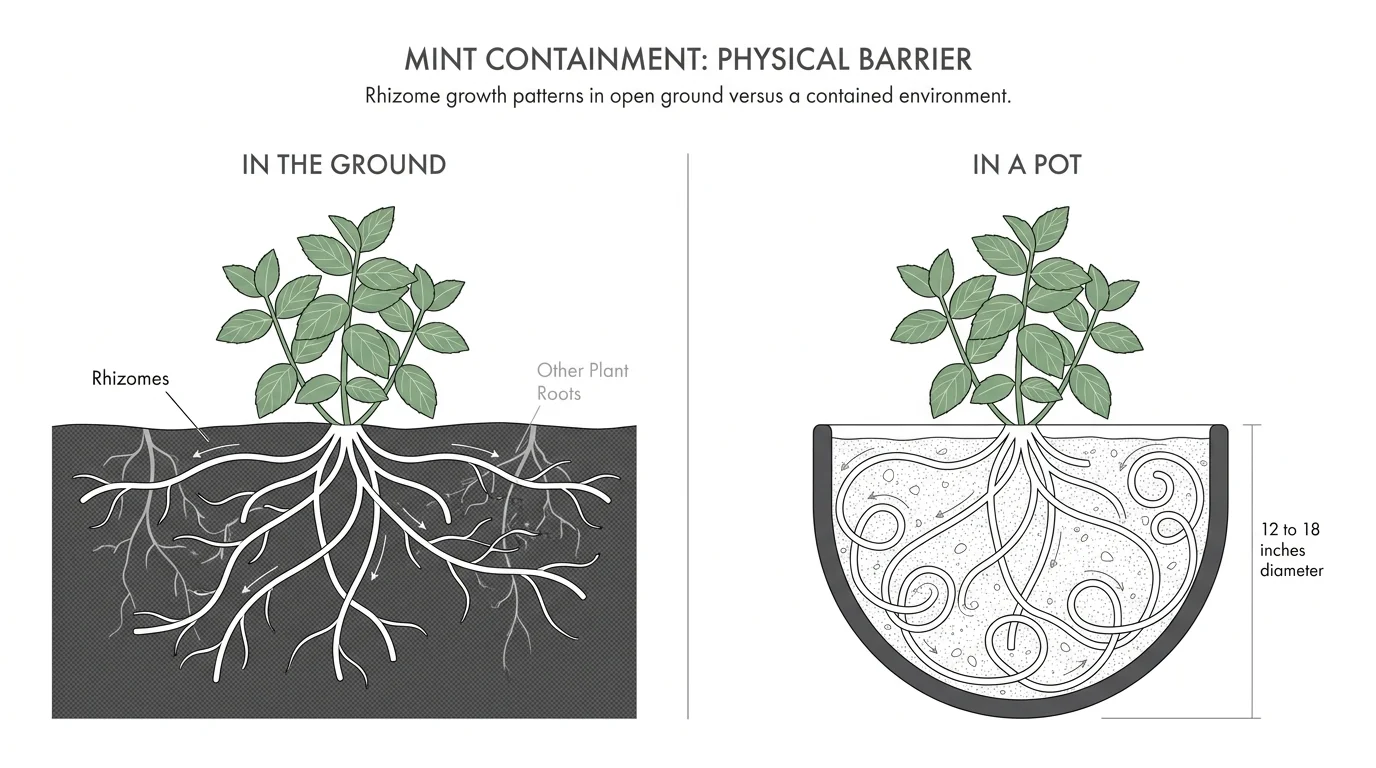
Mint offers incredible fragrance and flavor, but it possesses a notoriously aggressive growth habit. When planted directly in the ground, mint sends out fast-growing underground runners called rhizomes; these shoots can easily travel several feet in a single season. Before you know it, your carefully planned garden bed transforms into a massive mint patch that chokes out neighboring vegetation.
By keeping mint in pots, you completely eliminate this risk. Container gardening creates a physical barrier that traps the roots, allowing you to enjoy fresh leaves for mojitos or teas without the endless chore of pulling up rogue sprouts. Choose a wide, shallow pot rather than a deep one, as mint roots tend to spread outward rather than plunging straight down. A pot spanning 12 to 18 inches in diameter provides plenty of room for a robust harvest.
Ensure you use a high-quality, moisture-retaining potting mix. Mint prefers damp soil, making a plastic or glazed ceramic container an ideal choice since these materials prevent rapid water evaporation. You can place the pot on a sunny patio, or elevate it on a sturdy plant stand. Raising the container off the ground brings the fragrant foliage to a comfortable working height, which is particularly beneficial for seniors or anyone looking to minimize back strain. Harvest the tips regularly to encourage bushier, healthier growth throughout the summer.
Tip #2: Rosemary
Rosemary requires excellent drainage to survive, making it a challenging candidate for traditional garden beds containing heavy clay or compacted soil. This woody Mediterranean native evolved in rocky, dry environments. When forced to sit in waterlogged earth, rosemary quickly succumbs to root rot—a fungal disease that turns the vibrant needles brown and eventually kills the plant.
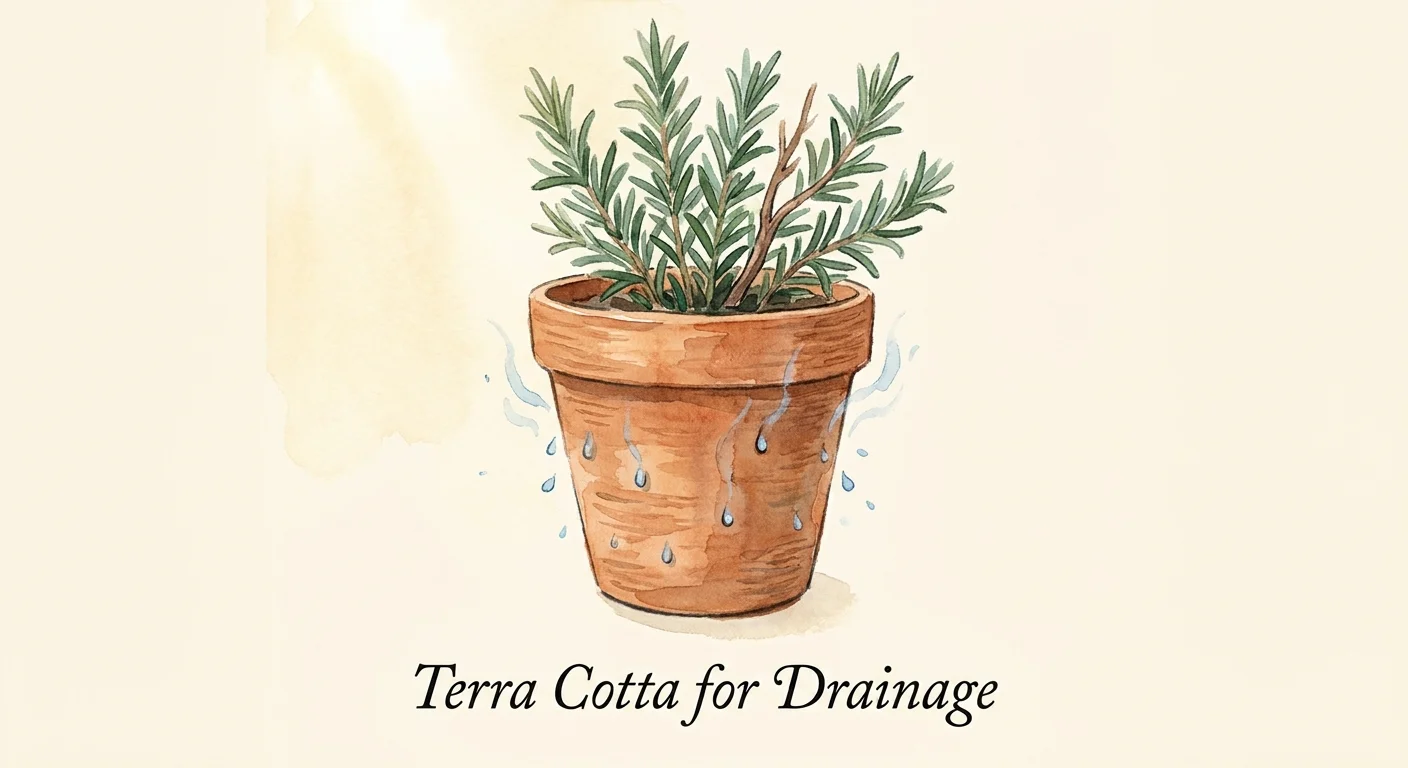
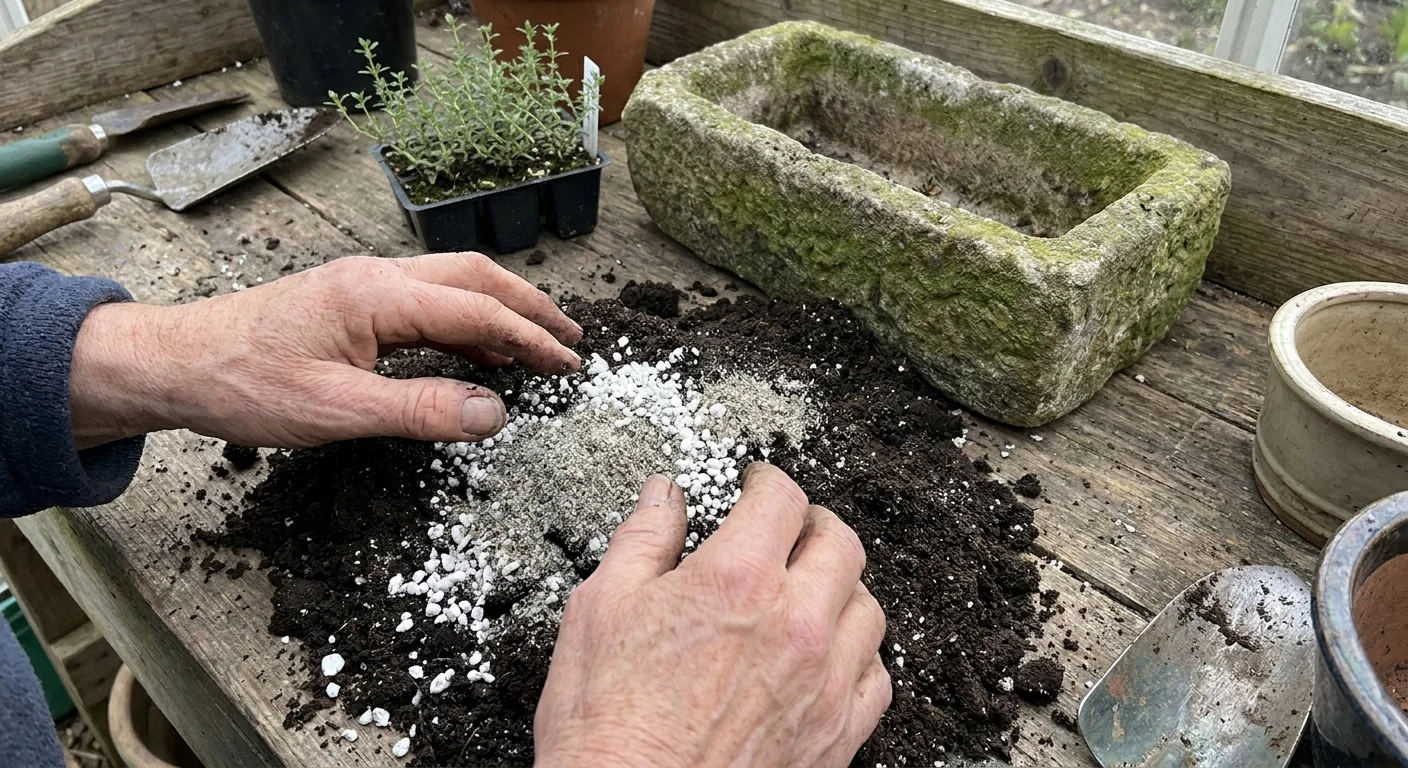
Cultivating rosemary in a pot gives you absolute control over the soil composition. You can create the ultimate free-draining environment by blending standard potting soil with generous handfuls of perlite, coarse sand, or fine gravel. Furthermore, choosing an unglazed terra cotta pot acts as an insurance policy against overwatering. Terra cotta is highly porous; it pulls excess moisture out of the soil and allows the roots to breathe.
Beyond soil management, pots provide crucial mobility. Rosemary struggles when temperatures plunge below freezing for extended periods. If you live in an area with harsh winters, growing this herb in a container allows you to seamlessly move it indoors before the first hard frost hits. Place the pot in your brightest south-facing window, and you will have access to fresh sprigs for roasting chicken and potatoes all winter long. Always let the top two inches of soil dry out completely before you reach for the watering can.
Tip #3: Thyme
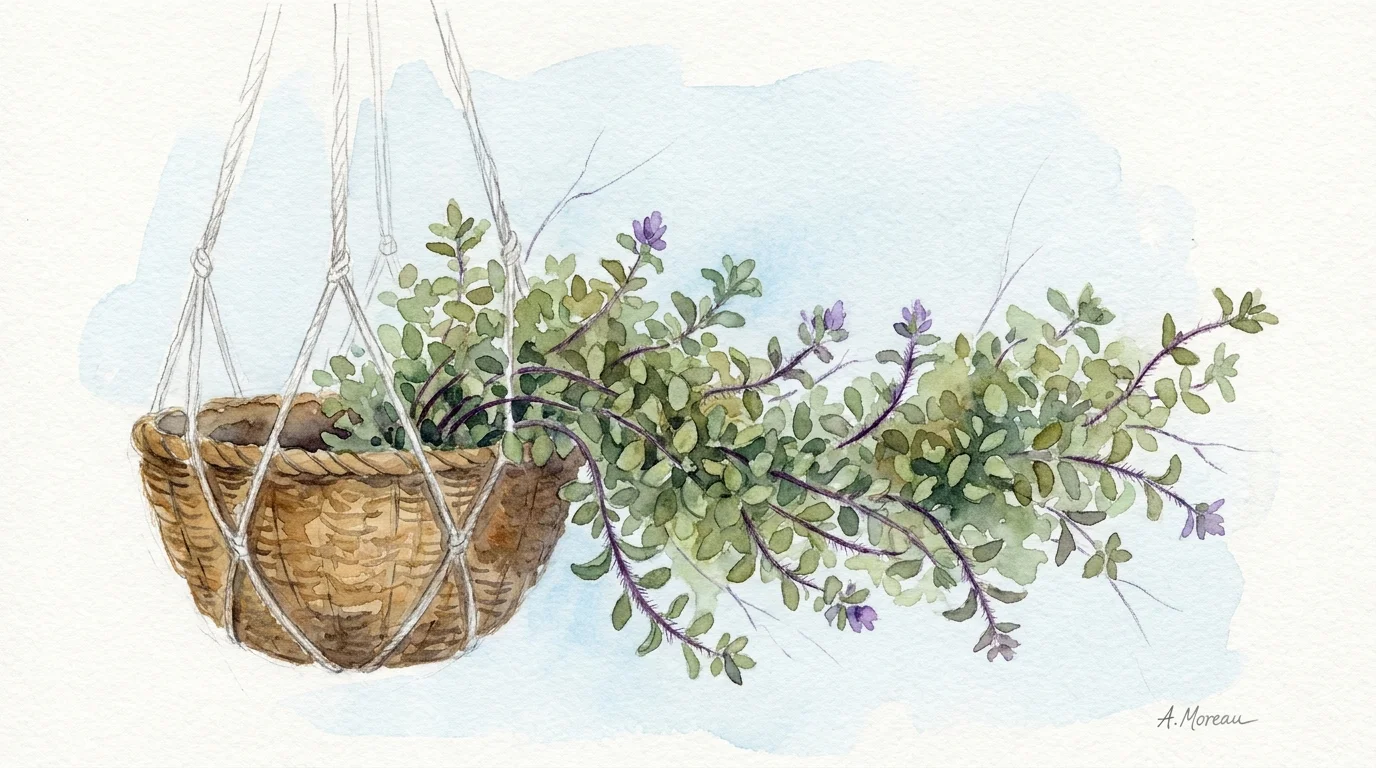
Similar to rosemary, thyme demands a dry, airy environment to produce its best flavor. When planted directly into a rich, heavily composted garden bed, thyme often becomes leggy and weak. The excess moisture and heavy nutrients actually dilute the essential oils in the leaves, resulting in a bland harvest. Additionally, the dense foliage of creeping or mounding thyme traps moisture against the damp ground, leading to stem rot and mildew.
Keeping thyme in a pot elevates the foliage away from soggy earth and improves air circulation around the delicate stems. You can pack the container with a lean, rocky soil mixture that mimics the rugged hillsides of the Mediterranean. Since thyme possesses a relatively shallow root system, it thrives in small pots or shallow bowls. This makes it an ideal candidate for window boxes or compact balcony setups where space is limited.
Thyme also serves as one of the most reliable easy herbs for beginners because it thrives on neglect. Once established in a well-draining container, it requires very little water and absolutely no fertilizer. The harsh conditions of a dry pot stress the plant just enough to concentrate its oils, yielding a far more aromatic and flavorful harvest for your kitchen. Place your potted thyme in full sun and trim the woody stems back by one-third after the plant finishes blooming to maintain a tight, attractive shape.
Tip #4: Lemon Balm
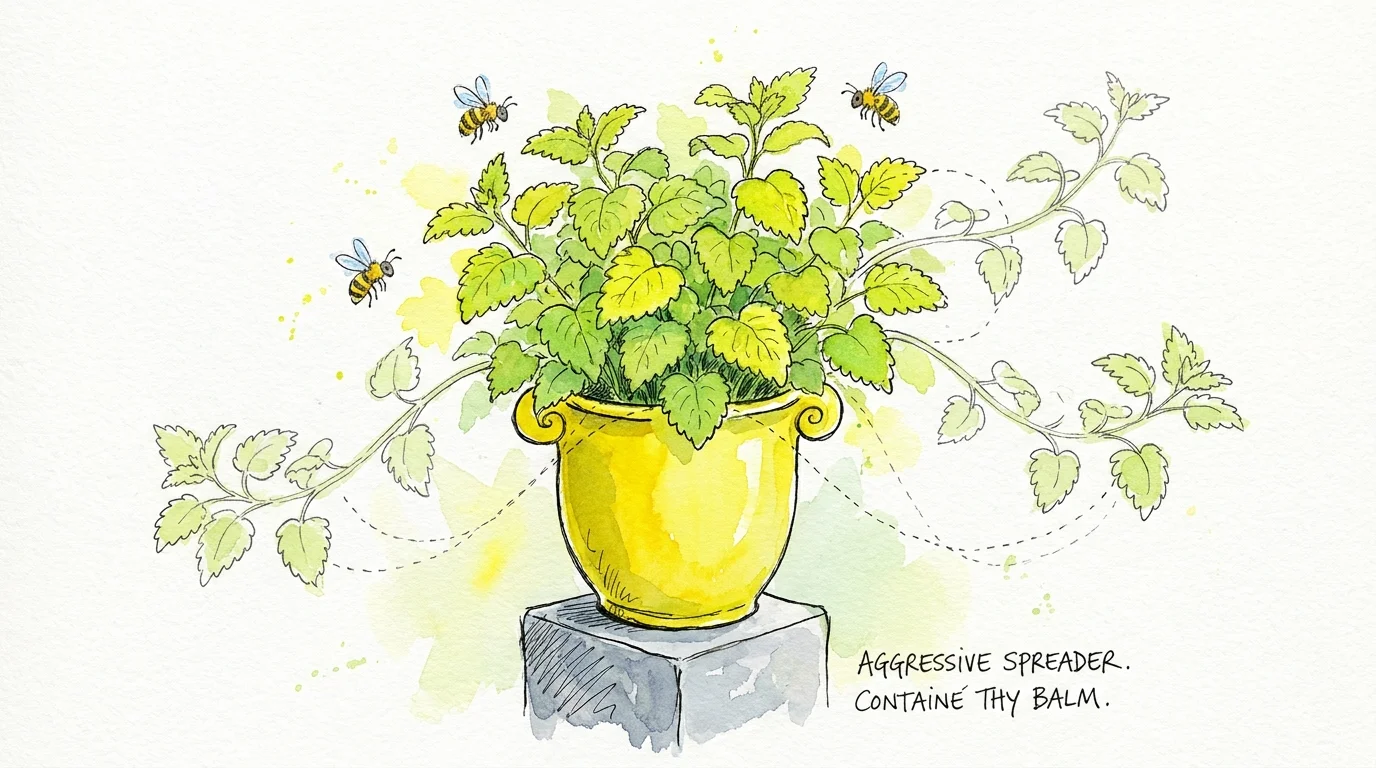
Lemon balm brings a delightful citrus aroma to any outdoor space, yet it shares a botanical family tree with mint. This connection means it possesses the same invasive tendencies. If you plant lemon balm in your primary garden bed, it drops hundreds of seeds and spreads vigorously via root runners. Within a single growing season, a modest starter plant can conquer surrounding flowers and vegetables.
Restricting lemon balm to a pot easily solves this overpopulation problem. Container cultivation keeps the root system contained while allowing you to closely monitor the plant for flowers. To prevent any accidental reseeding, you must snip off the small white blossoms the moment they appear. Harvesting the leaves frequently also prevents the plant from going to seed while encouraging a continuous flush of tender, flavorful new growth.
Because lemon balm grows so rapidly, it depletes the nutrients in a container relatively quickly. You should apply a balanced liquid organic fertilizer every four to six weeks during the peak growing season to sustain its vigor. Keep the soil consistently moist but never soggy. Potted lemon balm adapts well to partial shade, making it a fantastic option for covered porches or patios that receive limited direct afternoon sunlight. The fresh leaves make a soothing, anxiety-reducing tea; having the pot just steps away from your kitchen ensures you can brew a calming cup whenever you desire.
Tip #5: Basil
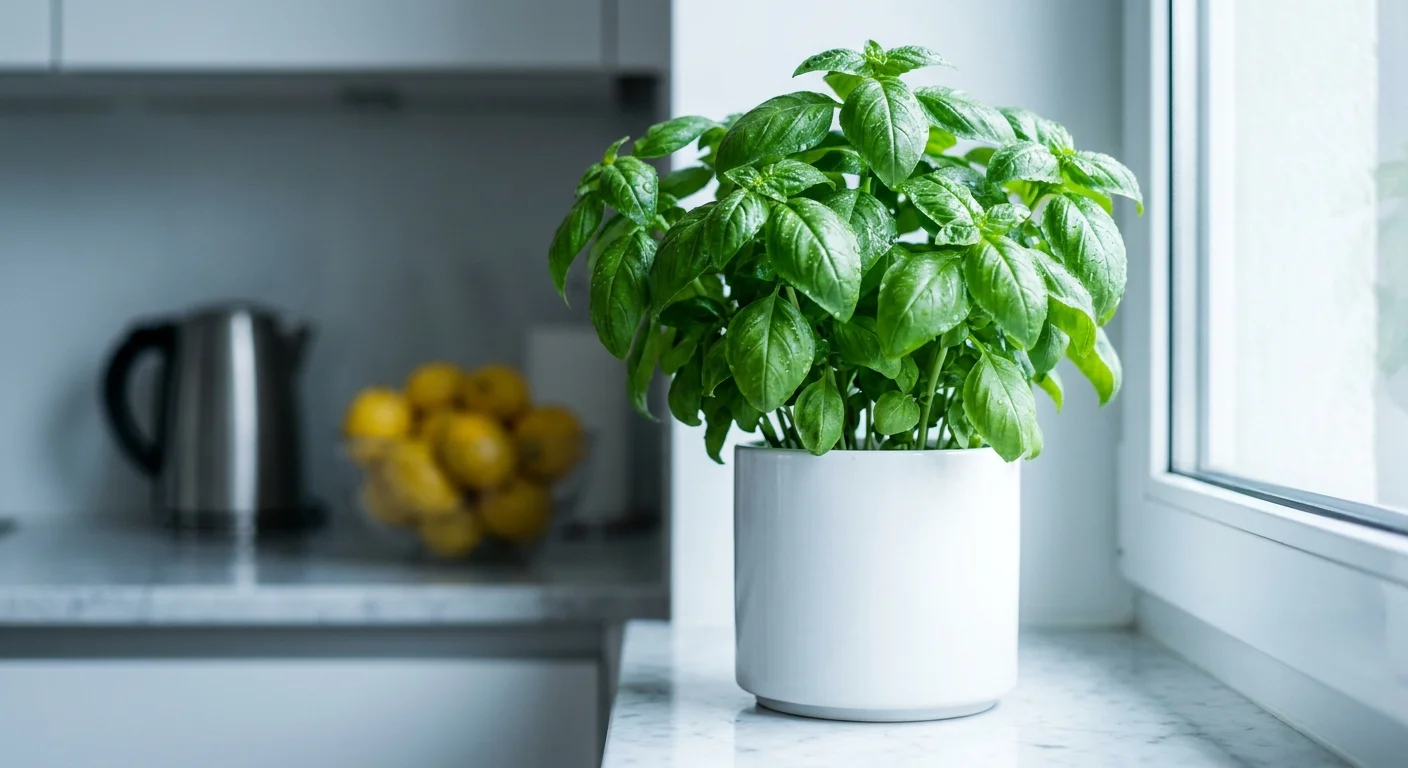
Basil loves heat more than almost any other culinary herb, and it absolutely despises cold soil. When you plant basil directly into the ground too early in the spring, the chilly earth stunts its growth, turns the leaves yellow, and invites fungal diseases. Even a mild unexpected cold snap below 50 degrees Fahrenheit can wipe out an entire row of garden-bed basil overnight.
Growing basil in containers solves the temperature puzzle entirely. The soil inside a pot warms up significantly faster in the spring sun than the ground does, giving your basil a massive head start on the season. If a late spring frost or an early autumn chill threatens your area, you simply pick up the pot and carry it inside for the night. This mobility extends your growing season by several weeks on both ends, maximizing your yield for pesto and fresh salads.
Potted basil requires rich, loamy soil and consistent moisture to produce large, tender leaves. Because containers dry out faster than the ground in mid-summer heat, you must check the soil daily. Water the plant deeply whenever the top inch feels dry to the touch, ensuring the excess water flows out of the bottom drainage holes. Harvest the top leaves regularly, pinching just above a leaf node; this technique forces the plant to branch out, transforming a single stalk into a dense, bushy powerhouse of flavor.
Tip #6: Oregano
Oregano acts as an enthusiastic ground cover when unleashed in a garden bed. While a sprawling carpet of oregano might look lovely initially, it aggressively crowds out less vigorous plants and steals essential soil nutrients. Furthermore, standard garden beds often retain too much moisture for this Mediterranean native, leading to diminished flavor and an increased risk of rot during rainy spells.
By confining oregano to a pot, you naturally restrict its aggressive root system while creating the dry, hot microclimate it craves. Similar to thyme and rosemary, oregano produces the most intensely flavored leaves when grown in lean, somewhat poor soil with minimal water. A terra cotta pot filled with a sandy, well-draining potting mix provides the ultimate home. You can place the container on a hot southern-facing brick patio or gravel pathway.
These surfaces reflect heat and encourage the plant to generate more of the pungent essential oils that make it a staple in Italian and Mexican cuisine. Oregano requires ample sunlight, so position your pot where it receives at least six to eight hours of direct rays per day. As the stems grow long and begin to trail over the edges of the container, simply trim them back with sharp garden shears. You can dry these clippings by hanging them upside down in a dark, well-ventilated room; dried oregano actually packs a stronger flavor punch than the fresh leaves, providing you with homegrown seasoning year-round.
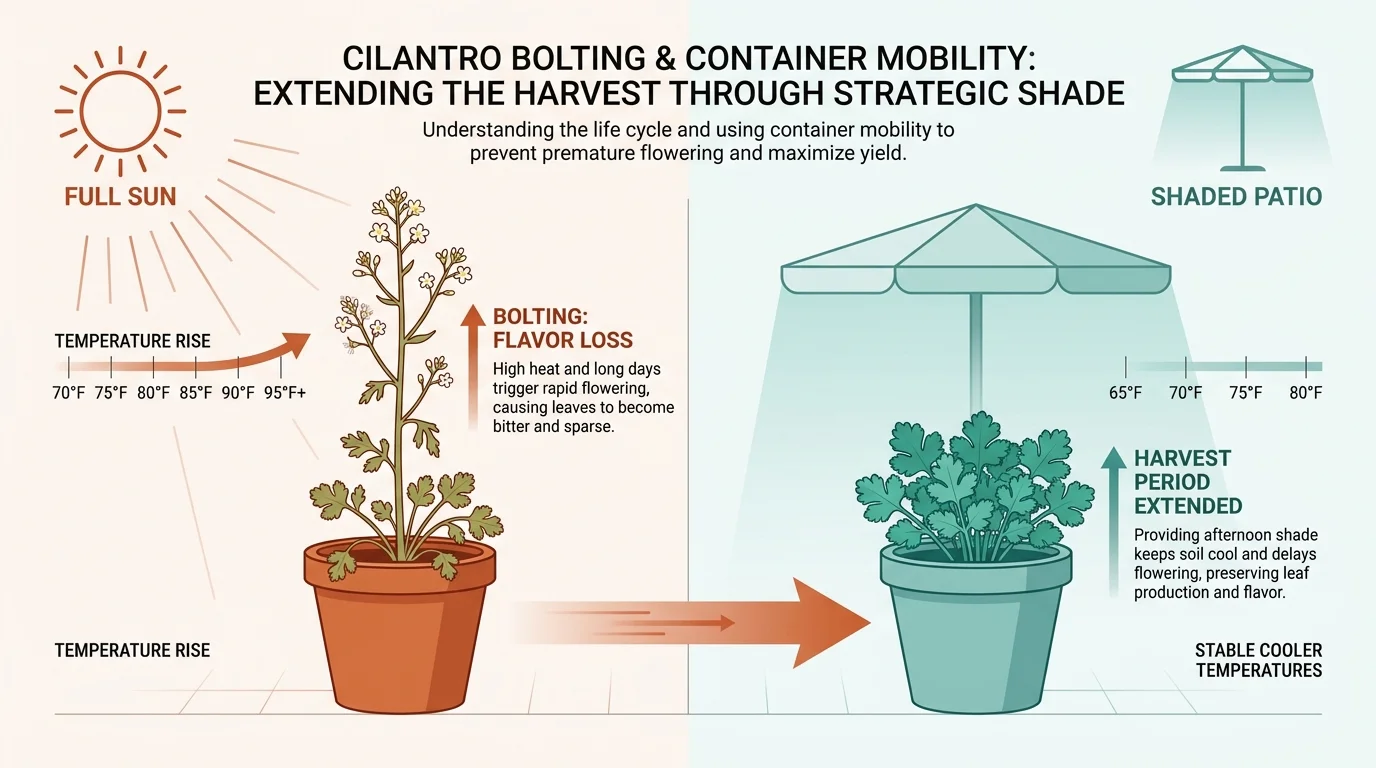
Tip #7: Cilantro
Cilantro presents a unique challenge for home gardeners because it bolts—meaning it rapidly goes to seed—the moment the weather turns hot. When planted in a traditional, full-sun garden bed, a sudden spike in temperature above 75 degrees Fahrenheit signals the plant that its life cycle is ending. The cilantro quickly shoots up a tall central stalk, produces delicate white flowers, and turns completely bitter, rendering the leaves useless for your favorite salsa recipes.
Pots offer a strategic advantage for managing cilantro’s sensitivity to heat. Because containers are portable, you can move your cilantro out of the scorching midday sun. Start your pots in full sun during the cool early spring days, then shift them to a location that receives dappled shade or exclusively morning sun as summer approaches. This simple relocation strategy delays the bolting process and significantly extends your harvest window.
When selecting a container for cilantro, depth matters more than width. Cilantro grows a long, sensitive taproot that resents being cramped or disturbed. Choose a pot that is at least eight to ten inches deep to accommodate this root structure. Instead of buying nursery seedlings—which often experience transplant shock and bolt immediately—sow cilantro seeds directly into the final pot. For a continuous supply of fresh leaves, practice succession planting by sowing a new pinch of seeds in a different container every three weeks.
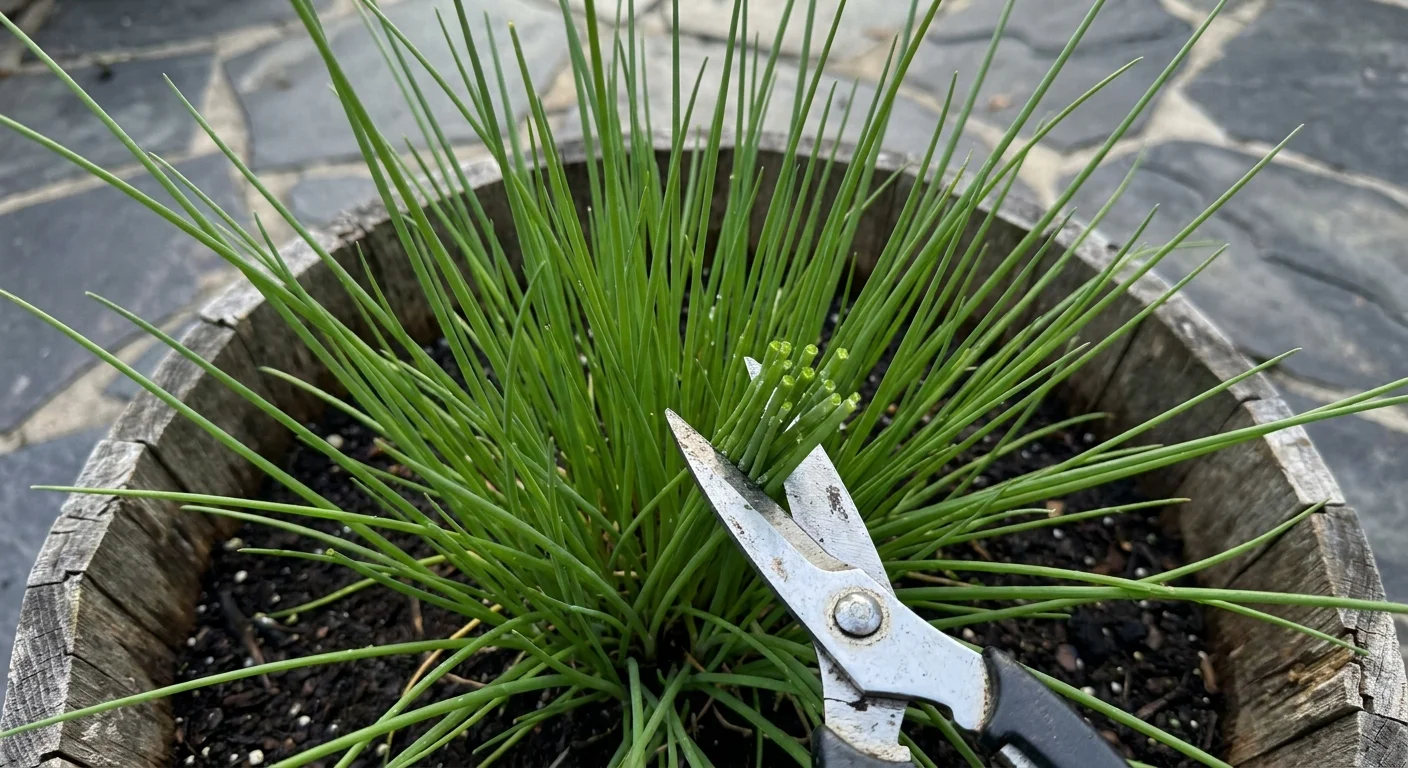
Tip #8: Chives
Chives are undeniably tough, resilient, and easy to grow, but they harbor a secret weapon: prolific seed production. If you let the beautiful purple blossoms of a chive plant mature and dry in a garden bed, the wind will scatter thousands of tiny black seeds across your property. The following spring, you will discover grass-like chive seedlings sprouting in your lawn, between paving stones, and in the middle of your prized perennials.
Planting chives in a pot contains their spread while keeping their mild onion flavor readily accessible. A container acts as a distinct boundary, making it much easier to spot and snip off the fading flowers before they drop their seeds. Chives feature a shallow, clumping root system that adapts beautifully to life in a moderately sized pot. They thrive in standard, nutrient-rich potting soil and appreciate consistent moisture, so avoid letting the container dry out completely between waterings.
Over time, potted chives multiply and fill their container tightly. This dense growth eventually reduces the vigor of the plant. Fortunately, dividing a root-bound potted chive plant takes only a few minutes. Carefully pull the entire clump out of the pot, slice the root mass in half with a sharp knife, and replant the divisions into fresh soil. This simple maintenance task revitalizes the herbs and gives you an extra plant to share with a neighbor or fellow gardening enthusiast.
Putting It All Together: Enjoy Your Beautiful Garden
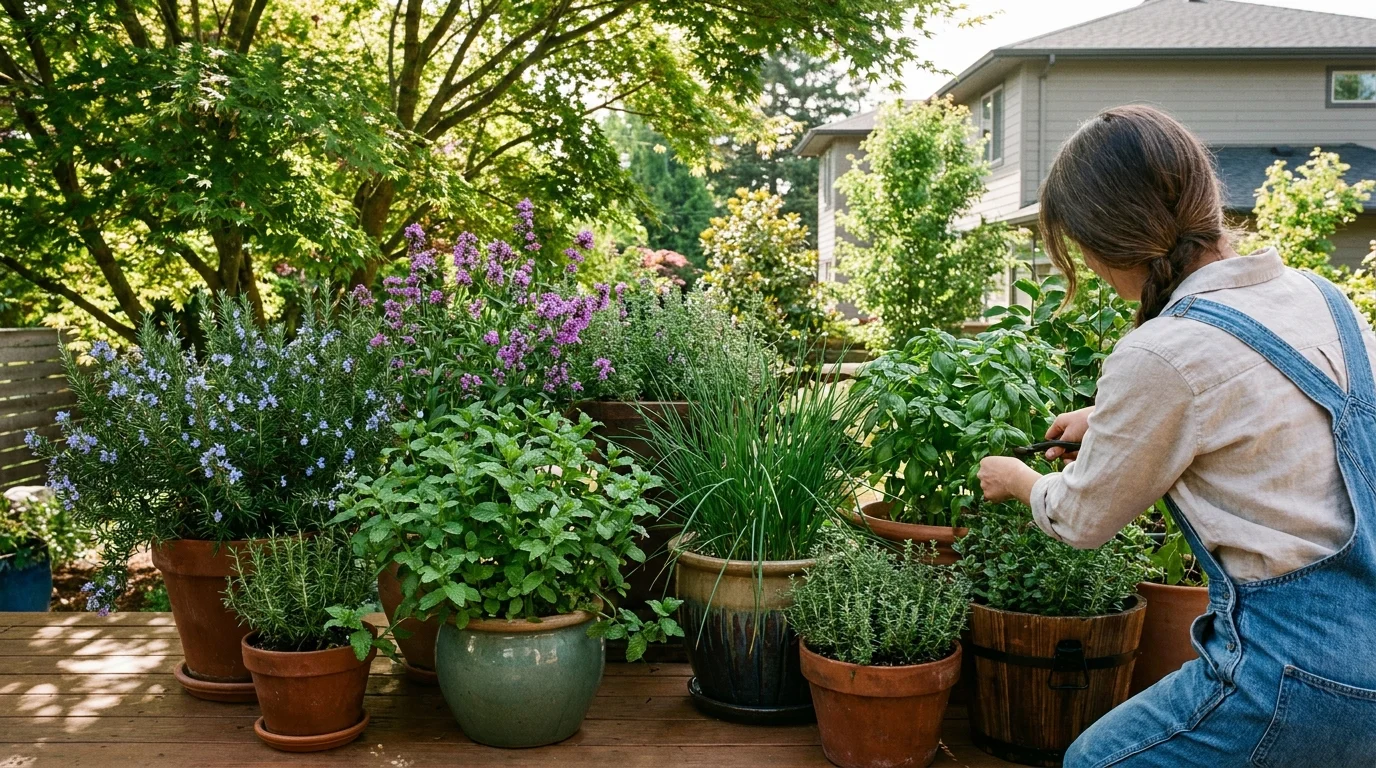
Transitioning some of your favorite plants from the ground to containers transforms your overall herb gardening experience. As you have learned, utilizing pots provides vital control over soil drainage, sunlight exposure, and invasive root systems. You avoid the back-breaking labor of digging out aggressive mint runners and bypass the heartbreak of watching a sudden frost destroy your delicate basil.
These smart gardening tips ensure that you spend less time battling nature and more time enjoying the literal fruits of your labor. Arrange your varied pots on a sunny balcony, group them on a patio table, or line them along your front steps. Creating a localized, easily accessible container garden encourages you to step outside daily, snip exactly what you need for your evening meal, and appreciate the vibrant aromas. Remember to match your pot materials and soil mixtures to the specific needs of each plant—reserving porous terra cotta for your dry-loving Mediterranean natives and moisture-retaining glazed pots for your thirsty greenery. Embrace the flexibility of pots, and watch your culinary garden thrive.
Frequently Asked Questions
Do potted herbs require more fertilizer than those planted in garden beds?
Yes, plants grown in containers generally need more frequent fertilization. Every time you water a pot, some of the essential nutrients wash out through the bottom drainage holes. To keep your harvest robust, apply a balanced, water-soluble organic fertilizer every few weeks during the active growing season. However, exercise caution with Mediterranean varieties like rosemary and thyme; they prefer nutrient-poor soil and require very little, if any, supplemental feeding.
How often should I water my container garden?
Watering frequency depends heavily on the pot material, the size of the container, and the current weather. During the peak heat of summer, smaller pots may require daily watering. The most reliable method is to check the soil manually. Push your finger about an inch deep into the potting mix; if it feels completely dry, give the plant a thorough soaking until water escapes the drainage holes. If it still feels moist, wait another day.
Can I plant multiple different herbs together in one large pot?
You absolutely can combine plants, provided you group them by their specific sunlight and moisture requirements. For example, moisture-loving basil and parsley grow wonderfully together in a shared container. Conversely, dry-soil lovers like oregano, thyme, and rosemary form a perfect drought-tolerant trio. Never mix a thirsty plant with a dry-climate plant, as one will inevitably suffer from either overwatering or underwatering.
What is the best way to overwinter potted herbs?
For tender varieties like basil and cilantro, treat them as annuals or harvest them completely before the first frost. For hardy perennials like mint, chives, and oregano, you can leave the pots outdoors if your winters are mild, or move them into an unheated garage to protect the roots from severe freezing cycles. Rosemary thrives indoors on a sunny windowsill, making it a wonderful houseplant during the cold months.
For region-specific advice, consult your local University Extension program (find yours via the USDA directory). For plant databases and inspiration, visit the Missouri Botanical Garden or the Royal Horticultural Society.
Disclaimer: This article provides general gardening advice. Always consider your specific climate, soil conditions, and local pests. Follow safety guidelines when using gardening tools and products.