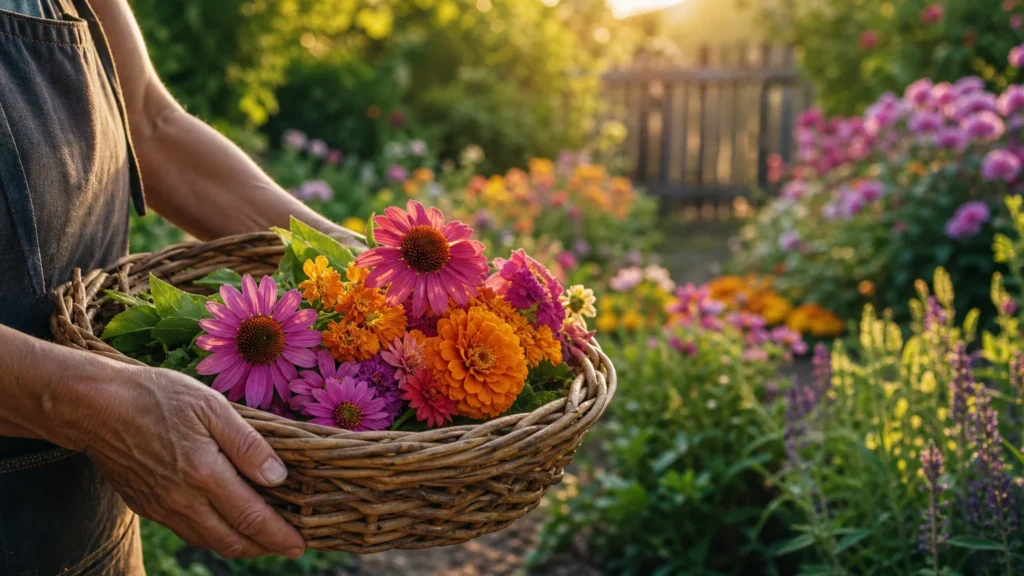
Transforming a single healthy hosta or daylily into dozens of thriving new plants remains one of the most rewarding techniques in horticulture. Master the art of dividing perennials, and you can rapidly double your garden’s footprint without spending a dime at the nursery. Beyond providing free plants from division, periodic root separation rejuvenates aging clumps, boosts seasonal bloom production, and restores vigor to overcrowded borders. Whether you want to fill vacant garden beds or share divisions with neighbors, systematic division accelerates perennial garden expansion effortlessly. By understanding basic plant anatomy, timing your cuts correctly, and providing attentive aftercare, you will unlock exponential growth in your landscape season after season.
Tip #1: Timing Is Everything — Know When to Divide Plants
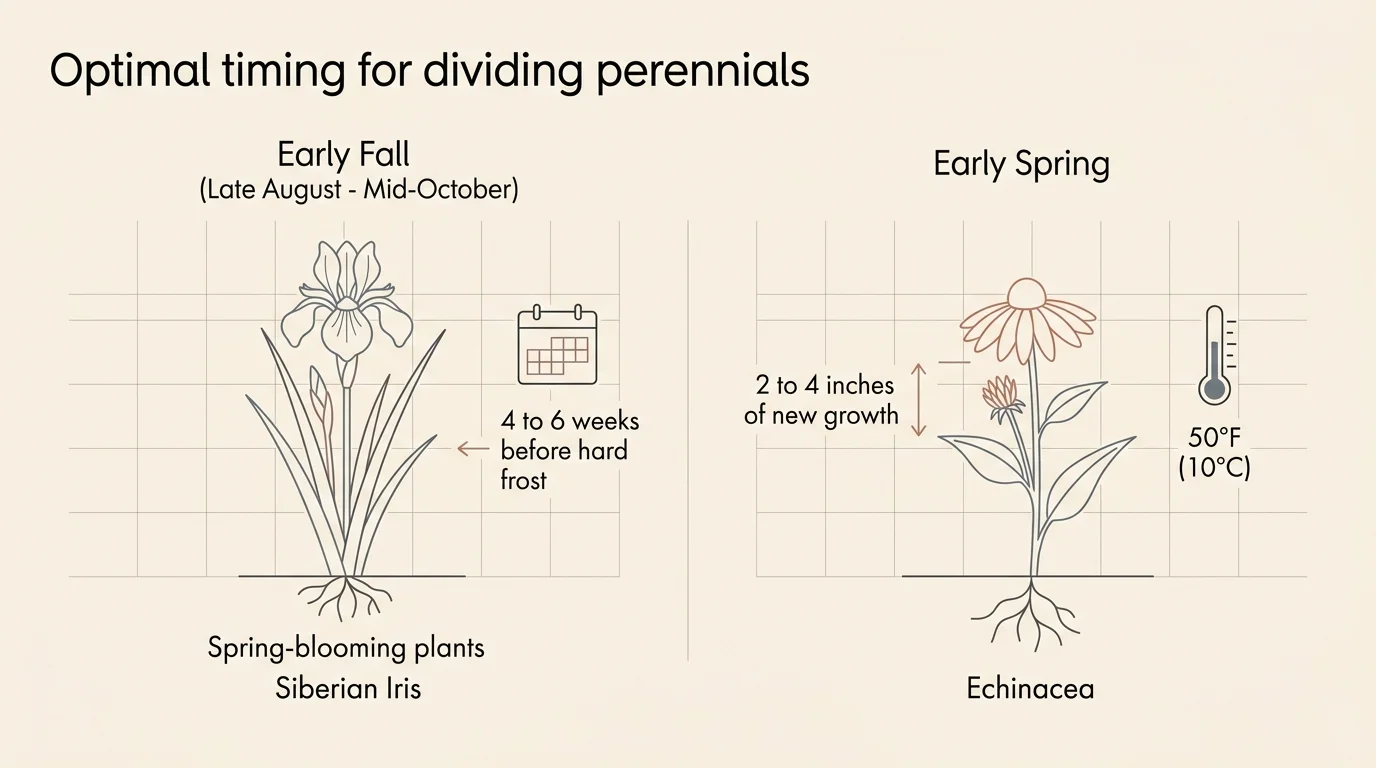
Timing determines whether your newly divided plants thrive or struggle. As a rule, divide spring-blooming perennials in early fall and fall-blooming perennials in early spring. This seasonal offset ensures that plants direct their metabolic energy toward root establishment rather than blossom production.
Spring bloomers—such as Siberian iris (Iris sibirica), bleeding heart (Dicentra spectabilis), creeping phlox, and lungwort—benefit from fall division between late August and mid-October. Perform this task at least four to six weeks before your region experiences its first hard frost. This crucial window gives the root system ample time to anchor into warm autumn soil before winter dormancy sets in.
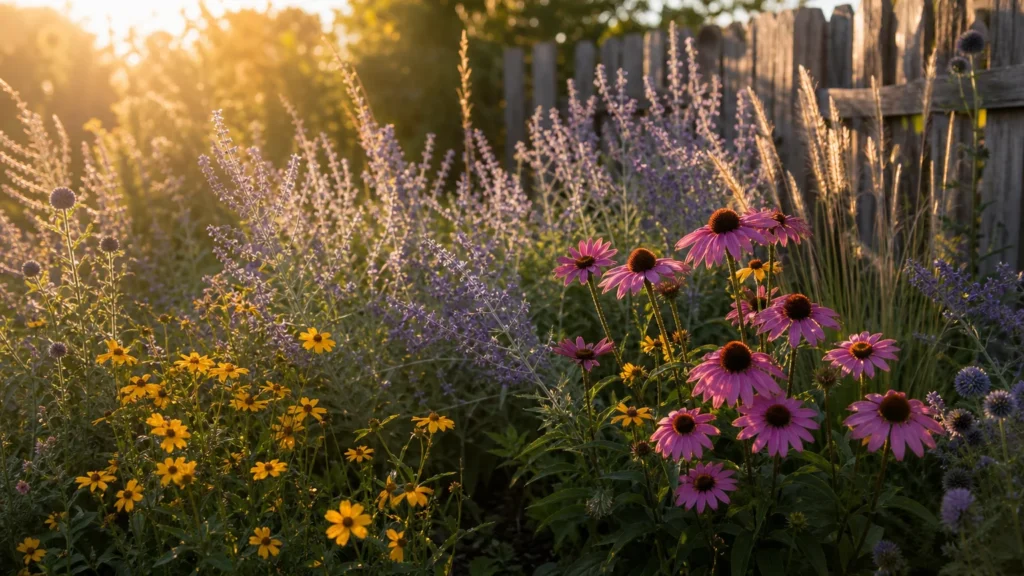
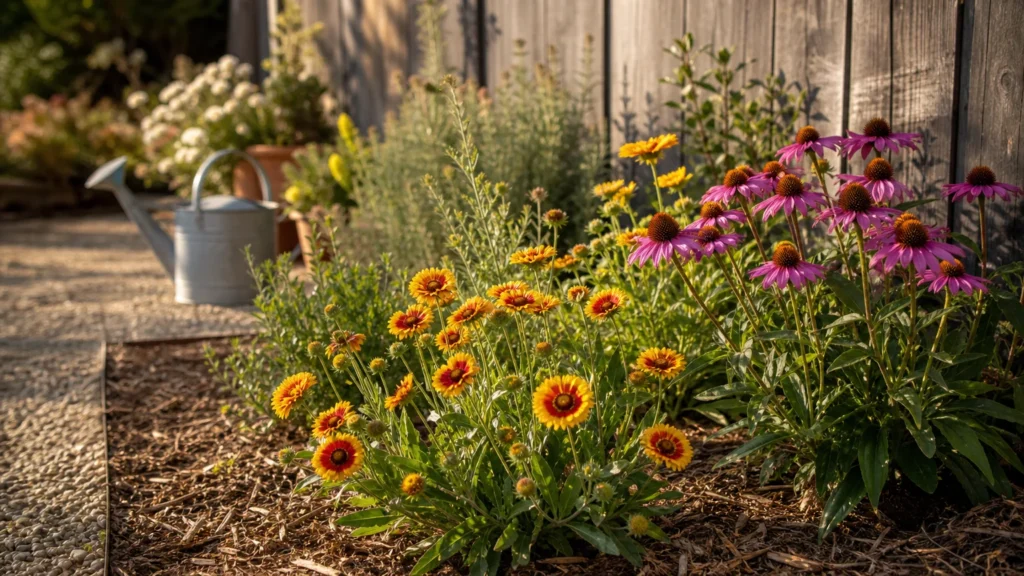
Conversely, tackle fall bloomers—such as black-eyed Susans (Rudbeckia), purple coneflowers (Echinacea purpurea), autumn sedums, and Japanese anemones—in early spring. Wait until new foliage growth emerges about two to four inches above the soil line. Spring root systems expand aggressively as soil temperatures cross the 50°F (10°C) threshold, helping young divisions recover rapidly.
Always plan your digging around localized weather forecasts when considering when to divide plants. Choose cool, overcast days or work during the late afternoon. Direct, intense sunlight accelerates water loss through leaf stomata by up to 60%, placing severe moisture stress on freshly lifted roots. Overcast conditions and gentle rainfall offer ideal natural protection while you work.
Tip #2: Gather the Essential Tools for Clean Division
Equipping yourself with the right tools transforms a heavy gardening chore into a smooth, precise procedure. Using improper or dull equipment tears root tissues, leaving jagged wounds that invite soil-borne pathogens like Pythium and Phytophthora root rot.
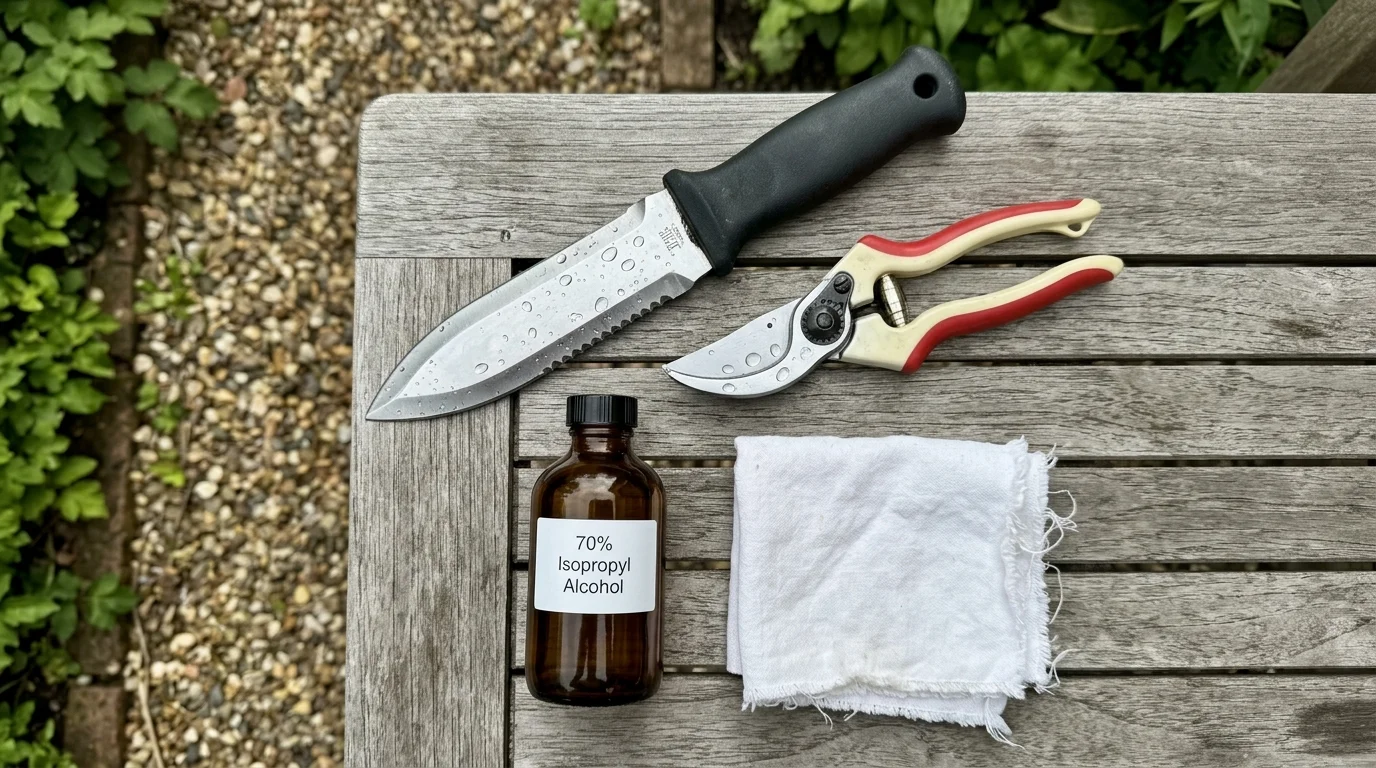
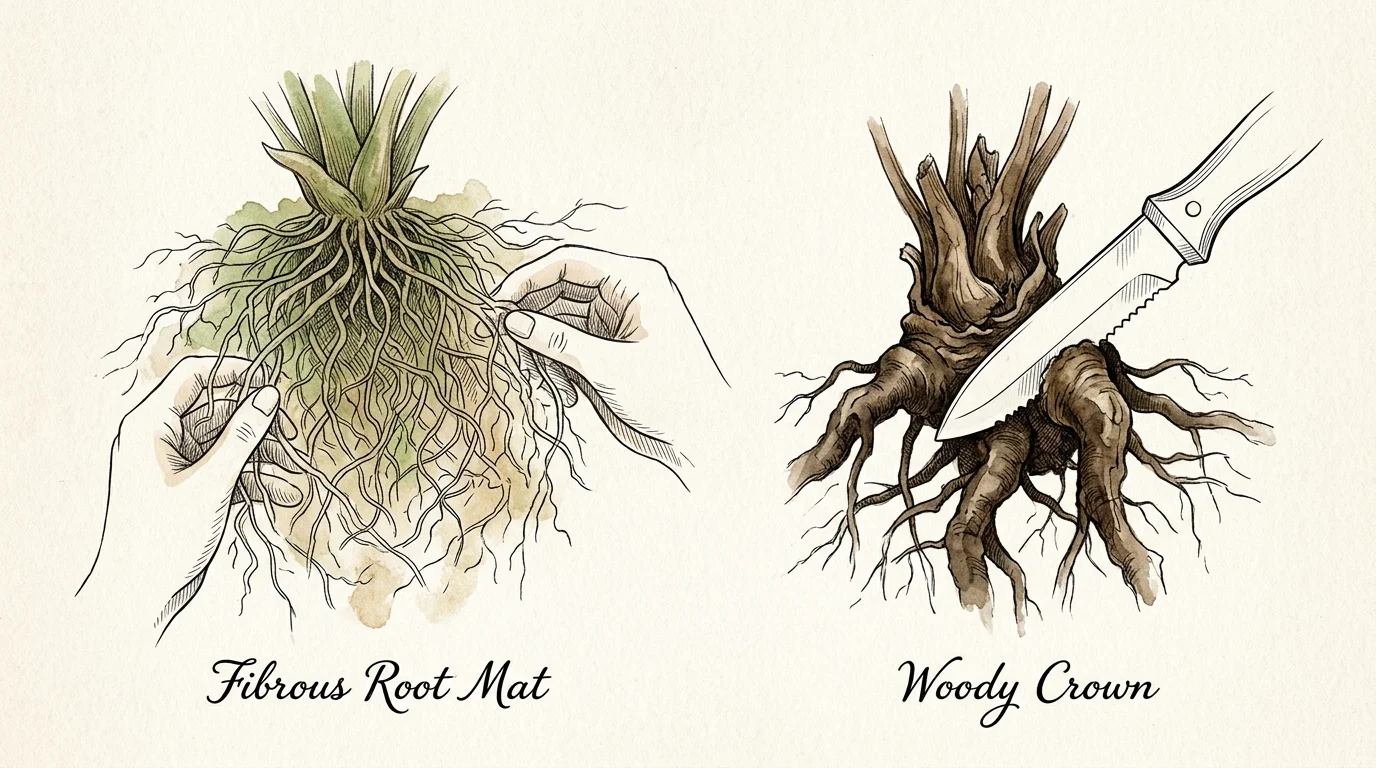
Assemble a sturdy sharp spade, a heavy-duty border fork, a hori hori garden knife, sharp bypass pruners, and a clean hand trowel. A serrated hori hori knife excels at sawing through tough, woody crowns, while bypass pruners make clean cuts through fibrous root mats without crushing vital tissues.
Sanitation plays a critical role in successful propagation. Sanitize all cutting blades with 70% isopropyl rubbing alcohol or a 10% household bleach solution before moving between different plants. Clean cuts heal rapidly, forming protective callus tissue that shields the plant against fungal infection.
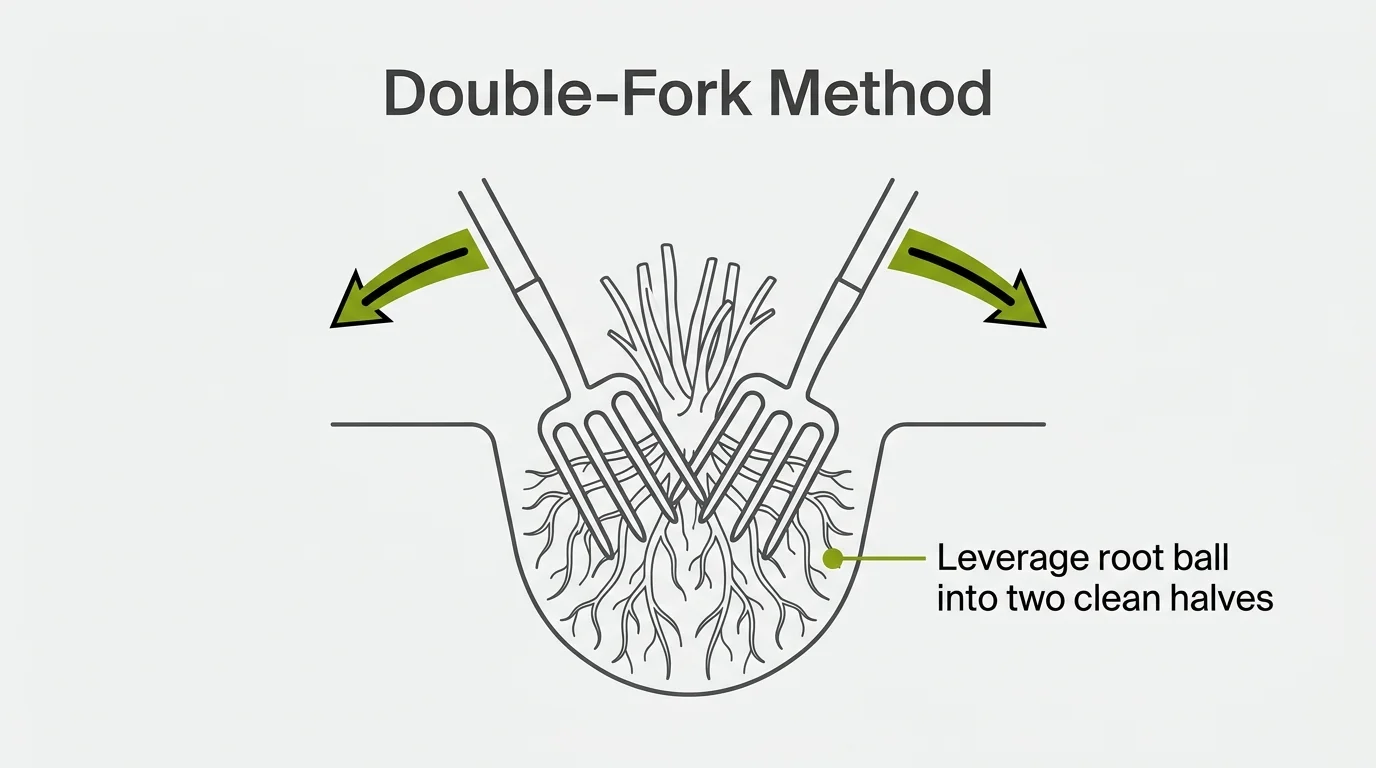
For large, mature perennial clumps, keep two matching digging forks on hand. The double-fork method offers unmatched leverage for separating dense root masses without tearing roots. By sliding two forks back-to-back straight down into the center of a root mass and pushing the handles apart, you leverage the root ball into two clean halves using minimal force.
Tip #3: Prepare Your Plants and Soil Before Digging
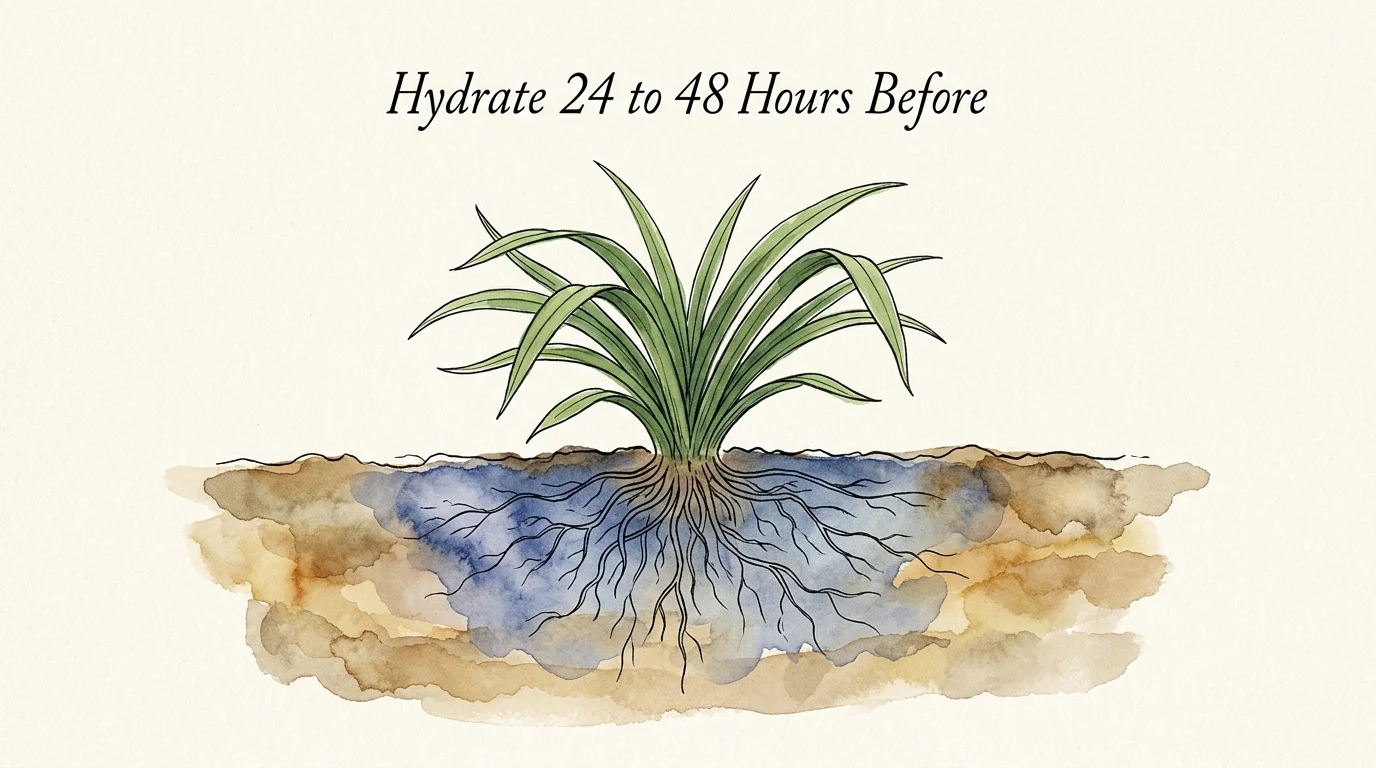
Preparation makes the difference between swift transplant recovery and prolonged shock. Hydrate your target plants thoroughly 24 to 48 hours before lifting them from the ground. Fully turgid plant cells hold maximum moisture reserves, shielding cellular structures during root disruption.
Never leave freshly dug roots exposed while you dig new holes. Prepare the receiving garden beds in advance. Clear weeds, loosen soil to a depth of 10 to 12 inches, and blend in a generous 2- to 3-inch layer of organic compost or leaf mold. Healthy garden soil with an organic matter content of 5% to 8% retains adequate moisture while providing excellent drainage.
Test your soil pH to ensure optimal nutrient uptake for your specific plant varieties. Most herbaceous perennials thrive in slightly acidic to neutral soil with a pH between 6.0 and 7.0. Adjust acidic or alkaline soils accordingly with agricultural lime or elemental sulfur prior to planting.
Dig receiving holes twice as wide as the anticipated root mass of your new division, but match the exact depth of the original root system. Creating a broad hole with loosened surrounding soil encourages fine lateral feeder roots to expand quickly into their new environment.
Tip #4: Lift the Root Crown Correctly Without Root Damage
Lifting a perennial clump intact preserves vital fine root hairs that absorb water and minerals. Begin by locating the plant’s drip line—the outermost circumference of its foliage canopy. Digging too close to the central crown severs main support roots and weakens your divisions.
Insert your spade vertically into the soil around the drip line, stepping down on the blade to cut a clean circle 4 to 6 inches outside the foliage edge. Sever outer lateral roots completely around the perimeter before attempting to pry the plant upward.
Once you cut the outer perimeter, slide your spade or spading fork beneath the root ball at a 45-degree angle. Pry downward on the handle using your body weight to lift the entire mass upward. Move around the plant, levering from multiple angles until the main root mass releases from the subsoil.
Gently lift the root clump out of the hole by supporting it underneath the root mass. Never pull plants up by their stems or leaves, as this tears vulnerable vascular tissue away from the crown. Gently shake off excess soil or rinse the root ball with a low-pressure garden hose to reveal individual roots, stems, and growth buds clearly.
Tip #5: Separate the Clumps Based on Root Type
Propagating perennials requires tailored techniques based on specific root structures. Perennials fall into four primary root categories, each requiring a tailored approach when dividing perennials:
Fibrous Root Systems: Plants like daylilies (Hemerocallis), hostas, and black-eyed Susans form dense mats of thin, interwoven roots. Separate small clumps by hand or use back-to-back garden forks to lever them apart. Slice through dense masses with a sharp knife, ensuring each piece contains at least 3 to 5 vigorous shoots and a solid root bundle.
Fleshy Taproots and Fleshy Crowns: Peonies (Paeonia), Oriental poppies (Papaver orientale), and Siberian irises develop thick, fleshy storage roots. Slice through the central crown with a sanitized knife, creating divisions that feature 3 to 5 prominent pink or red growth eyes along with several attached feeder roots. Discard the woody, hollow center of old crowns.
Rhizomes: German bearded irises grow horizontally via thick surface rhizomes. Cut rhizomes into 3- to 4-inch sections containing a healthy fan of leaves and active roots. Trim foliage back to a 6-inch inverted ‘V’ shape to prevent wind rocking and reduce moisture loss. Discard old, leafless center rhizomes or any sections showing soft rot or borer damage.
Mat-Forming Creeping Roots: Groundcovers like creeping phlox, woolly thyme, and sedums spread via trailing stems that root where they touch the soil. Pull these mats apart into smaller rooted sections by hand or cut them with garden shears for rapid groundcover establishment.
Tip #6: Replant and Water Immediately for Fast Root Establishment
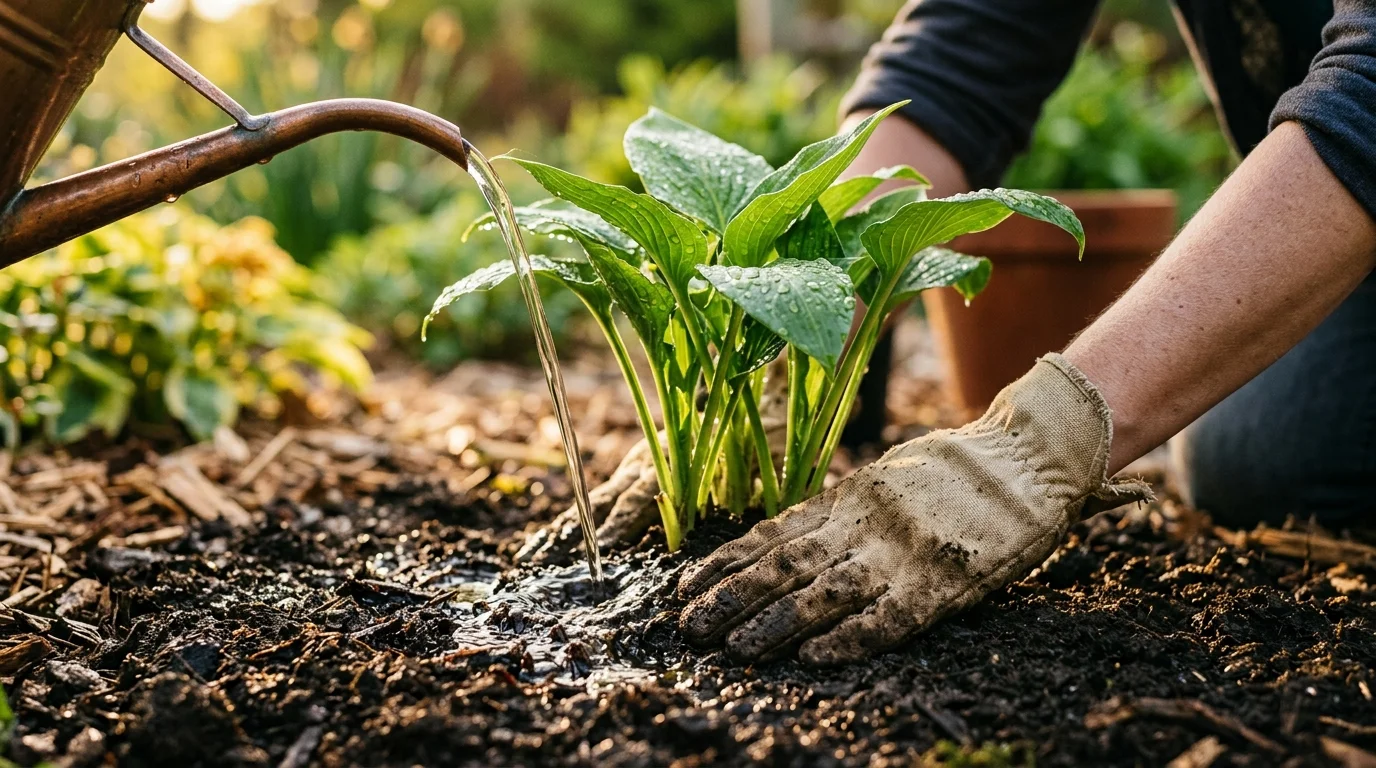
Prompt replanting keeps delicate feeder roots from drying out and dying. Position your new division in the center of the prepared hole, fanning the roots outward over a gentle mound of soil in the base of the hole.
Pay strict attention to planting depth. Set the crown—the point where roots meet the stems—exactly level with the surrounding soil surface. Planting too deep invites crown rot and stem decay, while planting too shallow exposes tender roots to sun and frost heaving. For peonies, ensure the growing eyes sit precisely 1 to 2 inches below the soil surface.
Backfill the hole with compost-rich soil, firming it gently around the root zone with your hands to collapse air pockets. Avoid stomping heavy boots on the soil, which crushes delicate root structures and compacts the earth.
Water each division thoroughly immediately after backfilling. Apply 1 to 2 gallons of water per plant, allowing moisture to soak deep into the root zone. Apply an organic seaweed extract or liquid kelp fertilizer (diluted at 1 tablespoon per gallon of water) to reduce transplant shock and stimulate rapid root initiation.
Finish by applying a 2-inch layer of organic mulch, such as shredded bark, pine needles, or leaf mold, around the plant. Maintain a clear 1- to 2-inch gap between the mulch and the plant stems to preserve airflow and prevent fungal diseases.
Tip #7: Provide Post-Division Aftercare and Monitoring
Proper aftercare guarantees high survival rates for your free plants from division. Because root systems lose feeder capacity during division, top foliage can transpire water faster than roots can absorb it. Reduce top foliage by 30% to 50% on large-leaved perennials using clean pruners to balance water demand.
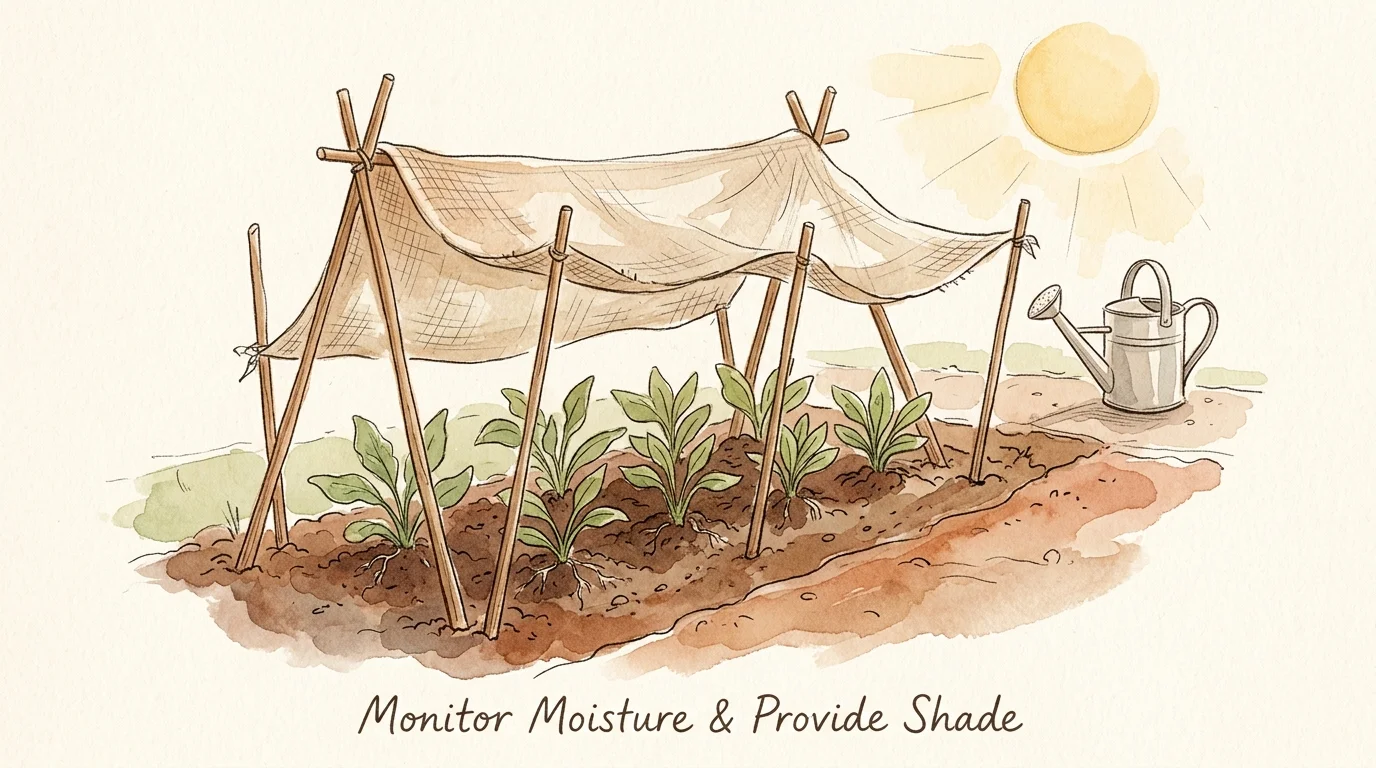
Protect vulnerable new transplants from intense sunlight during their initial recovery period. Erect temporary shade structures using inverted wooden crates, shade cloth, or leafy branches stuck in the ground to shield divisions from midday sun for 7 to 10 days.
Establish a regular watering routine during the first month. Water deeply 2 to 3 times per week, supplying approximately 1 inch of water weekly. Deep soakings encourage roots to penetrate deeper into the soil profile, building drought resistance for future seasons.
Monitor your plants daily for signs of distress. Minor wilting during sunny afternoons is normal, but persistent evening wilting indicates water stress or poor root contact. Adjust watering or shade levels immediately to keep young plants thriving as they settle into their new homes.
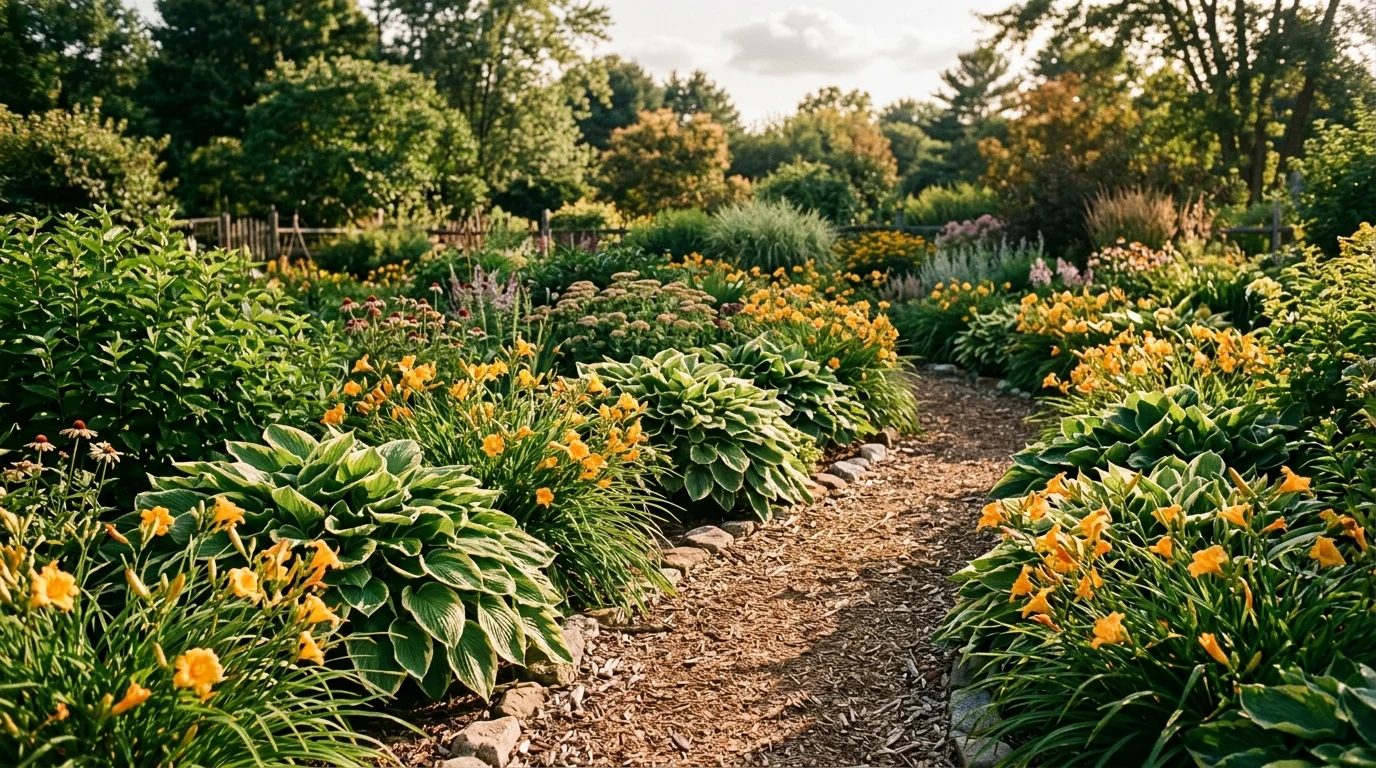
Putting It All Together: Enjoy Your Beautiful Garden
Mastering the technique of dividing perennials empowers you to shape, expand, and rejuvenate your landscape with total confidence. By recognizing when to divide plants, using sharp sanitized tools, and honoring each species’ unique root architecture, you turn a single mature specimen into a thriving collection of robust plants.
Beyond the immense financial savings of producing free plants from division, periodic division keeps mature perennials healthy, vigorous, and blooming at their peak. Overcrowded beds regain air circulation, tired crowns renew their energy, and your entire landscape benefits from a burst of fresh growth.
Take this newfound knowledge out into your yard this season. Share surplus divisions with neighbors, fill empty borders, and celebrate the incredible bounty of perennial garden expansion.
For region-specific advice, consult your local University Extension program (find yours via the USDA directory). For plant databases and inspiration, visit the Missouri Botanical Garden or the Royal Horticultural Society.
Disclaimer: This article provides general gardening advice. Always consider your specific climate, soil conditions, and local pests. Follow safety guidelines when using gardening tools and products.
Frequently Asked Questions
Can I divide perennials while they are in full bloom?
While you can technically divide some perennials during flowering in emergencies, it is best to avoid doing so. Plants in full bloom direct most of their water, carbohydrates, and metabolic energy toward blossom development. Dividing them during peak bloom causes severe stress, leaf dropping, and premature flower loss. If you must divide a blooming plant, remove all flower stalks and cut back foliage by 50% immediately after replanting to conserve moisture and energy.
How often should I divide my perennial garden plants?
Most fast-growing herbaceous perennials—such as daylilies, hostas, asters, and coreopsis—benefit from division every 3 to 5 years. Look for telltale signs of overcrowding, such as smaller flowers, dieback in the central core of the clump, or reduced vigor. Slower-growing species, like peonies and false indigo (Baptisia), can remain undisturbed for 10 years or more without losing vigor.
What perennials should never be divided?
Perennials with deep, woody taproots or single central stems do not respond well to division and often die if root separation is attempted. Avoid dividing false indigo (Baptisia australis), butterfly weed (Asclepias tuberosa), baby’s breath (Gypsophila paniculata), Russian sage (Salvia yangii), and lavender (Lavandula). Propagate these species instead using stem cuttings or seeds.
What should I do if my divided plant wilts right after replanting?
Initial wilting represents a natural reaction to root disturbance as the plant loses moisture faster than damaged roots can replace it. Shade the plant immediately with an inverted nursery pot or cardboard box for 3 to 5 days. Ensure the soil remains consistently moist but not waterlogged. Avoid applying high-nitrogen synthetic fertilizers, which burn tender new root tissues; stick to gentle seaweed root stimulants instead.