Your lush indoor jungle thrives when you give its roots room to stretch, but knowing exactly when to size up a container often feels like a guessing game. Recognizing plant repotting signs saves your favorite greenery from stunted growth and root rot, ensuring vibrant foliage season after season. A root-bound plant cannot absorb essential nutrients or water efficiently; it essentially starves inside its pot. You can easily spot a struggling specimen before permanent damage occurs by observing a few specific physical cues. From roots escaping through drainage holes to soil that repels water entirely, paying attention to these eight unmistakable signals helps you intervene at the perfect time and keep your indoor plant care routine flawlessly on track.
Tip #1: Roots Escaping Through Drainage Holes
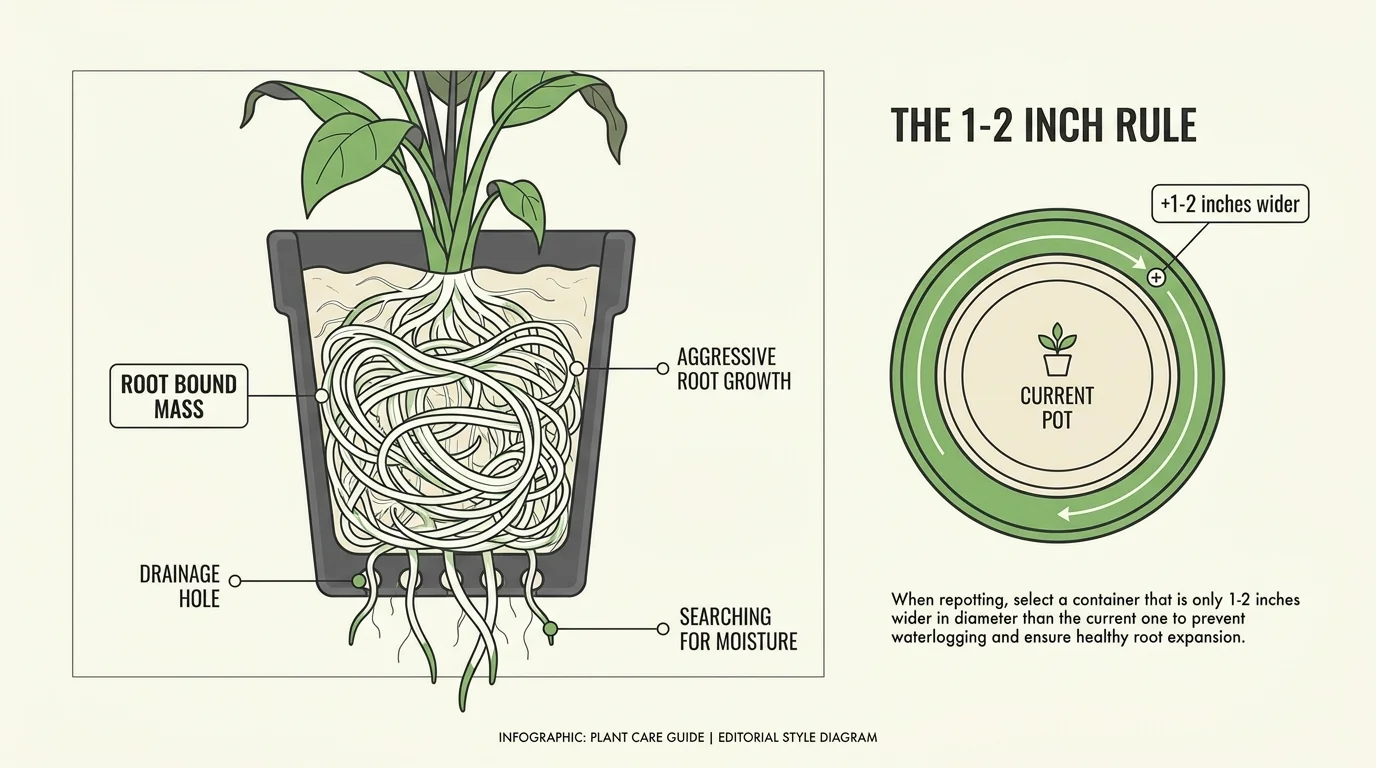
When you lift your favorite houseplant to dust the shelf and discover a tangled mass of roots poking through the bottom drainage holes, your plant is sending a clear distress signal. This phenomenon occurs when a rapidly growing root system exhausts all available space inside the container and begins searching outward for fresh soil, moisture, and nutrients. Plants naturally want to expand their footprint; confined to a tiny plastic nursery pot, an aggressive grower like a Monstera deliciosa or a spider plant will inevitably seek an exit strategy. Those visible roots indicate that the internal environment is likely completely overrun by a tight, circling root mass.
Leaving roots exposed to the open air outside the pot causes them to dry out, die back, and invite pathogens into the healthy tissue. Root bound plants suffer a dramatic decrease in their ability to uptake water because the vital root hairs—the microscopic structures responsible for moisture absorption—become damaged or suffocated. Data from horticultural studies consistently shows that severely restricted root zones reduce overall biomass production by up to fifty percent over a single growing season. You compromise the structural integrity and health of your greenery when you ignore these adventurous roots.
Solve this issue by carefully sliding the plant out of its current home to inspect the root ball. If you see a dense network of roots circling the perimeter with very little soil visible, it is time to upgrade. Select a new container exactly one to two inches wider in diameter than the current one. Upgrading too drastically leaves excess damp soil around the root zone, which increases the risk of root rot; a gradual size increase provides just enough fresh real estate for safe, healthy expansion.
Tip #2: The Plant Pushes Itself Up Out of the Planter
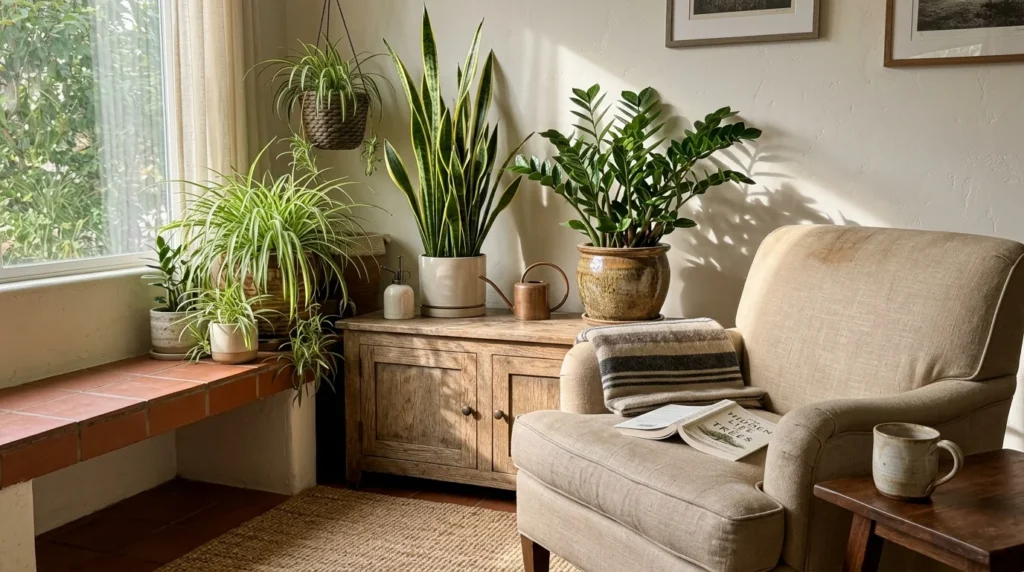
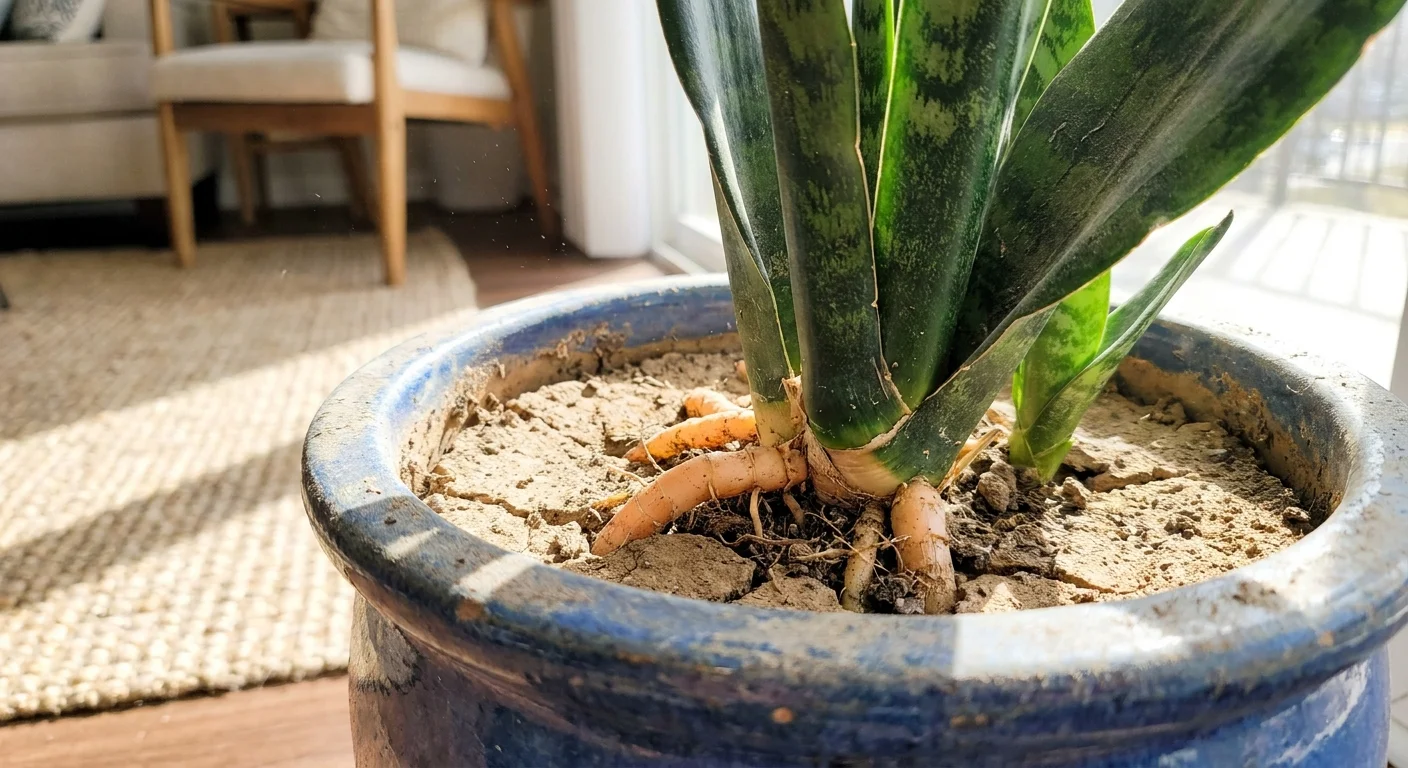
You might notice your plant sitting unusually high in its container, almost as if it is trying to escape by launching itself over the rim. This upward migration happens when strong, thick roots hit the rigid bottom of the pot and have nowhere else to grow but up. As the root mass coils upon itself, it acts like a slow-motion hydraulic press, physically lifting the entire plant—soil and all—out of the planter. Succulents, ZZ plants, and snake plants are particularly notorious for this behavior, possessing thick, fleshy rhizomes powerful enough to warp plastic pots or even crack ceramic ones.
When a plant pushes itself upward, it alters the soil level, making effective watering nearly impossible. You will find that when you pour water onto the surface, it instantly spills over the sides instead of sinking into the root zone. Furthermore, the newly exposed upper roots face the dry indoor air, causing them to desiccate and die. A healthy plant relies on a stable, deep root foundation to anchor its heavy upper foliage; a plant balancing precariously on top of a compacted root mound becomes structurally unsound and vulnerable to sudden collapse.
Address this dramatic shift by unpotting the plant and gently loosening the tightly wound bottom roots. Use your fingers or a sterile gardening fork to tease the root ball apart, which encourages the roots to grow outward rather than in a continuous circle. Replant it in a slightly deeper container that allows you to bury the root system back at its original, proper depth. Leave about an inch of space between the new soil surface and the rim of the pot to ensure water pools and drains correctly during your routine maintenance sessions.
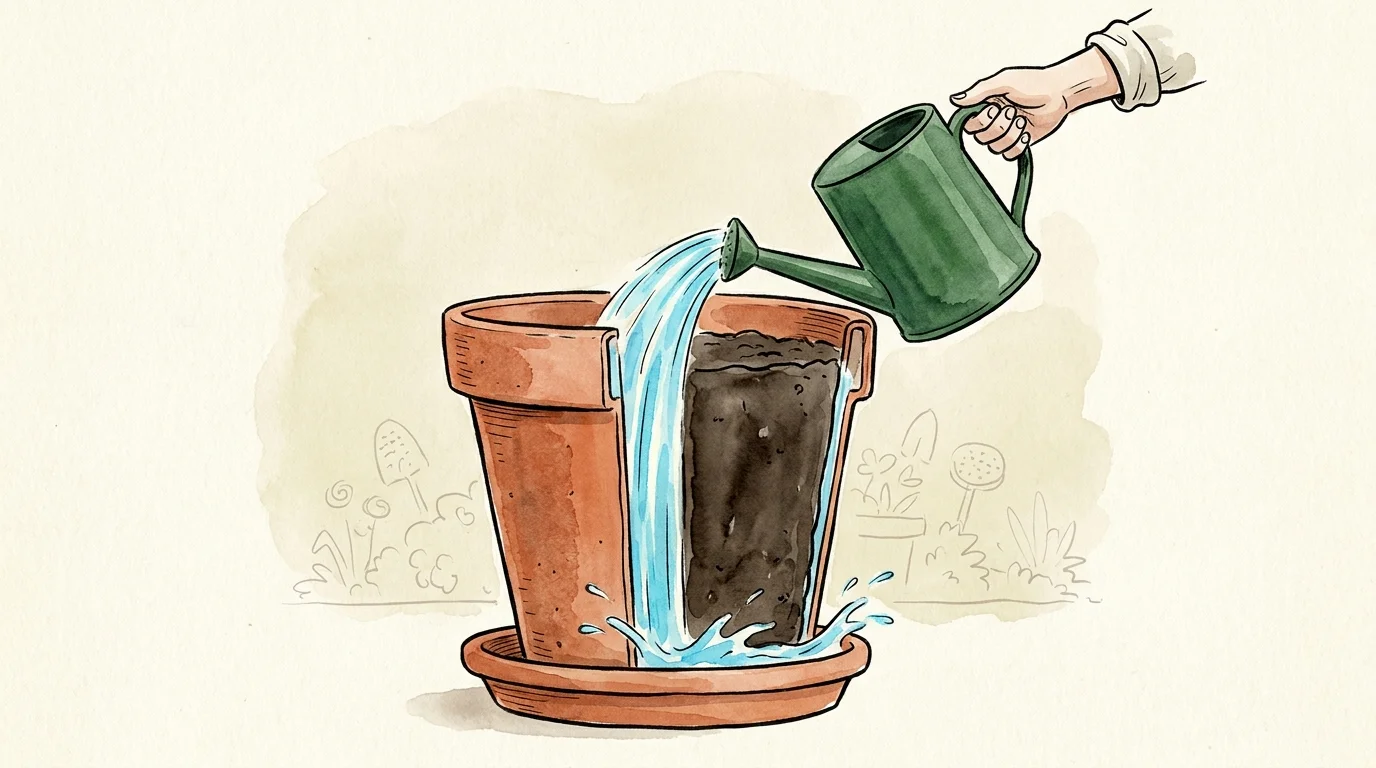
Tip #3: Water Runs Straight Through the Pot
Imagine carefully watering your beloved peace lily, only to watch the liquid immediately rush out the drainage holes and flood the saucer below without moistening the soil. This instant drainage happens when roots have entirely consumed the soil volume, leaving no organic matter behind to act like a sponge. In a healthy container environment, potting mix holds onto water just long enough for the root system to absorb it before allowing the excess to drain away. When that soil breaks down or is displaced entirely by a massive root web, water simply follows the path of least resistance right down the sides of the pot.
The consequences of this rapid drainage are severe; your plant experiences chronic dehydration regardless of how frequently you water it. Because the water never actually permeates the dense root ball, the plant essentially dies of thirst while sitting in a flooded drip tray. Houseplants depend on the capillary action of quality potting soil to distribute moisture evenly to every tiny root hair. Without that essential soil structure, you will quickly notice wilting foliage, brown crispy edges, and an overall dull appearance that fails to improve even after a thorough drenching.
To verify this issue, test the weight of the pot immediately after watering. If the container feels surprisingly light despite a fresh soaking, your plant needs repotting immediately. Soak the entire root ball in a bucket of room-temperature water for twenty minutes to rehydrate it before attempting to remove the pot. Once unpotted, gently prune away any dead or mushy roots before placing the plant in a fresh, high-quality potting mix enriched with moisture-retaining ingredients like coco coir or compost.
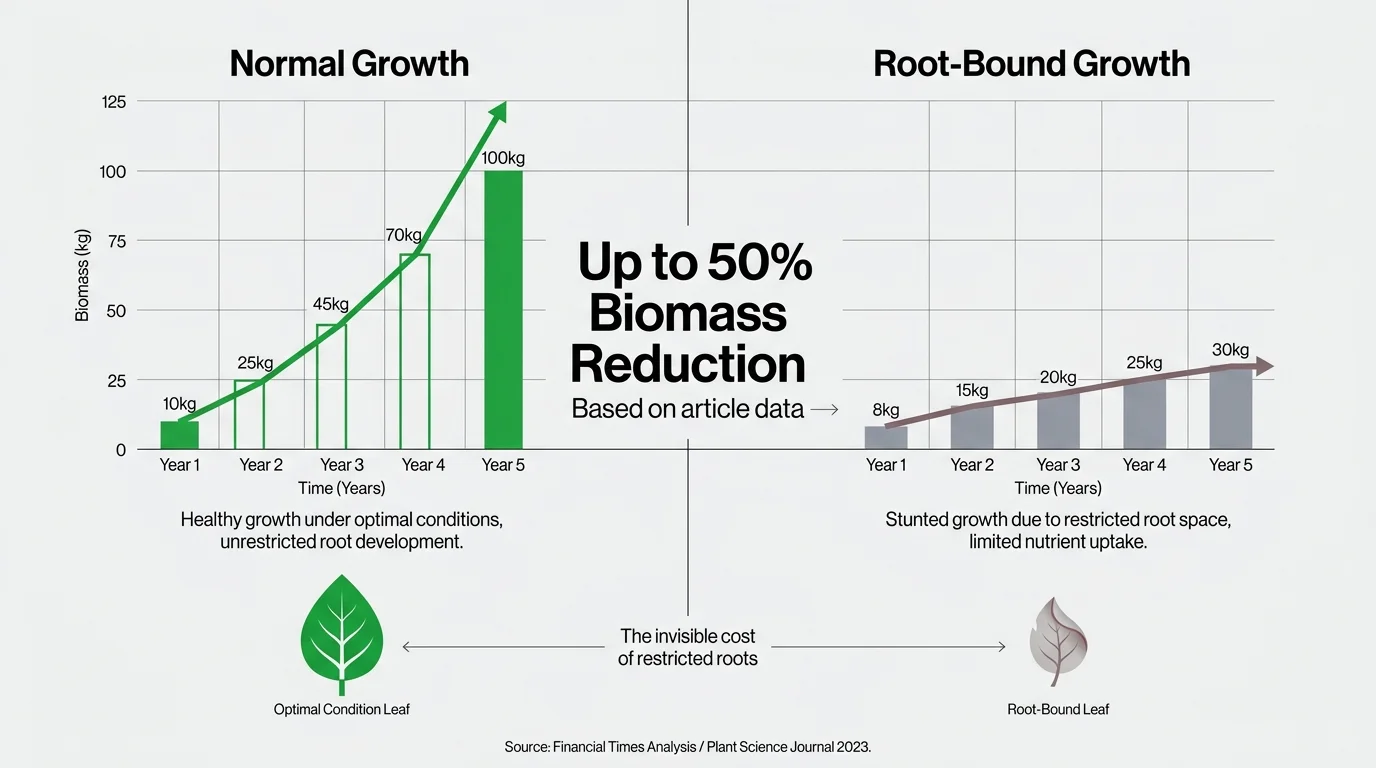
Tip #4: Stunted Growth During the Active Growing Season
Spring and summer represent the prime growing season for nearly all indoor foliage, a time when you expect to see vibrant new shoots, unfurling leaves, and a noticeable increase in size. If your plant remains frozen in time during these warm, sunny months, producing absolutely no new growth despite adequate light and a strict fertilization schedule, a cramped root system is likely the culprit. When plants max out their available subterranean space, they simply stop investing energy into above-ground expansion.
A container plant operates on a delicate balance between its roots and its leaves. The root system must be large enough to gather the necessary water and nutrients to support the foliage above. When the roots cannot grow any further, a biological signal halts the production of new leaves to prevent the plant from becoming too large for its restricted life support system. You might also notice that the few leaves that do manage to emerge are unusually small, deformed, or pale compared to the older, mature foliage.
Keep a casual growth journal or take seasonal photographs of your collection to easily identify when a previously vigorous grower suddenly stalls. Once you rule out environmental factors like inadequate sunlight or pest infestations, prepare for a repotting session. Moving the plant into a slightly larger vessel with nutrient-rich soil provides the literal and metaphorical breathing room it needs to resume active growth. Within just a few weeks of receiving fresh soil and expanded territory, you will typically be rewarded with a spectacular flush of new, healthy leaves.
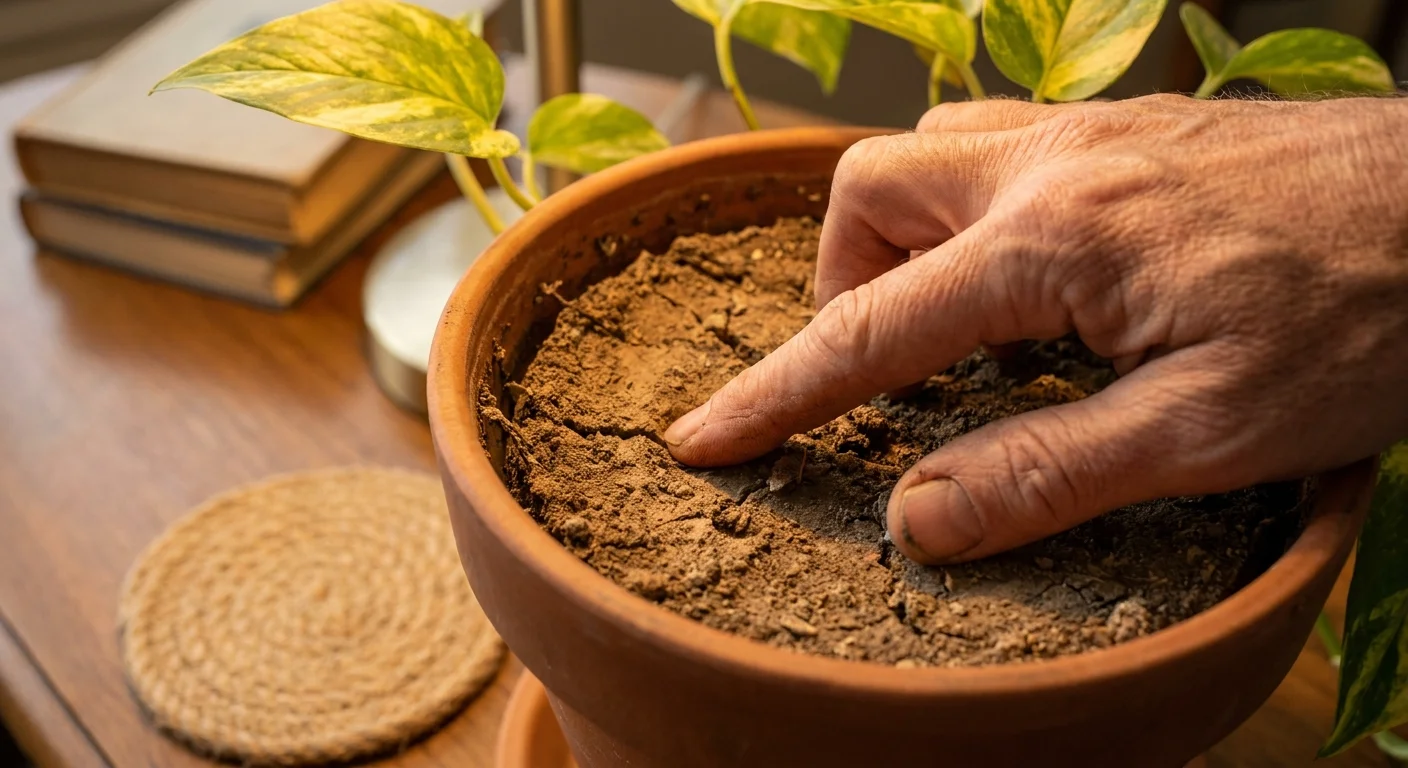
Tip #5: The Soil Dries Out Unusually Fast
You used to water your thriving Pothos once every ten days, but suddenly you find its leaves drooping and the soil turning bone-dry every three days. A drastic, unexplained increase in watering frequency serves as a classic red flag that your greenery has outgrown its current home. As a root system expands and multiplies, it requires significantly more water to sustain itself. Concurrently, the roots physically displace the potting soil, leaving less organic material available in the container to capture and hold onto moisture.
This frustrating cycle of rapid drying forces you into an exhausting, high-maintenance watering routine that leaves zero margin for error. If you happen to miss a watering day, the plant immediately suffers from severe drought stress, leading to cellular damage and leaf loss. Furthermore, the constant flux between bone-dry and soaking-wet conditions stresses the plant’s vascular system. Consistent, even moisture is a cornerstone of successful container gardening, and a tangled root mass makes achieving that consistency impossible.
Pay close attention to your watering cadence; if a plant that historically required weekly attention suddenly demands water twice a week, schedule an intervention. Choose a new container that provides an extra inch of potting mix all the way around the existing root ball. That crucial buffer of fresh soil acts as a reservoir, trapping moisture and slowing down the drying process. Adding a handful of perlite or vermiculite to the new mix will also help regulate moisture retention, ensuring your plant stays hydrated while giving you your schedule back.
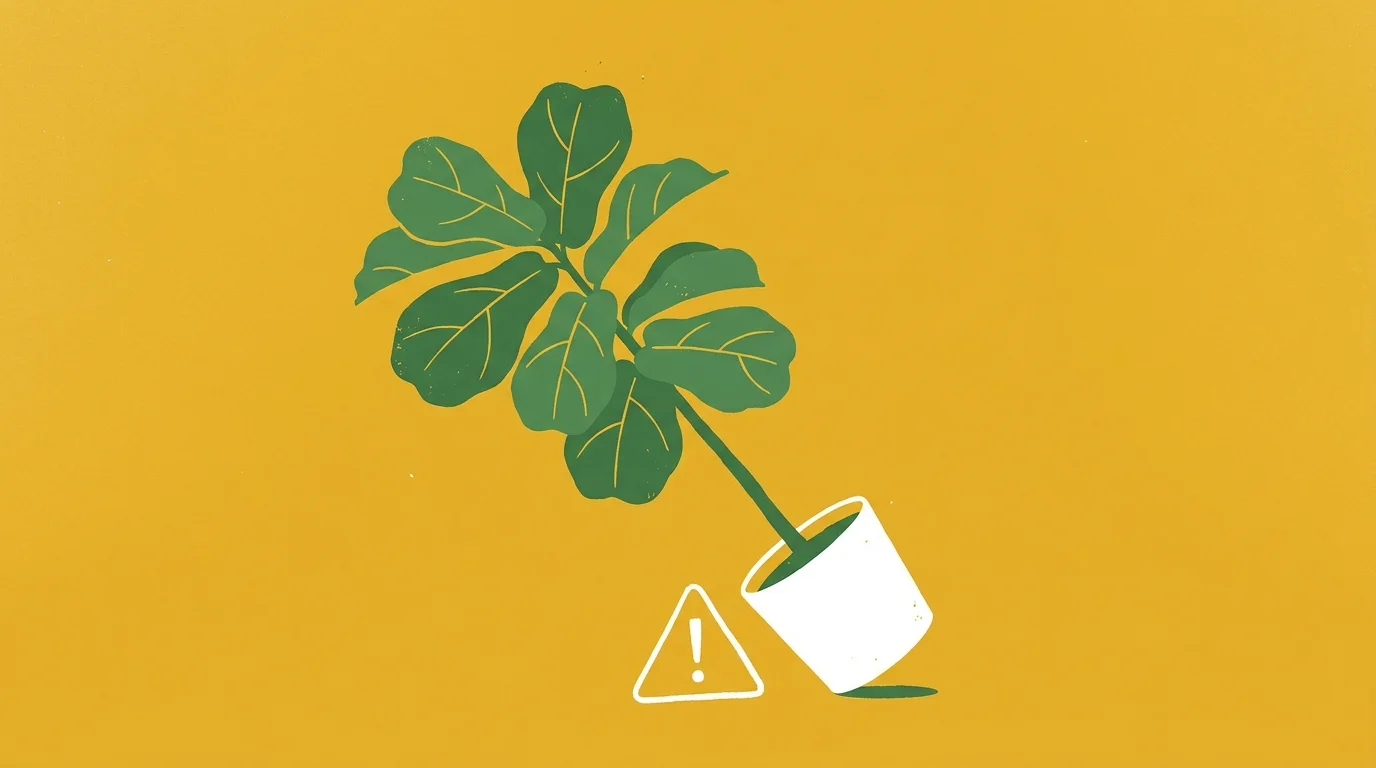
Tip #6: Your Plant Becomes Dangerously Top-Heavy
A magnificent, towering rubber tree or an expansive fern brings dramatic flair to a room, but that beauty quickly becomes a hazard when the plant grows too top-heavy for its foundation. If the slightest breeze, a passing pet, or a gentle bump causes your plant to tip over, the physical proportions between the foliage canopy and the root ball are dangerously out of sync. A plant requires a substantial, heavy base to counteract the leverage created by tall stems and broad, sweeping leaves.
Frequent tipping causes extensive physical trauma to your indoor garden. Every time the pot crashes to the floor, you risk snapping delicate stems, tearing foliage, and shattering expensive decorative planters. More importantly, the impact severely jars the root system, tearing microscopic root hairs and shocking the plant. In extreme cases, a toppling plant can completely unearth itself, spilling soil everywhere and leaving the delicate roots exposed to the damaging dry air of your home.
Prevent catastrophic falls by shifting top-heavy specimens into wider, heavier containers. Materials like terra cotta, ceramic, or concrete offer substantial weight that firmly anchors large plants. When determining when to repot plants that have become unstable, prioritize width over depth to create a broader center of gravity. As you settle the plant into its new, heavy-duty home, take the opportunity to insert a sturdy moss pole or wooden trellis if the stems require additional vertical support. This proactive measure guarantees your statement plants remain safely upright.
Tip #7: Leaves Turn Yellow or Drop Unexpectedly
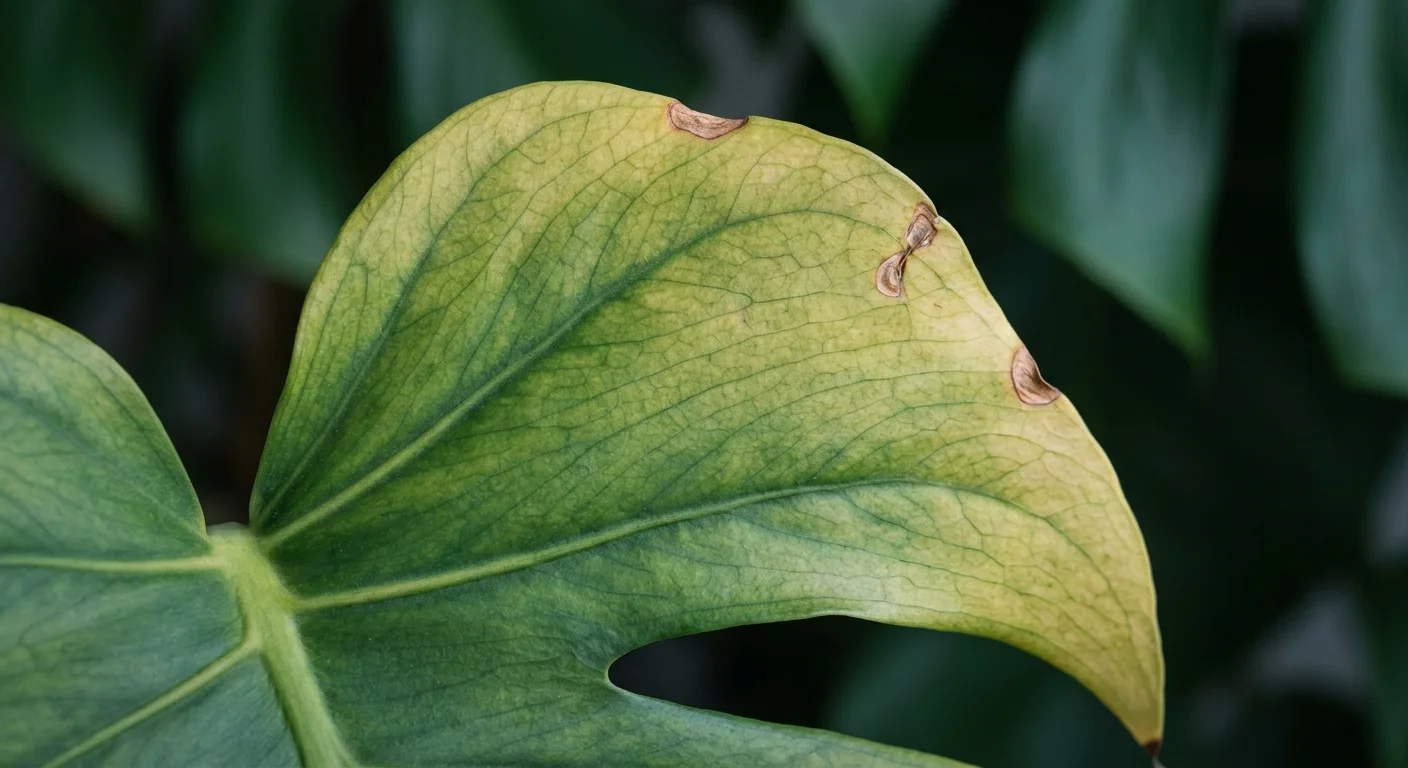
Nothing breaks a gardener’s heart quite like watching lush, vibrant green leaves inexplicably turn yellow, brown, and prematurely drop to the floor. While overwatering commonly causes yellowing foliage, a severely cramped plant exhibits similar symptoms for entirely different reasons. When a plant has exhausted the nutritional reserves of its aging soil, it can no longer support its entire canopy. To survive, the plant enacts a ruthless triage system, sacrificing its oldest, lowest leaves by draining their nutrients to support new growth at the tips.
This nutrient deficiency is inevitable in pots that haven’t been upgraded or refreshed in years. Potting soil is not an infinite resource; every time you water, essential macronutrients like nitrogen, phosphorus, and potassium wash out through the drainage holes. Once the roots have occupied the entire pot, even regular applications of liquid fertilizer fail to correct the issue, as there is simply no soil structure left to hold those supplemental nutrients long enough for the roots to absorb them.
Diagnose this specific issue by evaluating your watering habits; if you know you aren’t overwatering, nutritional starvation due to a cramped pot is the logical culprit. Carefully unpotting the plant and providing a fresh, nutrient-dense soil mixture immediately halts the decline. Look for premium potting mixes formulated with worm castings or slow-release organic fertilizers to give your struggling greenery an immediate, sustained nutritional boost. Once settled in a roomier pot with fresh soil, the yellowing will cease, and the plant will eventually restore its lush appearance.
Tip #8: Soil Looks Compacted, Crusty, or Depleted
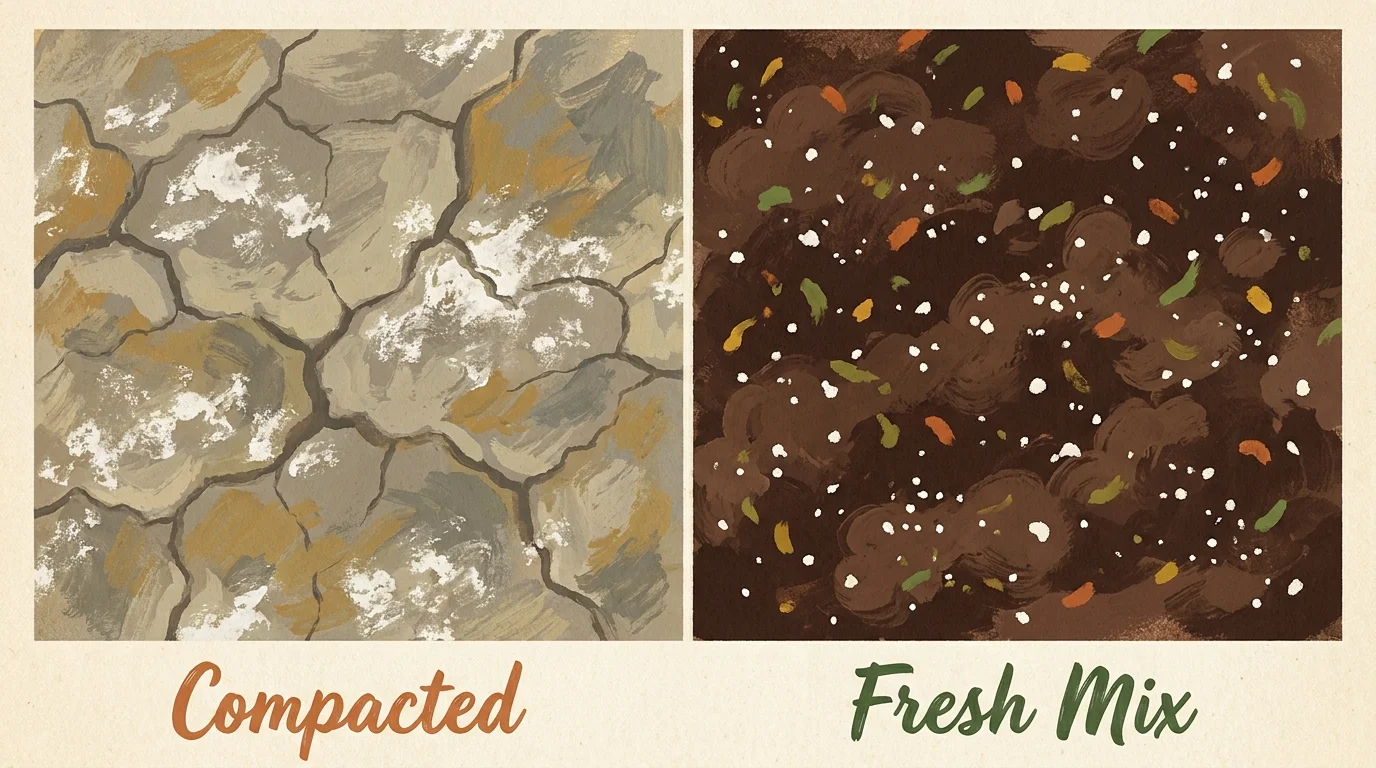
Sometimes the most obvious visual cues come not from the foliage or the roots, but from the soil itself. Over time, standard peat-based potting mixes physically degrade, breaking down into a fine, dust-like texture that compacts into a rock-hard brick. You might notice the soil pulling away from the sides of the pot, creating a visible gap between the dirt and the container wall. Additionally, a crusty white or yellowish buildup on the soil surface indicates an accumulation of heavy salts and minerals from tap water and synthetic fertilizers.
Compacted soil creates an impenetrable barrier that slowly suffocates a plant. Roots require oxygen just as much as they require water; a healthy, aerated potting mix allows necessary air exchange to occur below the surface. When the soil collapses into a dense mass, all the microscopic air pockets disappear, creating an anaerobic environment that actively promotes root rot and fungal diseases. Furthermore, the buildup of toxic mineral salts chemically burns sensitive root tips, leading to stunted growth and browning leaf edges.
Make it a habit to physically touch the soil during your regular plant care routine. If the surface feels hard to the touch or water pools on top for several minutes before slowly draining, it is time to refresh the environment. Even if the plant hasn’t completely outgrown its pot, removing the old, depleted soil and replacing it with a fresh, airy mix revitalizes the root zone. Gently crumble away as much of the old dirt as possible without tearing the roots, and blend in plenty of perlite or pumice to ensure long-lasting aeration.
Putting It All Together: Enjoy Your Beautiful Garden
Recognizing these critical warning signs empowers you to take decisive action before your plants suffer irreversible damage. Gardening thrives on observation; by paying close attention to escaping roots, rapid soil drying, and stunted foliage, you eliminate the guesswork from container gardening. Repotting is not merely a chore, but rather a vital opportunity to reset the foundation of your indoor ecosystem. A fresh pot and nutrient-rich soil breathe new life into tired greenery, triggering a remarkable surge in vigorous, healthy growth.
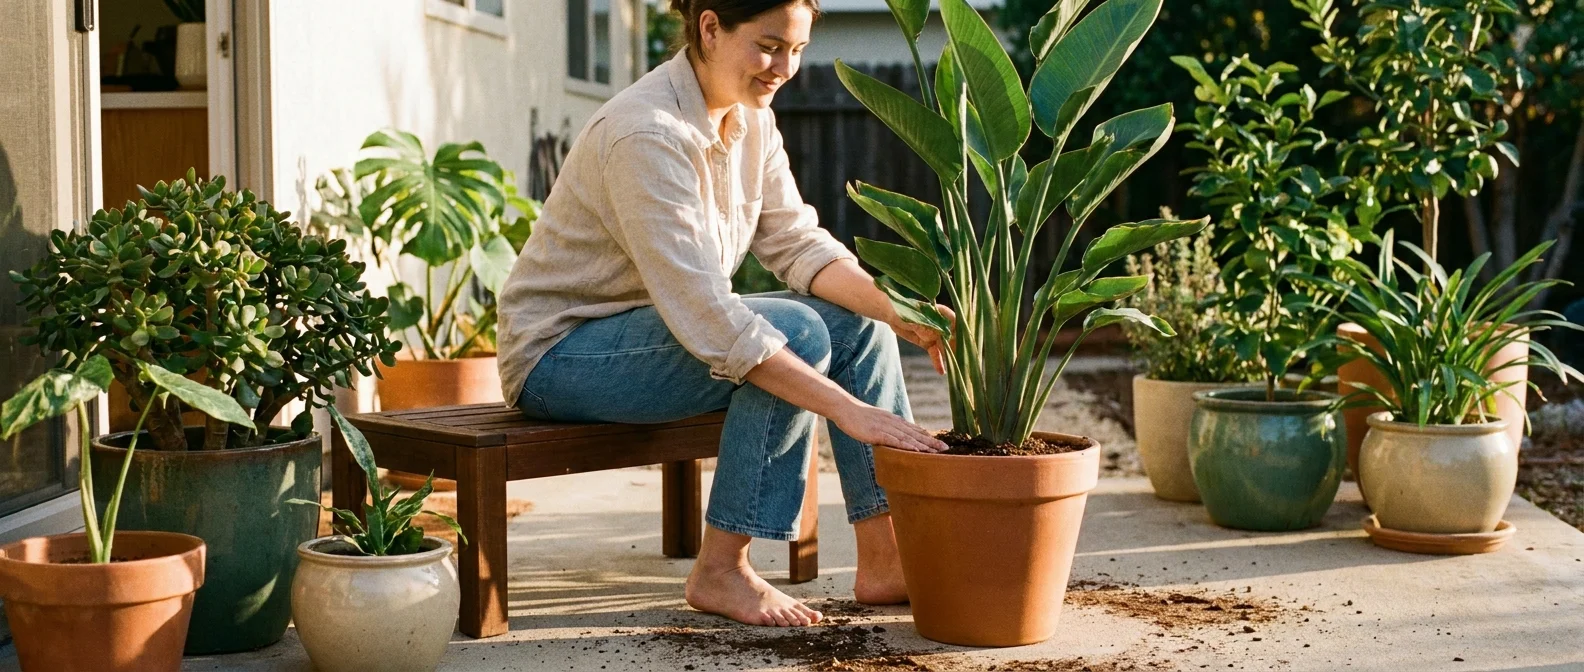
Gather your favorite planters, lay down a protective tarp, and embrace the messy, deeply rewarding process of upgrading your botanical companions. Every time you successfully transition a struggling plant into a spacious new home, you hone your skills and deepen your connection with the natural world. Keep an eye out for these eight unmistakable signals, trust your intuition, and watch as your flourishing indoor jungle rewards your attentive care with unparalleled beauty and vitality.
Frequently Asked Questions
What time of year is best to repot houseplants?
Spring and early summer stand out as the ideal seasons for moving most houseplants into larger containers. During this time, increased sunlight and warmer temperatures push plants into their active growing phase. Intervening during active growth ensures the plant has plenty of energy to recover from the stress of the move and quickly establish new roots in the fresh soil.
Should I break up the roots when repotting?
Yes; gently teasing apart the outer layer of a tightly bound root ball is crucial for long-term success. If you place a solid, circling mass of roots directly into a new pot, the roots often continue to grow in a tight circle rather than expanding into the fresh soil. Lightly massaging the roots with your fingers encourages them to venture outward and stabilize the plant.
How much bigger should the new pot be?
Always practice restraint when sizing up your containers. Choose a new pot that is exactly one to two inches wider in diameter than the current one. Placing a small root system into a massive container leaves excessive amounts of soil without roots to absorb the moisture, dramatically increasing the risk of waterlogging and deadly root rot.
For region-specific advice, consult your local University Extension program (find yours via the USDA directory). For plant databases and inspiration, visit the Missouri Botanical Garden or the Royal Horticultural Society.
Disclaimer: This article provides general gardening advice. Always consider your specific climate, soil conditions, and local pests. Follow safety guidelines when using gardening tools and products.