Keep your herbs fresh and ready for cooking this winter by following these steps:
Are you tired of always running out of your favorite herbs exactly when you have to cook that meal you were planning to? Me too, me too! That’s why I have some good news for all-level gardeners: how about drying your herbs and keeping them fresh and on hand whenever you need them?
The simplest and least expensive method of drying fresh herbs is, of course, air drying, which also helps keep the flavor of the herbs by protecting their essential oils. But this technique works wonders only for a couple of herbs that don’t have high moisture content: thyme, dill, bay, rosemary, and oregano.
Herbs like basil, chives, mint, and tarragon that have a high moisture content or soft leaves can be dried using a dehydrator, but freezing them will preserve their flavor the best. It’s even faster than drying and simple to do.
Herbs will keep their flavor for up to a year after being dried and stored in airtight containers. So, without further ado, following these steps will help keep your herbs fresh for weeks without losing their flavor!
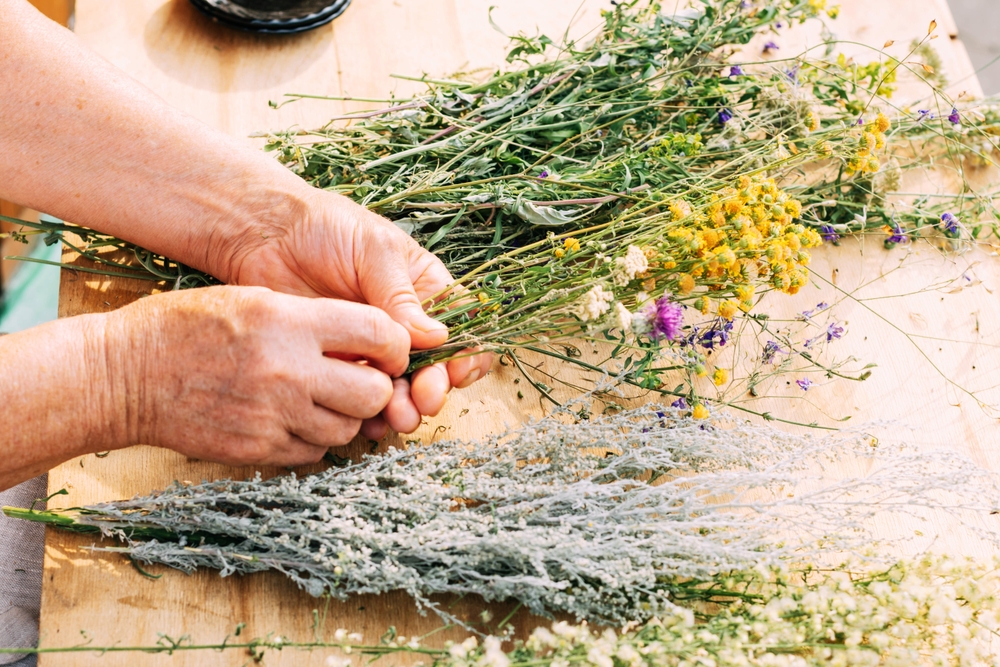
How to dry your fresh herbs:
1. Cut branches in midmorning
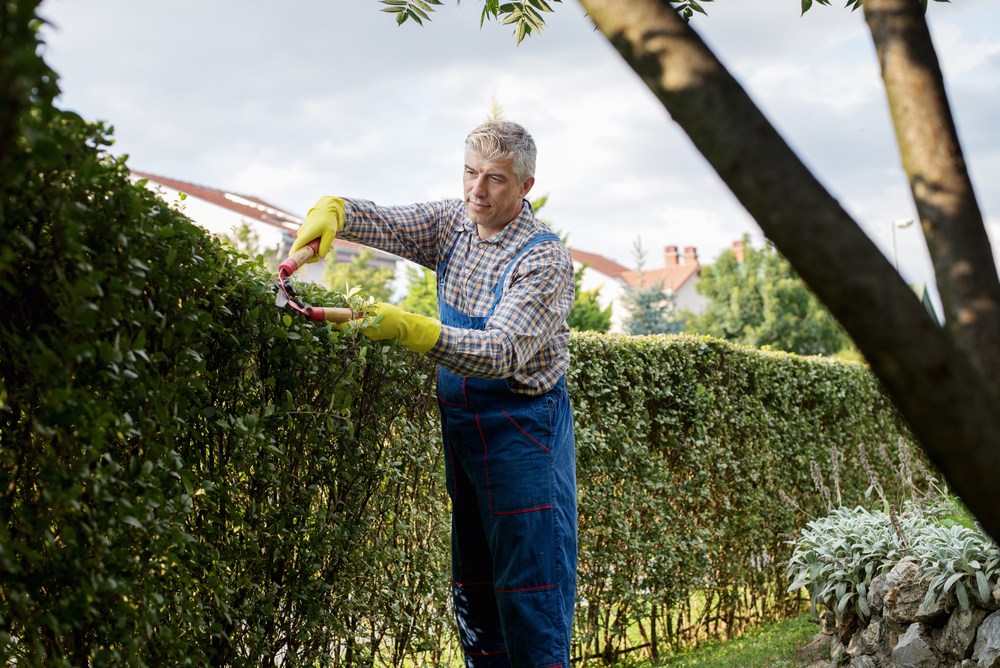
The first step in the process of drying fresh herbs is to make sure you have the necessary tools, like a pair of sturdy garden scissors. Then make sure you don’t cut the entire plant unless you’re planning on planting a new one. Never cut more than 2/3 of your plant’s branch. After that, collect the herb clippings that you want to dry.
Pick the leaves before the afternoon sun causes them to turn brown, but allow the morning dew to dry from the leaves. The best time to harvest and make sure you keep your fresh herbs for winter is in late summer.
2. Look for tiny insects
The next step is to ensure your cooking herbs have no unwanted critters hidden in their leaves. You can rinse the herbs with a quick jet of water. If there are still many insects clinging to them, you can soak the plants in cold water (with some ice cubes) for a couple of minutes. After washing, let them dry on a paper towel.
3. Always make sure the fresh herbs are dry
The excess soil should be easy to shake off if you picked your herbs when they were dry. To allow the herb branches to dry out quickly, hang or spread them out in an area with lots of air circulation, for example, in front of your house or if you live in an apartment near a window. Be careful because wet herbs will rot and mold.
4. Clip the lower leaves of the herbs
Trim the lower leaves from about an inch down the stem. But don’t throw them away! These tiny leaves can be dried separately or even used fresh for cooking. During this time, trim the cut herbs of any dry or deteriorating leaves. Disease-spotted and yellowed leaves are not worth drying because their flavor is already diminished.
5. Tie all the stems (of the same herb) together
Tie the stems in a bunch by bundling four to six of them together. You can use either a rubber band or a string. I prefer a string because it’s easier to hang it up, plus it won’t loosen over time. However, you still need to check on your herbs frequently to make sure the bundle is not slipping as it dries. To keep herbs with a high water content from rotting, bundle them in small bundles to allow air to circulate between the branches.
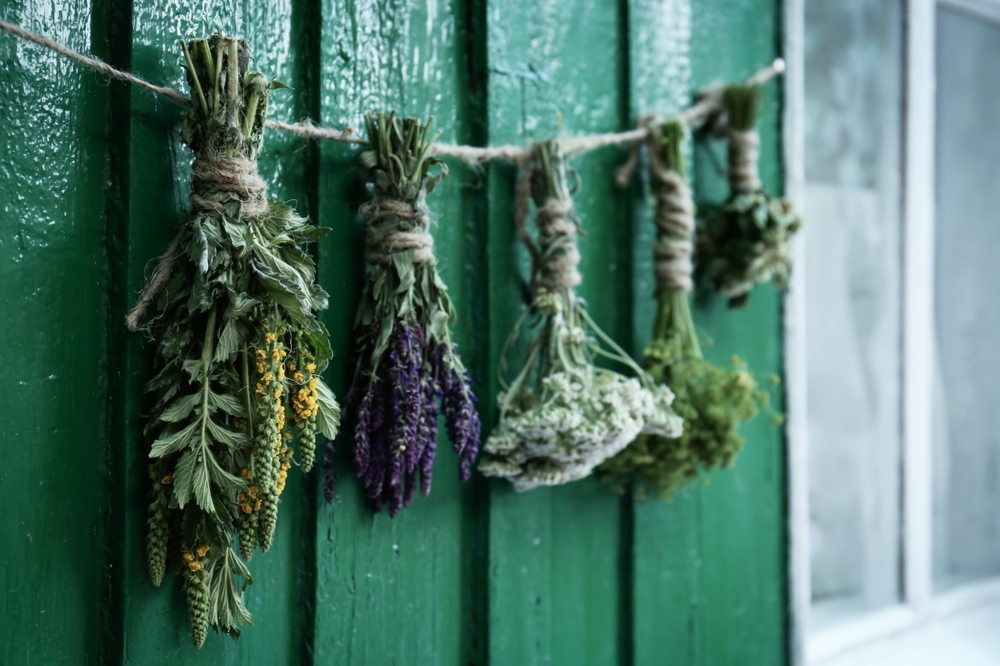
6. Dry the herbs upside down
Hanging a bunch of herbs upside down in a warm, airy room and letting nature do its thing is the oldest method of drying herbs. The secret is to let the drying process do its magic with your cooking herbs in a dark, dry, and cool place; otherwise, they may lose their wonderful flavor if they are exposed to light.
To keep my herbs from collecting dust while they’re drying, I prefer to choose a location away from excessive household activity. If you have a basement with windows, you can store them there; if not, hanging them near the window or on your balcony is also a good idea!
If exposed to excessive moisture, herbs like mint that have more delicate leaves are more likely to develop mold. Regularly inspect your herbs and toss any that seem to be developing mold.
7. Put the fresh herbs in paper bags for better drying
While not required, some people find that using paper bags helps the herbs dry out more quickly and completely. Place the bundled herbs, upside down, inside a paper bag that has been perforated. Tie the bag shut after gathering the end around the bundle. Be careful not to pack the bag full of herbs. To avoid forgetting which herb is which, write the name on the bag.
In most cases, one week is enough to get your herbs dry, but I suggest giving them two or three more weeks to make sure the leaves have lost all of their moisture. When your herbs have that pleasant, crunchy texture, you know they are completely dried and prepared for storage. If the stems are flexible to your push at all, it indicates that the herb still contains moisture. Otherwise, they should feel stiff and easily breakable when bent.
How to store and keep your herbs fresh for cooking?
Keep herbs in airtight containers
Herbs should be stored in airtight containers in a cool, dry, and dark location to help them retain their flavors. To preserve the leaves within, I prefer to use amber-colored jars, such as these Amber glass jars from Amazon. Keep dark-colored jars out of direct sunlight if you don’t like them.
You don’t have the space for a lot of jars in your kitchen or your pantry? No problem! Your cooking herbs can also be stored in plastic bags with zippers. Just leave the leaves whole and crush them only when you want to use them.
Date and label the containers
You do however you please, but I suggest writing the date and the herb’s name on the label of every jar. This way you will avoid any confusion and take the basil instead of rosemary. Not that would hurt for pasta dishes, but better be safe than sorry.
If you’re a tad lazy like I am and you don’t like to exercise your handwriting, you can buy some preprinted stickers to put on the jars. It’s easier that way! All you have to do is add the date somewhere below.
Bottom line:
That’s it, my fellow gardeners! This was the comprehensive guide on how to dry your favorite cooking herbs so you can use them whenever you want without having to go to the store and run through the alleys.
If you don’t have a garden but you still want to grow some herbs, you can do that too on a small patio or balcony. In addition to growing quickly and requiring little care, herbs are also very easy to harvest and store. They can be grown in a very small space!
P.S. Note that a small amount of dried herbs can go a long way because they are more concentrated than fresh ones.
Looking for more insight regarding gardening before the cold season arrives? Oh dear, I got you. Check out this related article about 15 Things to Do Before in Your Garden Winter.

